Canon PIXMA MX439 Guide for Printer Setup for Network - Page 5
Connection Using WPS - printer all in one
 |
View all Canon PIXMA MX439 manuals
Add to My Manuals
Save this manual to your list of manuals |
Page 5 highlights
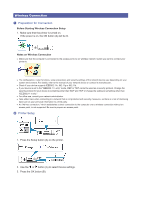
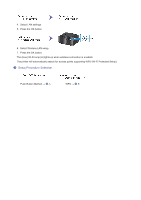
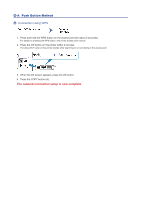
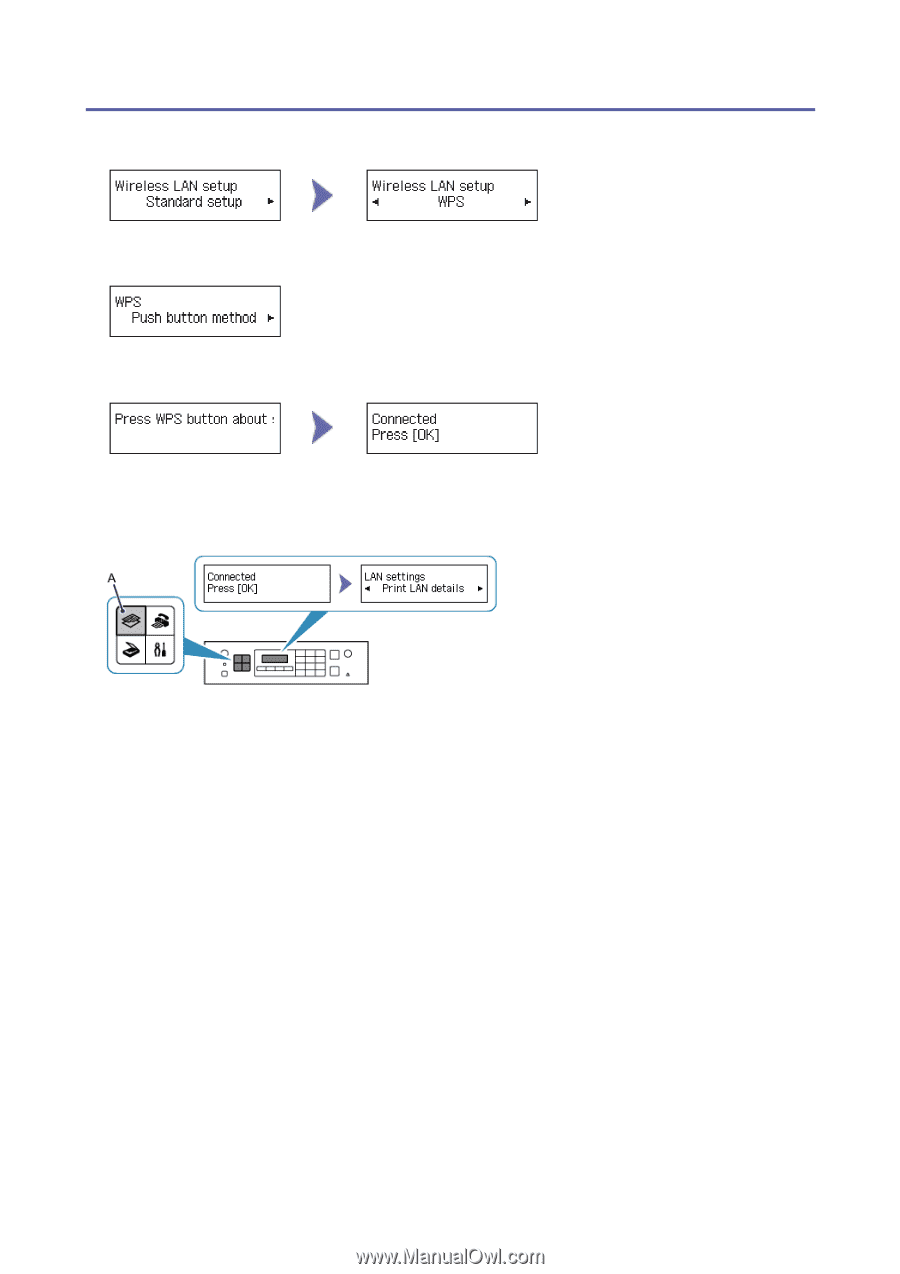
d-B WPS d Connection Using WPS 1. Select WPS. 2. Press the OK button. 3. Select Push button method. 4. Press the OK button. 5. Press and hold the WPS button on the access point (for about 5 seconds). For details on pressing the WPS button, refer to the access point manual. 6. Press the OK button on the printer within 2 minutes. The (blue) Wi-Fi lamp on the printer flashes while searching for or connecting to the access point. 7. When the left screen appears, press the OK button. 8. Press the COPY button (A). The network connection setup is now complete.
-
 1
1 -
 2
2 -
 3
3 -
 4
4 -
 5
5 -
 6
6
 |
 |
d
-B
WPS
d
Connection Using WPS
1. Select WPS.
2. Press the OK button.
3. Select Push button method.
4. Press the OK button.
5. Press and hold the WPS button on the access point (for about 5 seconds).
For details on pressing the WPS button, refer to the access point manual.
6. Press the OK button on the printer within 2 minutes.
The (blue) Wi-Fi lamp on the printer flashes while searching for or connecting to the access point.
7. When the left screen appears, press the OK button.
8. Press the COPY button (A).
The network connection setup is now complete.