Canon PIXMA PRO-1 PRO-1 series Getting Started - Page 24
encendido POWER, ACTIVADO, CD-ROM de, instalación Setup CD-ROM, POWER, Setup CD-ROM, Para Windows
 |
View all Canon PIXMA PRO-1 manuals
Add to My Manuals
Save this manual to your list of manuals |
Page 24 highlights
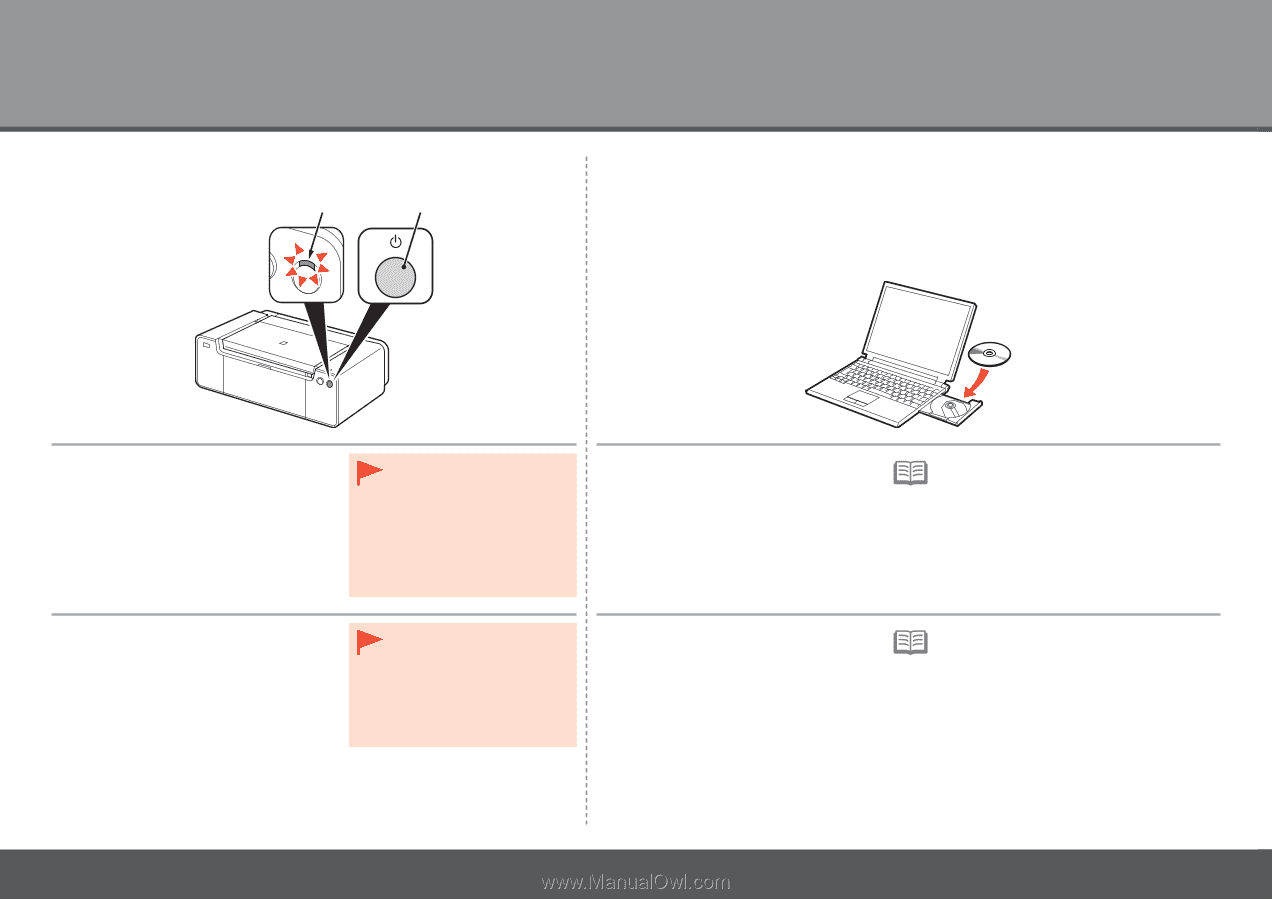
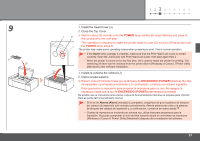
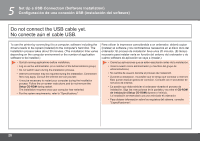
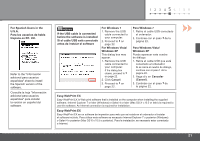
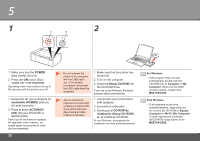
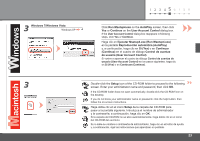
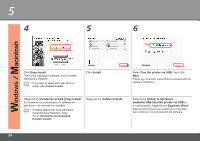
5 1 2 A B 1. Make sure that the POWER lamp (white) (A) is lit. 2. Press the ON button (B) to TURN OFF THE PRINTER. Operating noise may continue for up to 60 seconds until the printer turns off. 1. Asegúrese de que la lámpara de encendido (POWER) (blanca) (A) esté iluminada. 2. Pulse el botón ACTIVADO (ON) (B) para APAGAR LA IMPRESORA. Hasta que la impresora se apague, 60 segundos como máximo, se puede seguir escuchando el ruido de funcionamiento. 22 • Do not connect the printer to the computer with the USB cable yet. If it is already connected, disconnect the USB cable from the computer. • Aún no conecte la impresora al ordenador mediante el cable USB. Si ya está conectado, desconecte el cable USB del ordenador. 1. Make sure that the printer has turned off. 2. Turn on the computer. 3. Insert the Setup CD-ROM into the CD-ROM drive. If you are using Windows, the setup program starts automatically. 1. Compruebe que la impresora esté apagada. 2. Encienda el ordenador. 3. Introduzca el CD-ROM de instalación (Setup CD-ROM) en la unidad de CD-ROM. Si usa Windows, el programa de instalación se inicia automáticamente. For Windows • If the program does not start automatically, double-click the CD-ROM icon in Computer or My Computer. When the CD-ROM contents appear, double-click MSETUP4.EXE. Para Windows • Si el programa no se inicia automáticamente, haga doble clic en el icono del CD-ROM en Equipo (Computer) o Mi PC (My Computer). Cuando aparezca el contenido del CD-ROM, haga doble clic en MSETUP4.EXE.
-
 1
1 -
2
-
3
-
4
-
5
-
6
-
7
-
8
-
9
-
10
-
11
-
12
-
13
-
14
-
15
-
16
-
17
-
18
-
 19
19 -
 20
20 -
 21
21 -
 22
22 -
 23
23 -
 24
24 -
 25
25 -
 26
26 -
 27
27 -
 28
28 -
 29
29 -
30
-
31
-
32
-
33
-
34
-
35
-
36
-
37
-
38
-
39
-
40
-
41
-
42
-
43
-
44
-
45
-
46
-
47
-
48
-
49
-
50
-
51
-
52
-
53
-
54
-
55
-
56
-
57
-
58
-
59
 |
 |