Canon PIXMA PRO-10 Setup Guide - Page 4
The network connection setup is now complete.
 |
View all Canon PIXMA PRO-10 manuals
Add to My Manuals
Save this manual to your list of manuals |
Page 4 highlights
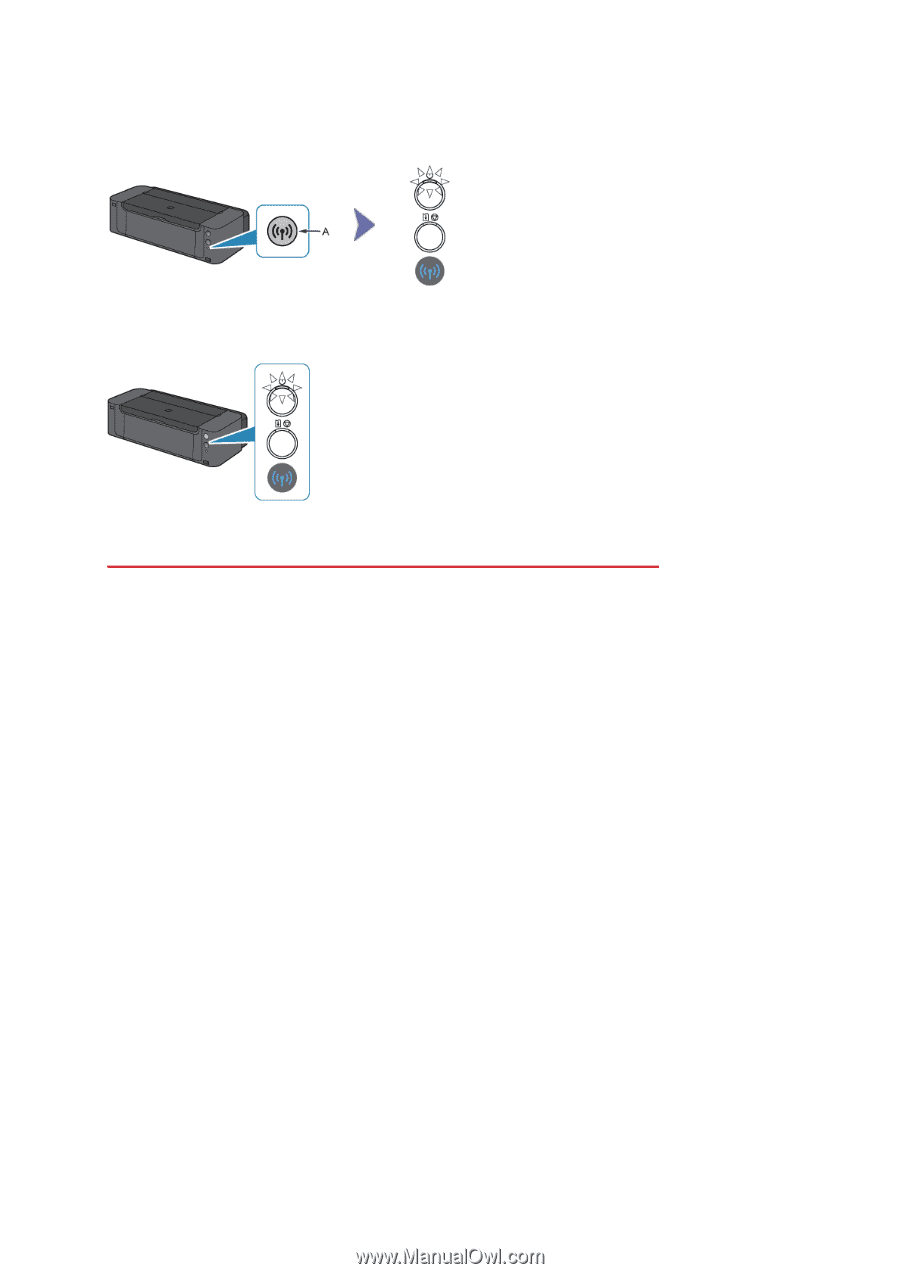
b Connection Using WPS 1. Press and hold the Wi-Fi button (A) on the printer when you are ready to press the button on the access point. 2. Make sure that the (blue) Wi-Fi lamp flashes quickly and the POWER lamp is lit as shown in the illustration above, then press and hold the button on the access point within 2 minutes. 3. Make sure that the (blue) Wi-Fi lamp and POWER lamp are lit. The network connection setup is now complete.
-
 1
1 -
 2
2 -
 3
3 -
 4
4 -
 5
5 -
 6
6 -
 7
7
 |
 |
b
Connection Using WPS
1. Press and hold the Wi-Fi button (A) on the printer when you are ready to press the button on the
access point.
2. Make sure that the (blue) Wi-Fi lamp flashes quickly and the POWER lamp is lit as shown in the
illustration above, then press and hold the button on the access point within 2 minutes.
3. Make sure that the (blue) Wi-Fi lamp and POWER lamp are lit.
The network connection setup is now complete.