Canon PowerShot Pro 1 PowerShot Pro1 Camera User Guide - Page 60
Changing the Image Display Duration
 |
View all Canon PowerShot Pro 1 manuals
Add to My Manuals
Save this manual to your list of manuals |
Page 60 highlights
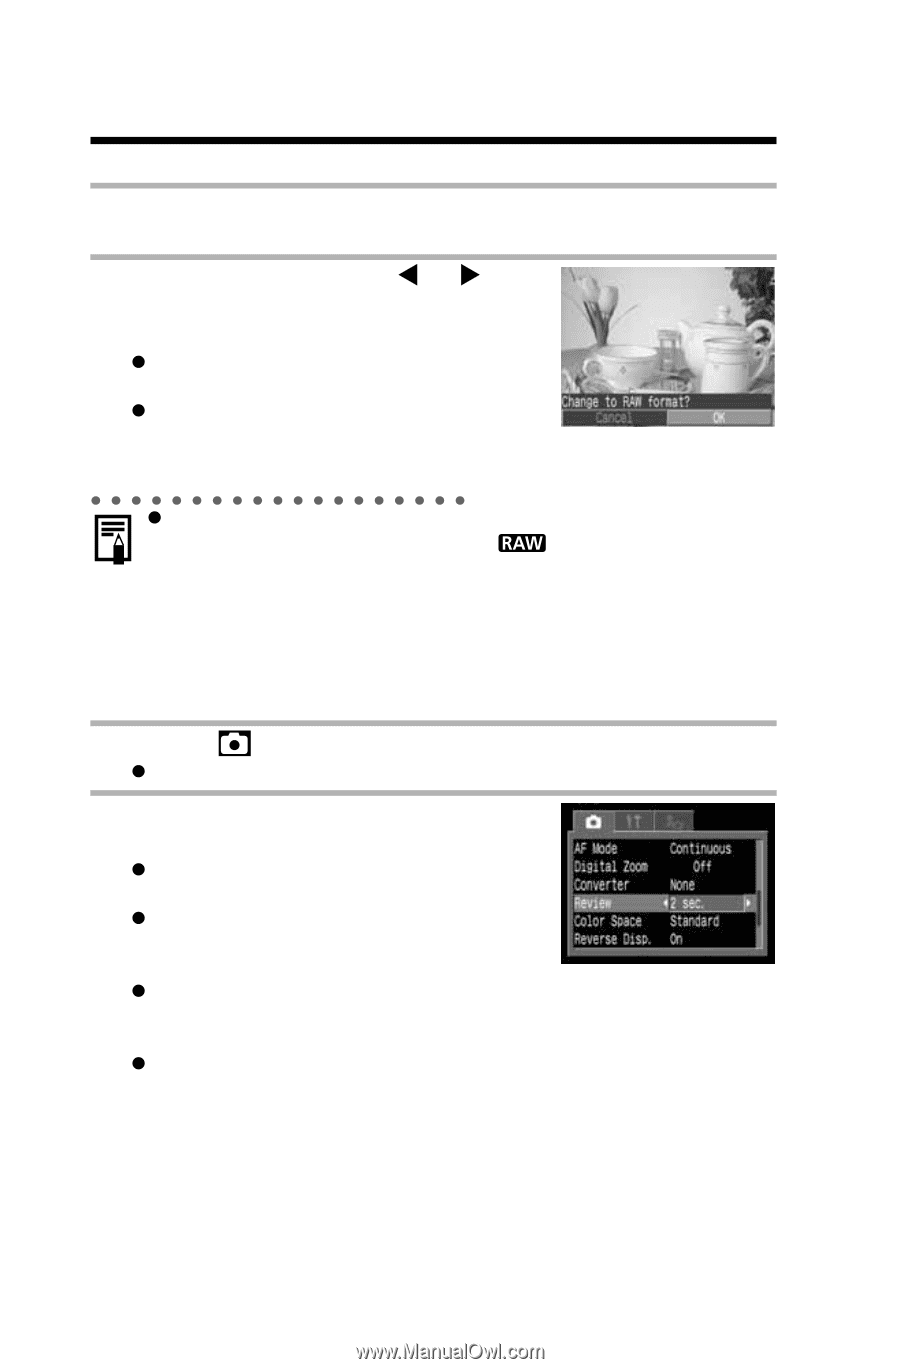
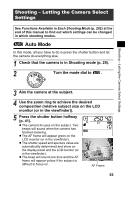
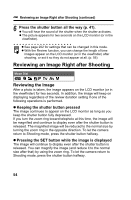
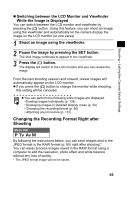
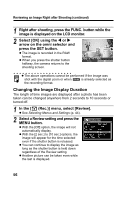
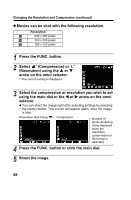
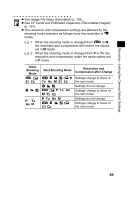
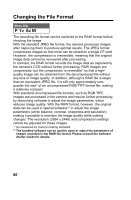
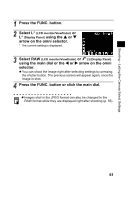
Reviewing an Image Right after Shooting (continued) 1 Right after shooting, press the FUNC. button while the image is displayed on the LCD monitor. 2 Select [OK] using the W or X arrow on the omni selector and press the SET button. z The image is recorded in the RAW format. z When you press the shutter button halfway, the camera returns to the shooting screen. z The above operations cannot be performed if the image was shot with the digital zoom or when is already selected as the recording format. Changing the Image Display Duration The length of time images are displayed after a photo has been taken can be changed anywhere from 2 seconds to 10 seconds or turned off. 1 In the [ (Rec.)] menu, select [Review]. z See Selecting Menus and Settings (p. 44). 2 Select a Review setting and press the MENU button. z With the [Off] option, the image will not automatically display. z With the [2 sec.] to [10 sec.] options, the image will appear for the time selected even if the shutter button is released. z You can continue to display the image as long as the shutter button is held down regardless of the Review setting. z Another picture can be taken even while the last is displayed. 56
-
 1
1 -
2
-
3
-
4
-
5
-
6
-
7
-
8
-
9
-
10
-
11
-
12
-
13
-
14
-
15
-
16
-
17
-
18
-
19
-
20
-
21
-
22
-
23
-
24
-
25
-
26
-
27
-
28
-
29
-
30
-
31
-
32
-
33
-
34
-
35
-
36
-
37
-
38
-
39
-
40
-
41
-
42
-
43
-
44
-
45
-
46
-
47
-
48
-
49
-
50
-
51
-
52
-
53
-
54
-
 55
55 -
 56
56 -
 57
57 -
 58
58 -
 59
59 -
 60
60 -
 61
61 -
 62
62 -
 63
63 -
 64
64 -
 65
65 -
66
-
67
-
68
-
69
-
70
-
71
-
72
-
73
-
74
-
75
-
76
-
77
-
78
-
79
-
80
-
81
-
82
-
83
-
84
-
85
-
86
-
87
-
88
-
89
-
90
-
91
-
92
-
93
-
94
-
95
-
96
-
97
-
98
-
99
-
100
-
101
-
102
-
103
-
104
-
105
-
106
-
107
-
108
-
109
-
110
-
111
-
112
-
113
-
114
-
115
-
116
-
117
-
118
-
119
-
120
-
121
-
122
-
123
-
124
-
125
-
126
-
127
-
128
-
129
-
130
-
131
-
132
-
133
-
134
-
135
-
136
-
137
-
138
-
139
-
140
-
141
-
142
-
143
-
144
-
145
-
146
-
147
-
148
-
149
-
150
-
151
-
152
-
153
-
154
-
155
-
156
-
157
-
158
-
159
-
160
-
161
-
162
-
163
-
164
-
165
-
166
-
167
-
168
-
169
-
170
-
171
-
172
-
173
-
174
-
175
-
176
-
177
-
178
-
179
-
180
-
181
-
182
-
183
-
184
-
185
-
186
-
187
-
188
-
189
-
190
-
191
-
192
-
193
-
194
-
195
-
196
-
197
-
198
-
199
-
200
-
201
-
202
-
203
-
204
-
205
-
206
-
207
 |
 |