Canon SELPHY CP900 User Guide - Page 45
Prepare SELPHY and connect to a computer., Turn on SELPHY., Finish installation., Print - and windows 8
 |
View all Canon SELPHY CP900 manuals
Add to My Manuals
Save this manual to your list of manuals |
Page 45 highlights
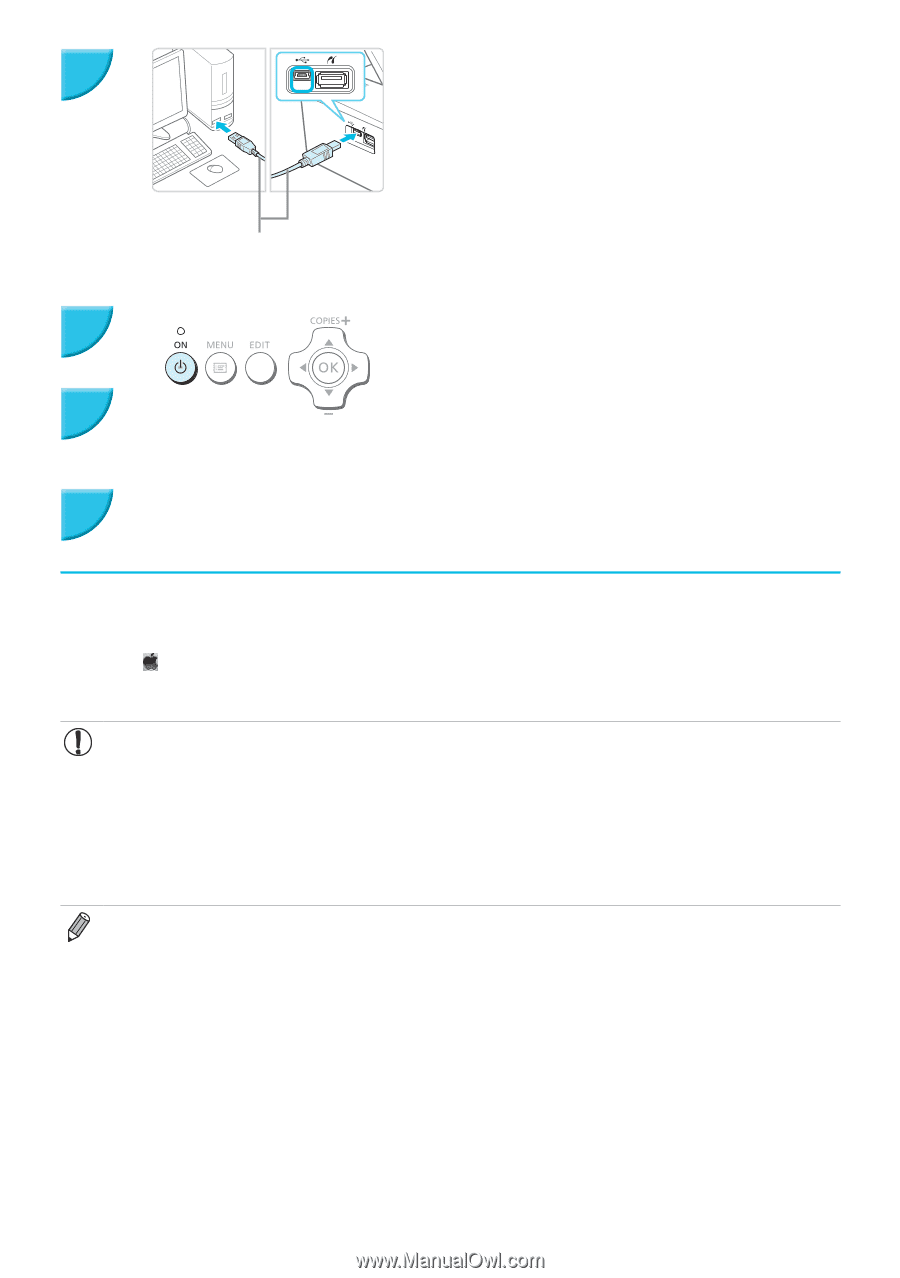
2 Prepare SELPHY and connect to a computer. OO Turn off SELPHY and remove the memory card or USB flash memory. OO Insert an ink cassette and a paper cassette that contain paper you want to use into SELPHY (pp. 7 - 10). OO Use the USB cable to connect SELPHY to the computer. OO Refer to the user guides included with the cable and computer for handling instructions. Commercially available USB cable 3 Turn on SELPHY. OO Press the q button to turn on SELPHY. 4 Finish installation. OO When the installation finishes, click [Restart] to restart the computer and complete the installation. 5 Print. OO Print as described in Steps 2 to 7 on p. 39. Macintosh OO Install the software as described in Step 1 on p. 38. OO Connect SELPHY to the computer as described in above Steps 2 to 3 and turn SELPHY on. OO Select [ ] from the menu, and click [System Preferences] r [Print & Fax] to open the [Print & Fax] screen. Click [+] to select [CP900] from the pop-up window, then click [Add]. OO Print as described in Steps 2 to 7 on p. 39. OO SELPHY may not operate correctly if it is connected to a computer via a USB hub. OO SELPHY may not function properly if other USB devices (with the exception of a USB mouse or USB keyboard) are used at the same time. Disconnect any other USB devices from your computer and then reconnect SELPHY. OO Do not put your computer into standby mode (or sleep mode) while SELPHY is connected to the computer's USB port. If you accidentally do so, awaken the computer from standby mode without disconnecting the USB cable. Restart the computer if the computer does not recover properly. OO For details on handling the computer, refer to the user guide included with your computer. OO You can start the software automatically when SELPHY and the computer are connected by a USB cable by setting [Start SELPHY Photo Print automatically] to [On] in the screen displayed by clicking [Setting] in Step 3 described on p. 39 . 45
-
 1
1 -
2
-
3
-
4
-
5
-
6
-
7
-
8
-
9
-
10
-
11
-
12
-
13
-
14
-
15
-
16
-
17
-
18
-
19
-
20
-
21
-
22
-
23
-
24
-
25
-
26
-
27
-
28
-
29
-
30
-
31
-
32
-
33
-
34
-
35
-
36
-
37
-
38
-
39
-
 40
40 -
 41
41 -
 42
42 -
 43
43 -
 44
44 -
 45
45 -
 46
46 -
 47
47 -
 48
48 -
 49
49 -
 50
50 -
51
-
52
-
53
-
54
-
55
-
56
 |
 |