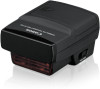
Canon Speedlite Transmitter ST-E2 Instruction manual - Page 14
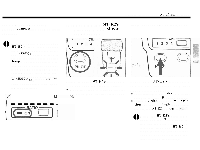
Setting the, Flash Ratio, Camera and Slave, Positions, Follow the basic proce, dure for wireless,
 |
View all Canon Speedlite Transmitter ST-E2 manuals
Add to My Manuals
Save this manual to your list of manuals |
Page 14 highlights
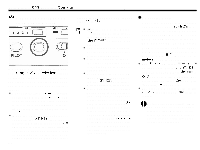
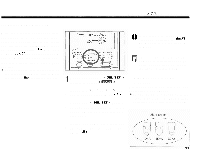
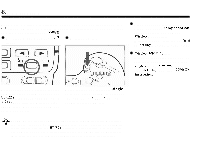
Wireless Multi-Flash E-TTL Autoflash Operation (2)Setting the A:B Flash Ratio The flash ratio between slave A and slave B can be set to specify the main flash and fill flash. The flash ratio can be set from 8:l to 1and from 1 to 1:8 in half-stop increments. In terms of exposure stops, it ranges from 3:l to 1 and from 1 to 1:3. When the flash ratio is set, ETTL autoflash metering controls the flash output to obtain a correct exposure. (3)Camera and Slave Positions Position the ST-E2-attached camera and the two slaves to obtain the desired lighting effect. See page 26. Check that the ST-E2's main switch is set to c I> , then press the button. Thc flash ratio control lamp lights in red, and the respective flash ratio indicator lights. The flash ratios for the unmarked indicators ( are shown in parentheses below. Press the < 4 > or < b > but- The modeling flash can be fired to ton to select the desired flash see the lighting effects before the ratio. picture is taken. 0 If the main switch has been set t o < I >, t h e buttons will not work. Set the main switch to < HOLD >. (4) Follow the basic procedure for wireless E-TTL autoflash exposure to take the picture. See page 26.
-
 1
1 -
2
-
3
-
4
-
5
-
6
-
7
-
8
-
 9
9 -
 10
10 -
 11
11 -
 12
12 -
 13
13 -
 14
14 -
 15
15 -
 16
16 -
 17
17 -
 18
18 -
 19
19
 |
 |
