Canon VIXIA HF11 VIXIA HF11 Instruction Manual - Page 88
Users of Windows Vista, Windows XP and, Mac OS X, Starting, CameraWindow
 |
View all Canon VIXIA HF11 manuals
Add to My Manuals
Save this manual to your list of manuals |
Page 88 highlights
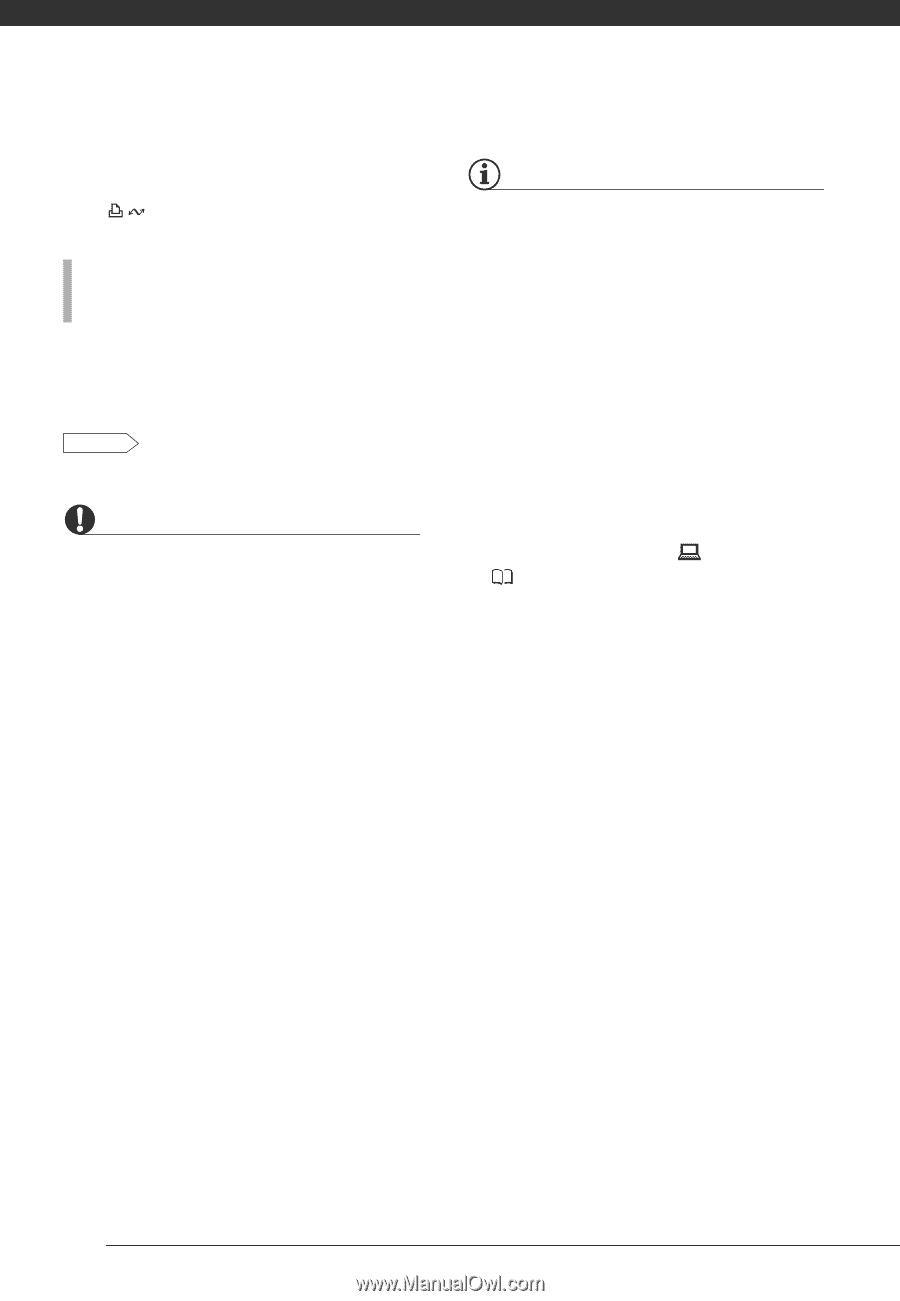
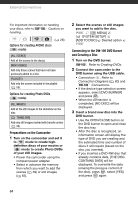
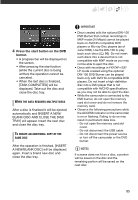
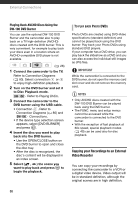
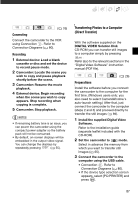
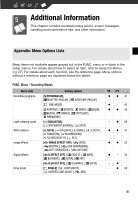
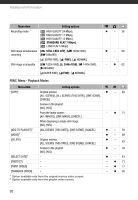
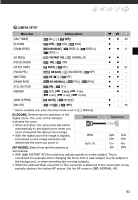
External Connections • The direct transfer menu appears on the camcorder screen and the button lights up. FIRST-TIME CONNECTION TO A COMPUTER RUNNING WINDOWS Windows users only: The first time you connect the camcorder to the computer, you need also to select the CameraWindow auto-launch setting. DVSD Refer to Starting CameraWindow. IMPORTANT • While the camcorder is connected to the computer, do not open the memory card slot cover and do not remove the memory card. • Observe the following precautions while the ACCESS indicator is on or flashing. Failing to do so may result in permanent data loss. - Do not open the memory card slot cover. - Do not disconnect the USB cable. - Do not turn off the camcorder or the computer. • Operation may not work correctly depending on the software and the specifications/settings of your computer. • If you wish to use the image files on your computer, make copies of them first. Use the copied files, retaining the originals. • During the following operations, even if you connect the camcorder to the computer it will not be recognized. - Erasing all still images - Erasing all transfer orders - Erasing all print orders NOTES • We recommend powering the camcorder using the compact power adapter. • Refer also to the computer's instruction manual. • Users of Windows Vista, Windows XP and Mac OS X: Your camcorder is equipped with the standard Picture Transfer Protocol (PTP) allowing you to transfer still images (JPEG only) simply by connecting the camcorder to a computer using the USB cable without having to install the supplied software. • If you have no intention to use the optional DW-100 DVD Burner, you can set [USB SETTING] to [ PC/PRINTER] ( 97) so the selection screen does not appear every time you connect the camcorder to a computer. • Depending on the number of images in the memory (Windows: 1,800 images or more; Macintosh: 1,000 images or more), you may not be able to transfer images to a computer. Try using a card reader (for images in the internal memory, copy them to the memory card first). 88
-
 1
1 -
2
-
3
-
4
-
5
-
6
-
7
-
8
-
9
-
10
-
11
-
12
-
13
-
14
-
15
-
16
-
17
-
18
-
19
-
20
-
21
-
22
-
23
-
24
-
25
-
26
-
27
-
28
-
29
-
30
-
31
-
32
-
33
-
34
-
35
-
36
-
37
-
38
-
39
-
40
-
41
-
42
-
43
-
44
-
45
-
46
-
47
-
48
-
49
-
50
-
51
-
52
-
53
-
54
-
55
-
56
-
57
-
58
-
59
-
60
-
61
-
62
-
63
-
64
-
65
-
66
-
67
-
68
-
69
-
70
-
71
-
72
-
73
-
74
-
75
-
76
-
77
-
78
-
79
-
80
-
81
-
82
-
 83
83 -
 84
84 -
 85
85 -
 86
86 -
 87
87 -
 88
88 -
 89
89 -
 90
90 -
 91
91 -
 92
92 -
 93
93 -
94
-
95
-
96
-
97
-
98
-
99
-
100
-
101
-
102
-
103
-
104
-
105
-
106
-
107
-
108
-
109
-
110
-
111
-
112
-
113
-
114
-
115
-
116
-
117
-
118
-
119
-
120
-
121
-
122
-
123
-
124
-
125
-
126
-
127
-
128
-
129
-
130
-
131
 |
 |