Canon ZR40 ZR40 Instruction Manual - Page 27
Adjusting the LCD screen
 |
View all Canon ZR40 manuals
Add to My Manuals
Save this manual to your list of manuals |
Page 27 highlights
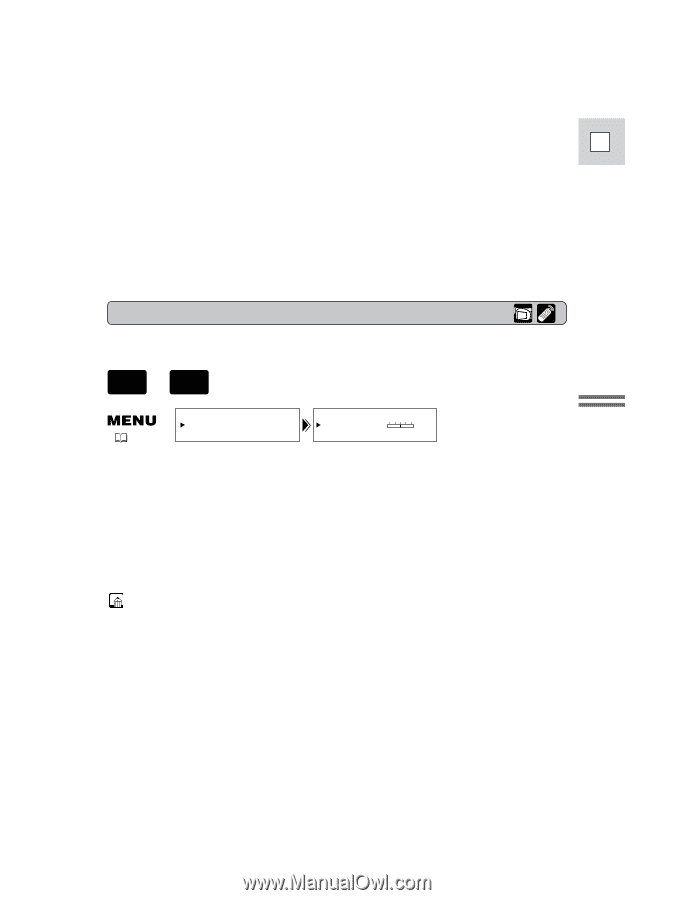
• Make sure you open the LCD panel at 90°, before attempting to rotate it. • Always rotate the LCD panel vertically into place, before closing it or pushing E it flat against the side of the camcorder. • Always fully close the LCD panel until it clicks securely. • Be careful not to leave the LCD, viewfinder or lens exposed to direct sunlight outdoors or in a window. Doing so could cause damage. • Bright light falling on the LCD screen may cause glare that makes it difficult for you to view the image. In this case, switch to using the viewfinder. You are also able to adjust the brightness of the screen (see "Adjusting the LCD screen" below). Mastering the Basics Adjusting the LCD screen You can adjust the brightness of the LCD screen. , CAMERA PLAY (VCR) ( 39) DISP.SET UP BRIGHTNESS••- + Open the menu and select DISP.SET UP from the menu. Then select BRIGHTNESS, adjust the level with the selector dial and close the menu. A bar showing the level appears in the display. • Turn the selector dial up to make the display brighter. • Turn the selector dial down to make the display darker. Notes: • The camcorder will remember your brightness setting even after you turn it off. • The brightness of the LCD does not affect that of the recorded images or the viewfinder. About the LCD Screen The LCD screen built into this camcorder is a high precision product. However, small black dots or bright points of light (red, blue or green) may appear constantly on the LCD screen. This is not a malfunction of the LCD screen and they are not recorded on the tape. (Effective dots: more than 99.99%) 27
-
 1
1 -
2
-
3
-
4
-
5
-
6
-
7
-
8
-
9
-
10
-
11
-
12
-
13
-
14
-
15
-
16
-
17
-
18
-
19
-
20
-
21
-
 22
22 -
 23
23 -
 24
24 -
 25
25 -
 26
26 -
 27
27 -
 28
28 -
 29
29 -
 30
30 -
 31
31 -
 32
32 -
33
-
34
-
35
-
36
-
37
-
38
-
39
-
40
-
41
-
42
-
43
-
44
-
45
-
46
-
47
-
48
-
49
-
50
-
51
-
52
-
53
-
54
-
55
-
56
-
57
-
58
-
59
-
60
-
61
-
62
-
63
-
64
-
65
-
66
-
67
-
68
-
69
-
70
-
71
-
72
-
73
-
74
-
75
-
76
-
77
-
78
-
79
-
80
-
81
-
82
-
83
-
84
-
85
-
86
-
87
-
88
-
89
-
90
-
91
-
92
-
93
-
94
-
95
-
96
-
97
-
98
-
99
-
100
-
101
-
102
-
103
-
104
-
105
-
106
-
107
-
108
-
109
-
110
-
111
-
112
-
113
-
114
-
115
-
116
-
117
-
118
-
119
-
120
-
121
 |
 |