Celestron MICRODIRECT 1080P HDMI HANDHELD DIGITAL MICROSCOPE MicroDirect 1080p - Page 6
B. Measuring Tools, C. Measurement Choices, D. Set The Calibration Magnification
 |
View all Celestron MICRODIRECT 1080P HDMI HANDHELD DIGITAL MICROSCOPE manuals
Add to My Manuals
Save this manual to your list of manuals |
Page 6 highlights
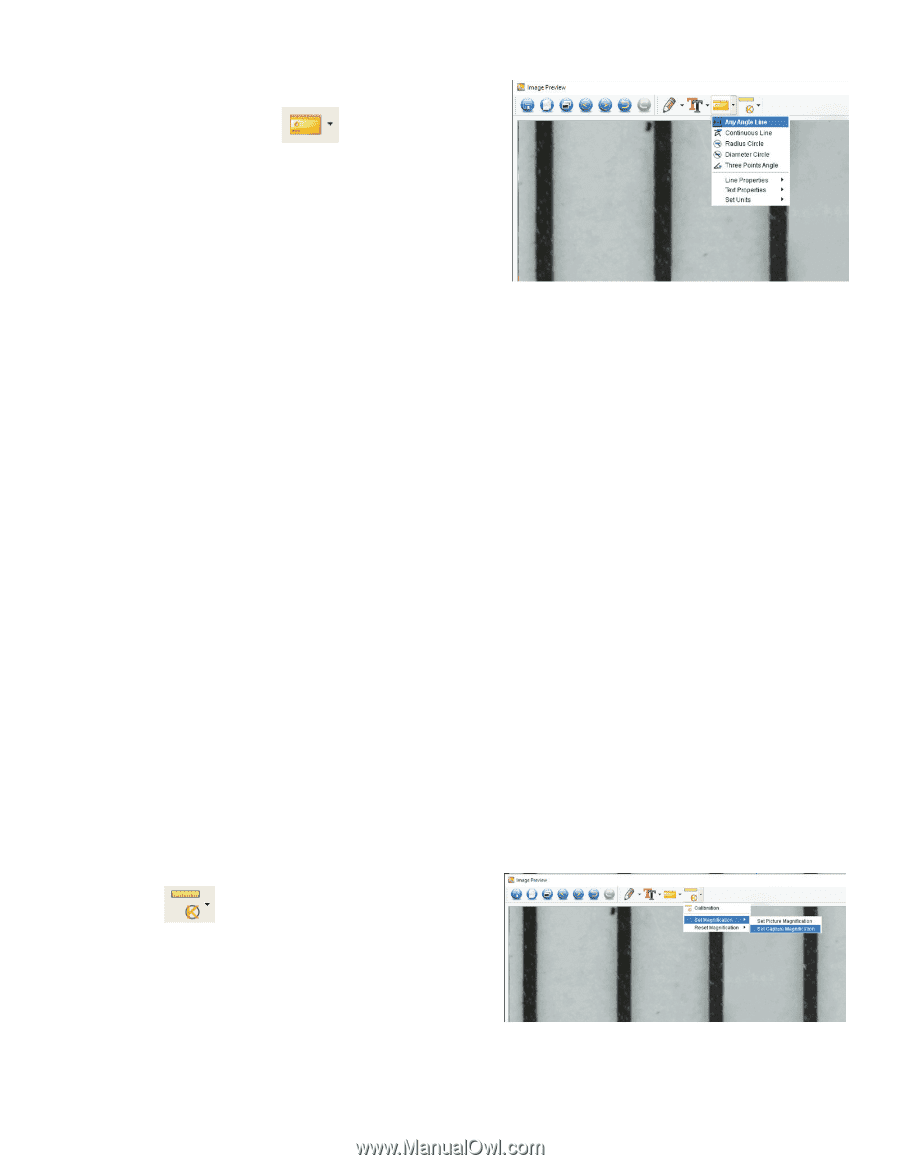
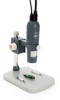
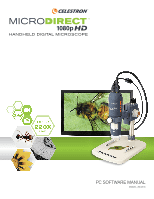
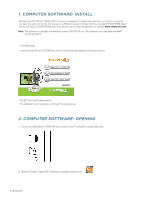
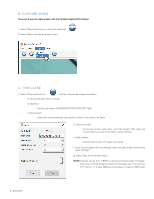
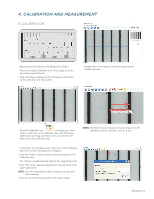
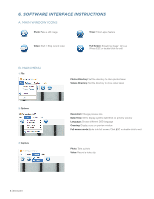
B. MEASURING TOOLS + Select the Measurement icon NOTE: This is a good time to verify your calibration. Using the ANY ANGLE TOOL, take a measurement of the same "known" dimension you used in the Calibration step. If the measurement is the same or very close, the calibration was successful. C. MEASUREMENT CHOICES 1. Any Angle Line Measurement + Click from one point and drag to the next point, and then release the click. 2. Continuous Line Measurement + The Continuous Line measurement allows you to measure any continuous desired length, not just a straight line. Simply click and drag from one point to other desired point, and then release mouse button. 3. Radius Circle Measurement + Click and drag a line out to the desired radius and release the mouse button. + The radius, circumference and area of the circle will show up accordingly. 4. Diameter Circle Measurement + Click and drag a line out to the desired diameter and release the mouse button. + The diameter, circumference and area of the circle will show up accordingly. 5. Three Point Angle Measurement + Cllick any three points in an angle and the value of the angle will be displayed. D. SET THE CALIBRATION MAGNIFICATION + So far the calibration and measurement features we have discussed involve the measurements on ONE image (your saved image) and the magnification rate was determined by the computer when calibrating. + The MicroDirect® Portable Capture HD software allows you to "lock in" a magnification rate, which allows you to take multiple pictures and then make measurements on them based on this "locked in" rate. NOTE: Once the calibration is completed, you cannot change the physical position or focus range of your microscope, or you will change the actual magnification and your measurements will not be correct. + Click > Set magnification > Set capture magnification. Now any pictures you take from this point forward will use the same magnification rate for your measuring. Remember, you cannot change the position of the microscope or focus point or the magnification will be wrong and you will have to reset it. 6 | ENGLISH
-
 1
1 -
 2
2 -
 3
3 -
 4
4 -
 5
5 -
 6
6 -
 7
7 -
 8
8 -
 9
9 -
 10
10 -
 11
11 -
 12
12 -
13
-
14
-
15
-
16
-
17
-
18
-
19
-
20
-
21
-
22
-
23
-
24
-
25
-
26
-
27
-
28
-
29
-
30
-
31
-
32
-
33
-
34
-
35
-
36
-
37
-
38
-
39
-
40
-
41
-
42
-
43
-
44
-
45
-
46
-
47
-
48
-
49
-
50
 |
 |