Cisco SR224 User Guide - Page 25
Configuring the Switch through the Web Utility - vlan
 |
UPC - 745883556526
View all Cisco SR224 manuals
Add to My Manuals
Save this manual to your list of manuals |
Page 25 highlights
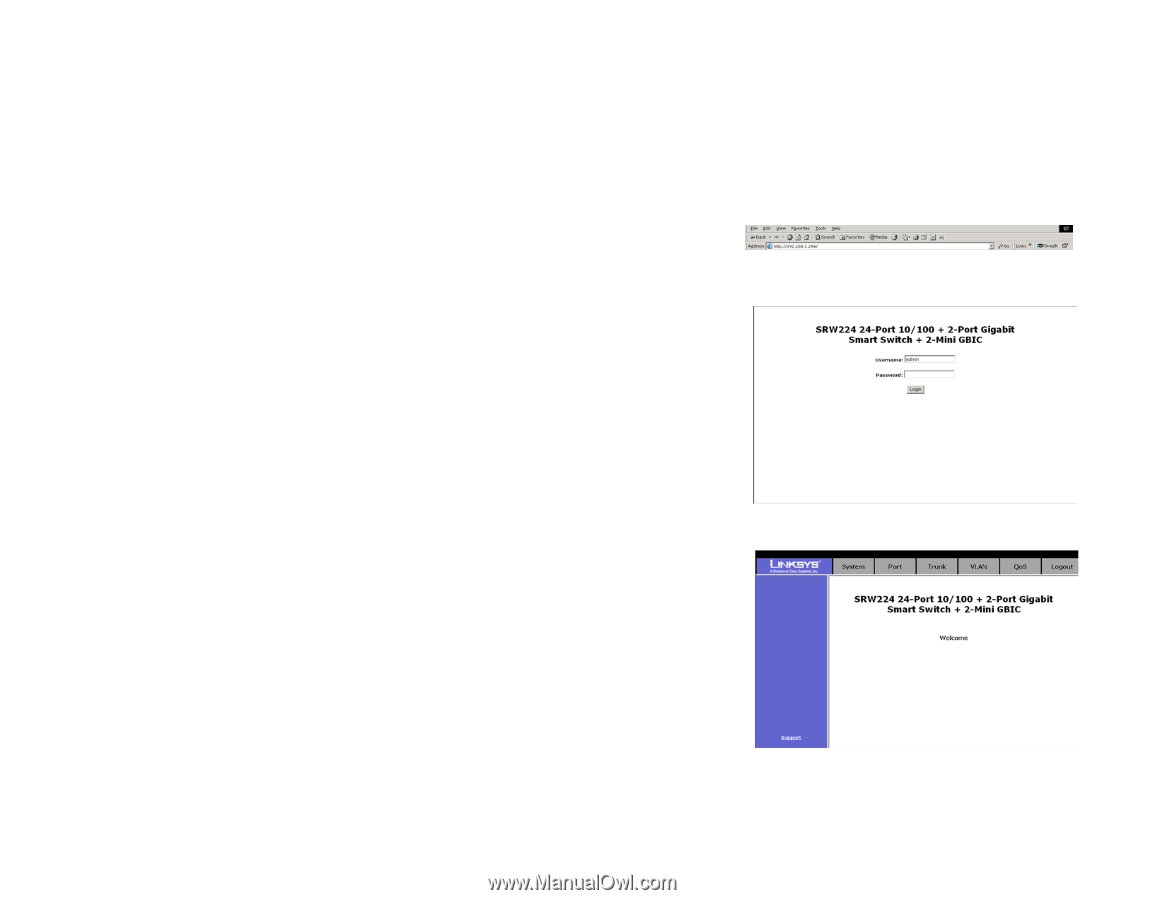
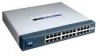
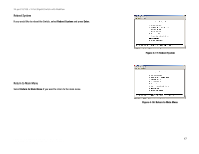
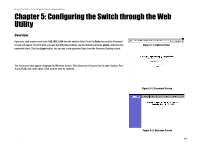
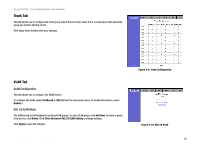
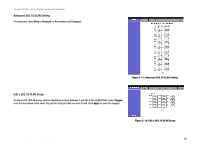
24-port 10/100 + 2-Port Gigabit Switch with WebView Chapter 5: Configuring the Switch through the Web Utility Overview Open your web browser and enter 192.168.1.254 into the address field. Press the Enter key and the Password screen will appear. The first time you open the Web-Based Utility, use the default username admin, and leave the password blank. Click the Login button. You can set a new password later from the Password Setting screen. Figure 5-1: Addrees Field The first screen that appears displays the Welcome Screen. This allows you to access the six tabs: System, Port, Trunk, VLAN, QoS, and Logout. Click a tab to view its contents. Figure 5-2: Password Screen Chapter 5: Configuring the Switch through the Web Utility Overview Figure 5-3: Welcome Screen 19
-
 1
1 -
2
-
3
-
4
-
5
-
6
-
7
-
8
-
9
-
10
-
11
-
12
-
13
-
14
-
15
-
16
-
17
-
18
-
19
-
 20
20 -
 21
21 -
 22
22 -
 23
23 -
 24
24 -
 25
25 -
 26
26 -
 27
27 -
 28
28 -
 29
29 -
 30
30 -
31
-
32
-
33
-
34
-
35
-
36
-
37
-
38
-
39
-
40
-
41
-
42
-
43
-
44
-
45
-
46
-
47
 |
 |