Craftsman 17789 Owners Manual - Page 10
Maintenance
 |
View all Craftsman 17789 manuals
Add to My Manuals
Save this manual to your list of manuals |
Page 10 highlights
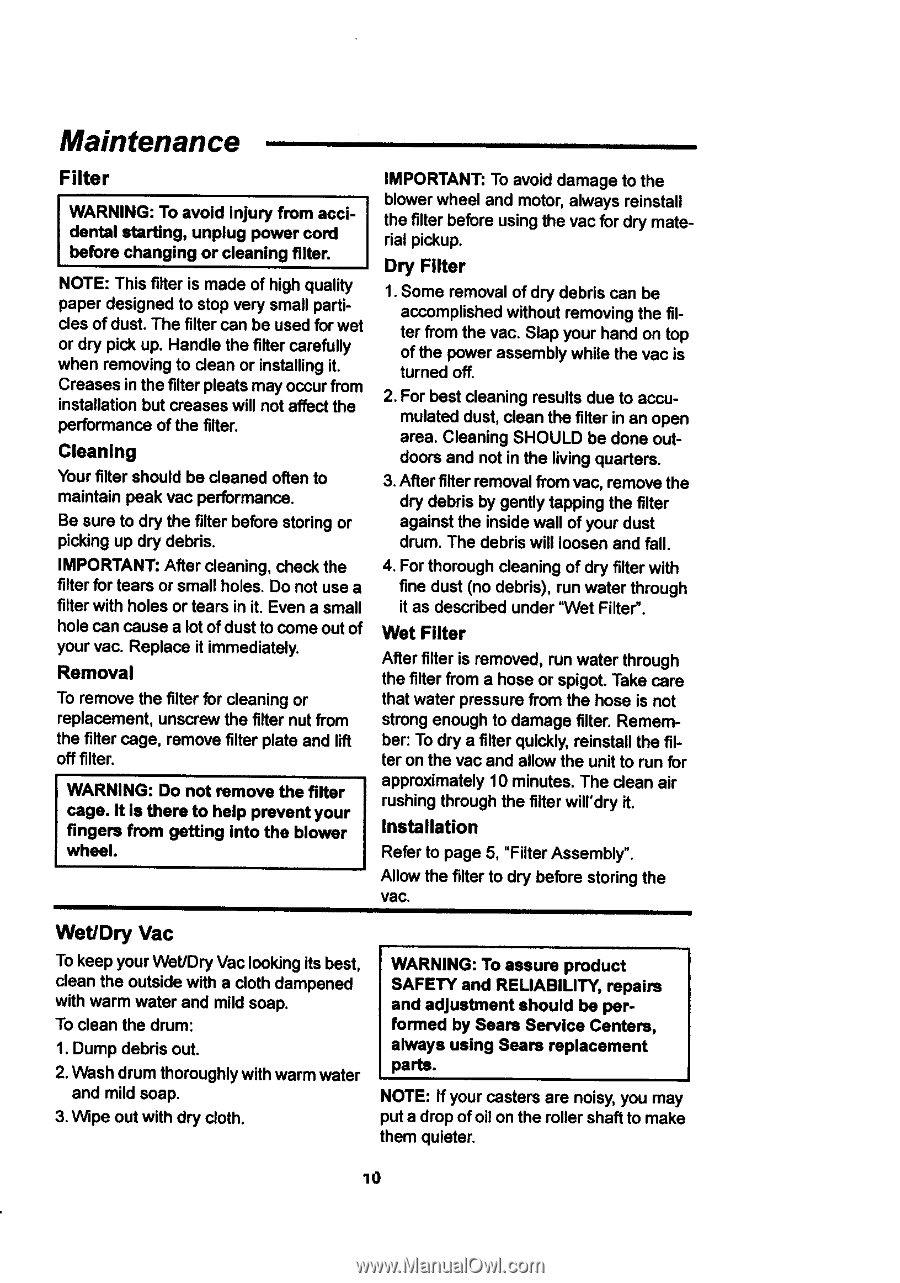
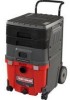
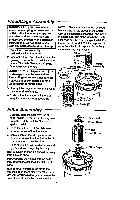
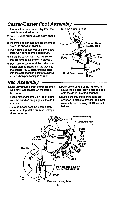
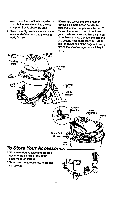
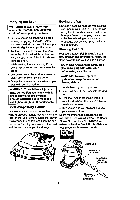
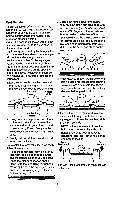
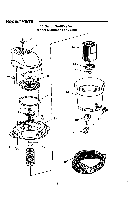
Maintenance Filter IMPORTANT: To avoid damage to the dental starting, unplug power cord WbeAfoRrNeINcGh:angTiongavooird cilneajunriyngfrofmiltear.cci- NOTE: This filler is made of high quality paper designed to stop very small particles of dust. The filter can be used for wet or dry pick up. Handle the filter carefully when removing to clean or installing it. Creases in the filter pleats may occur from installation but creases will not affect the performance of the filter. Cleaning Your filter should be cleaned often to maintain peak vac performance. Be sure to dry the filter before storing or picking up dry debris. blower wheel and motor, always reinstall the filter before using the vac for dry material pickup. Dry Filter 1. Some removal of dry debris can be accomplished without removing the filter from the vac. Slap your hand on top of the power assembly while the vac is turned off. 2. For best cleaning results due to accumulated dust, clean the filler in an open area. Cleaning SHOULD be done outdoors and not in the living quarters. 3. After filler removal from vac, remove the dry debris by gently tapping the filter against the inside wall of your dust drum. The debris will loosen and fall. iMPORTANT: After cleaning, check the filter for tears or small holes. Do not use a filter with holes or tears in it. Even a small hole can cause a lot of dust to come out of your vac. Replace it immediately. Removal To rsrnove the filter for cleaning or replacement, unscrew the filter nut from the filler cage, remove filter plate and lift off filter. 4. For thorough cleaning of dry filter with fine dust (no debris), run water through it as described under "Wet Filter'. Wet Filter After filter is removed, run water through the filter from a hose or spigot. Take care that water pressure from the hose is not strong enough to damage filter. Remember: To dry a filter quickly, reinstall the filter on the vac and allow the unit to run for approximately 10 minutes. The clean air cage. It Is there to help prevent your fingers from geffing into the blower I whAeReNl. ING" Do not remove file filter rushing through the filter will°dry it. Installation I Refer to page 5, "Filter Assembly". Allow the filter to dry before storing the vac. Wet/Dry Vac To keep your Wet/Dry Vac looking its best, clean the outside with a cloth dampened with warm water and mild soap. To clean the drum: 1. Dump debris out. 2. Wash drum thoroughlywith warm water and mild soap. 3. Wipe out with dry cloth. WARNING: To assure product SAFETY and RELIABILITY, repairs and adjustment should be performed by Sears Service Centers, always using Sears replacement parts. NOTE: If your casters are noisy, you may put a drop ofoil on the roller shaft to make them quieter. 10
-
 1
1 -
2
-
3
-
4
-
 5
5 -
 6
6 -
 7
7 -
 8
8 -
 9
9 -
 10
10 -
 11
11 -
 12
12 -
 13
13 -
 14
14 -
 15
15 -
16
 |
 |