Cuisinart GG-2 GG-2 Manual - Page 4
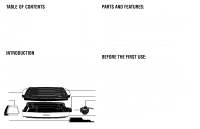
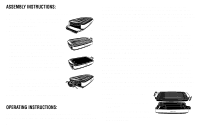
Assembly Instructions, Operating Instructions - griddle
 |
UPC - 086279007742
View all Cuisinart GG-2 manuals
Add to My Manuals
Save this manual to your list of manuals |
Page 4 highlights
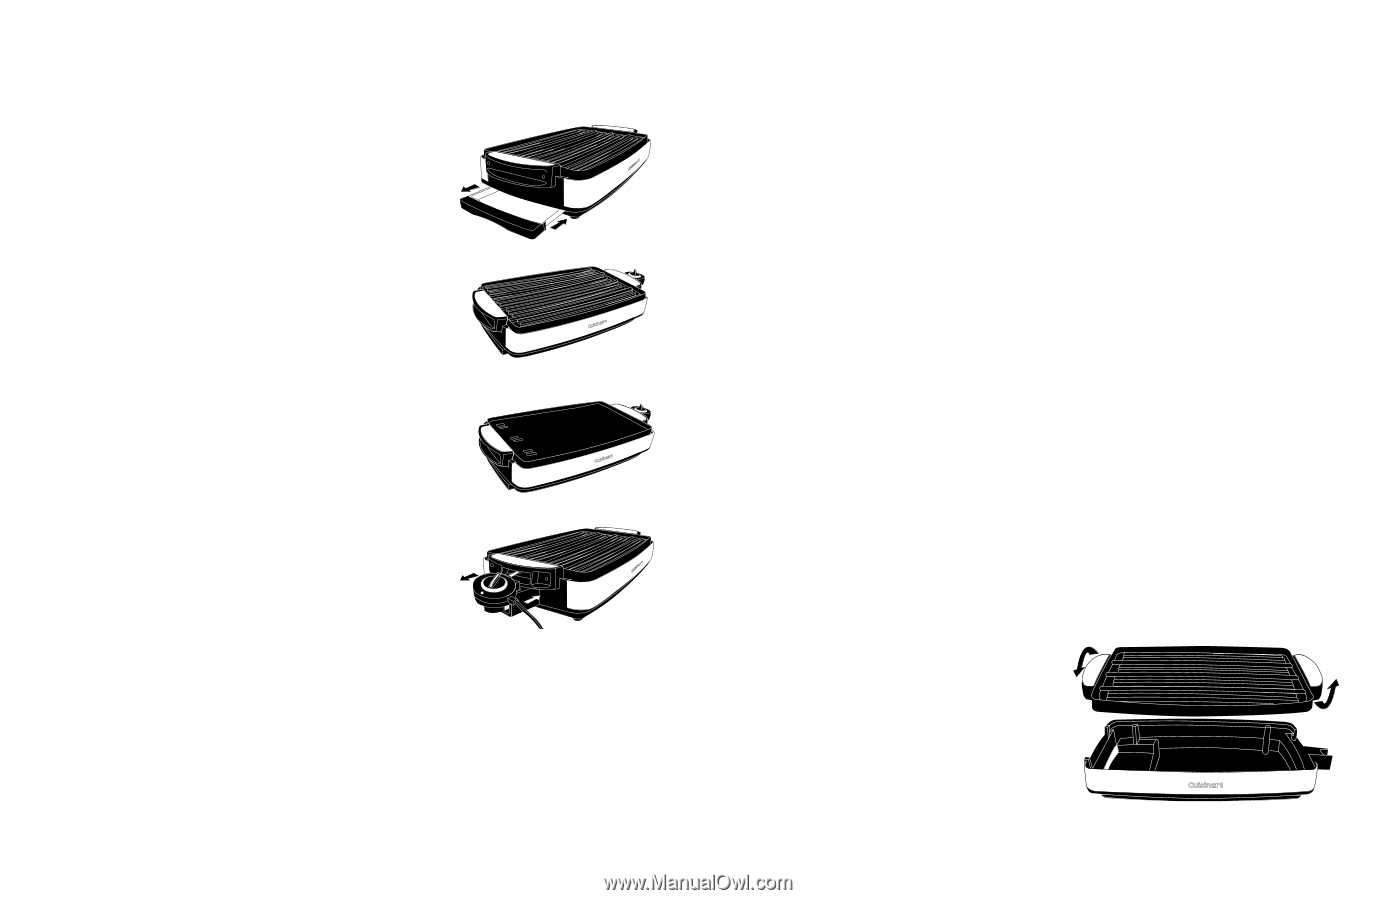
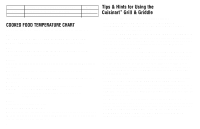
ASSEMBLY INSTRUCTIONS: 1. Place base on a clean, flat surface where you intend to cook. 2. One end of the base has a slot provided for the drip tray. Slide the drip tray into the base. (see figure A.) 3. The cooking plate has two sides: A. The Grill side with ribbed surface is intended for grilling steaks, hamburgers, chicken, seafood and vegetables. (see figure B.) The Griddle side with smooth surface is perfect for frying bacon and B. eggs, pancakes, French toast and toasted sandwiches. (see figure C.) Choose the side you intend to cook on and place the cooking plate on the base with the chosen side facing up. Make sure that the drip holes in the cooking plate line up over C. the drip tray. 4. Insert the temperature control probe into the socket in the cooking plate on the end opposite the drip holes. It will click D. into place. (see figure D.) 5. Plug the cord into a standard electrical outlet. OPERATING INSTRUCTIONS: Once the Grill & Griddle is assembled properly and you are ready to begin cooking, turn the temperature control knob to the desired tem- 3 perature level. The indicator light will illuminate to indicate that the power is on. It may take 10-12 minutes to reach operating temperature, depending on the temperature level that has been set. When the thermostat has reached the desired temperature, the indicator light will turn off, indicating that the Grill & Griddle is ready for cooking. During operation, the light will continue to turn on and off as the thermostat regulates the temperature. This is normal. The temperature control is used to set and maintain the temperature of the cooking surface. Temperatures range from about 150° on the Warm setting to 450° on the Sear Setting. You may vary the setting of the control knob at any time during cooking, and may wish to do so, depending on the types of foods on the cooking plate. Refer to the Cooked Food Temperature Chart on page 5 for recommendations. CAUTION: Handles will become hot during use. The cooking plate should not be removed from the base or flipped over while hot. Allow unit to cool down for at least 30 minutes before handling. The Grill & Griddle has a built-in safety feature that prevents the unit from operating when the cooking plate is not on the base. If the cooking plate is removed from the base while in use, the power will shut off. NOTE: The first time you use your Grill & Griddle, it may have a slight odor and smoke a bit. This is normal and common to appliances with a nonstick surface. To flip over to use reverse side of plate: 1. Turn temperature control knob to OFF setting. 2. Unplug appliance from wall outlet. 3. Pull out temperature control probe from cooking plate.
-
 1
1 -
 2
2 -
 3
3 -
 4
4 -
 5
5 -
 6
6 -
 7
7 -
 8
8 -
 9
9 -
 10
10 -
11
-
12
-
13
-
14
-
15
-
16
 |
 |