Cuisinart WAF-R WAF-R Manual - Page 4
Cleaning And Care, Storage, Tips To Make, Perfect Waffles - waf 200
 |
UPC - 086279007889
View all Cuisinart WAF-R manuals
Add to My Manuals
Save this manual to your list of manuals |
Page 4 highlights
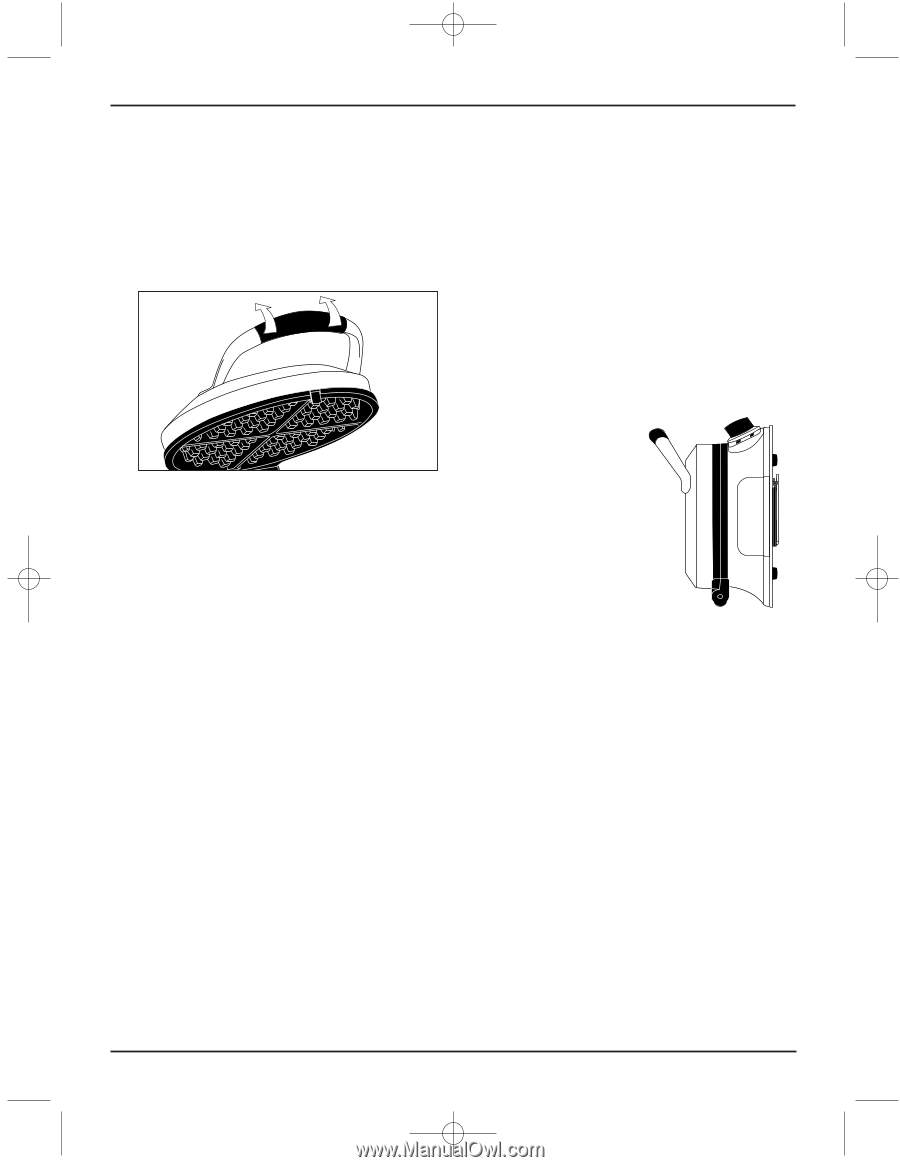
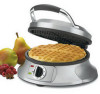
04CU13204 WAF-R IB 5/26/04 3:03 PM Page 4 Note: The first time you use your waffle iron it may have a slight odor and may smoke a bit. This is normal, and common to appliances with a nonstick surface. 4. Lift lid of waffle iron by grasping the handle and pushing back and up in one fluid motion. Lid will stay open at 105° position until you lower it. 5. Pour batter onto the center of the lower waffle grid. Use a heat-proof spatula to spread batter evenly over the grids. Close the lid. The waffle iron will automatically latch shut when you lower the lid. The green light will turn off but the red light will stay illuminated. 6. Baking time is determined by the browning level that you chose in Step 3. It may take up to 4 minutes to bake your waffle on setting #6. 7. When the waffle is ready to eat, the green light will turn on and the audible tone will sound. Remove the waffle by gently loosening the edges with a heat-proof plastic spatula or wooden spatula. Never use metal utensils, as they will damage the nonstick coating. 8. When you are finished baking, turn the control dial counterclockwise to the OFF setting. The red indicator light will turn off. Unplug the power cord from the wall outlet. Allow the waffle iron to cool down completely before handling. CLEANING AND CARE Once you have finished baking, turn the control dial to the OFF position and remove plug from electrical outlet. Leave top lid open so grids begin to cool. Allow waffle iron to cool down completely before handling. Never take your waffle iron apart for cleaning. Simply brush crumbs from grooves, and absorb any excess cooking oil by wiping with a dry cloth or paper towel. You may clean the grids by wiping with a damp cloth to prevent staining and sticking from batter or oil buildup. Be certain grids have cooled completely before cleaning. If batter adheres to plates, simply pour a little cooking oil onto the baked batter and let stand approximately 5 minutes, thus allowing it to soften for easy removal. To clean exterior, wipe with a soft dry cloth. Never use an abrasive cleanser or harsh pad. NEVER IMMERSE CORD, PLUG OR UNIT IN WATER OR OTHER LIQUID. STORAGE Store with cord wrapped securely under base. For compact storage, stand waffle iron on back end with control panel facing up. The waffle iron has been designed with a special latching feature so the lid stays closed during storage TIPS TO MAKE PERFECT WAFFLES We recommend setting #3 or #4 for golden brown waffles, either from mix or homemade. If you prefer crisper, darker waffles, increase the browning control. For lighter waffles decrease the browning control. For evenly filled waffles, pour the batter onto the center of the lower grid and spread out evenly to the edges. The entire lower grid should be filled. We recommend using 1/3-1/2 cup batter per waffle for evenly filled waffles. Waffles are best when made to order, but baked waffles may be kept warm in a 200°F oven. Place in a baking pan or wrap in foil while in the oven. Waffles wrapped in foil may lose their crispiness. Baked waffles may be frozen. Allow to cool completely, then place in plastic food storage bag. Use waxed paper to keep waffles separated. Reheat in a toaster or toaster oven when ready to use. 4
-
 1
1 -
 2
2 -
 3
3 -
 4
4 -
 5
5 -
 6
6 -
 7
7 -
 8
8 -
 9
9 -
 10
10 -
11
-
12
 |
 |