D-Link DCS-8525LH Quick Install Guide - Page 2
Full HD Pan & Tilt Wi-Fi, Camera - d link
 |
View all D-Link DCS-8525LH manuals
Add to My Manuals
Save this manual to your list of manuals |
Page 2 highlights
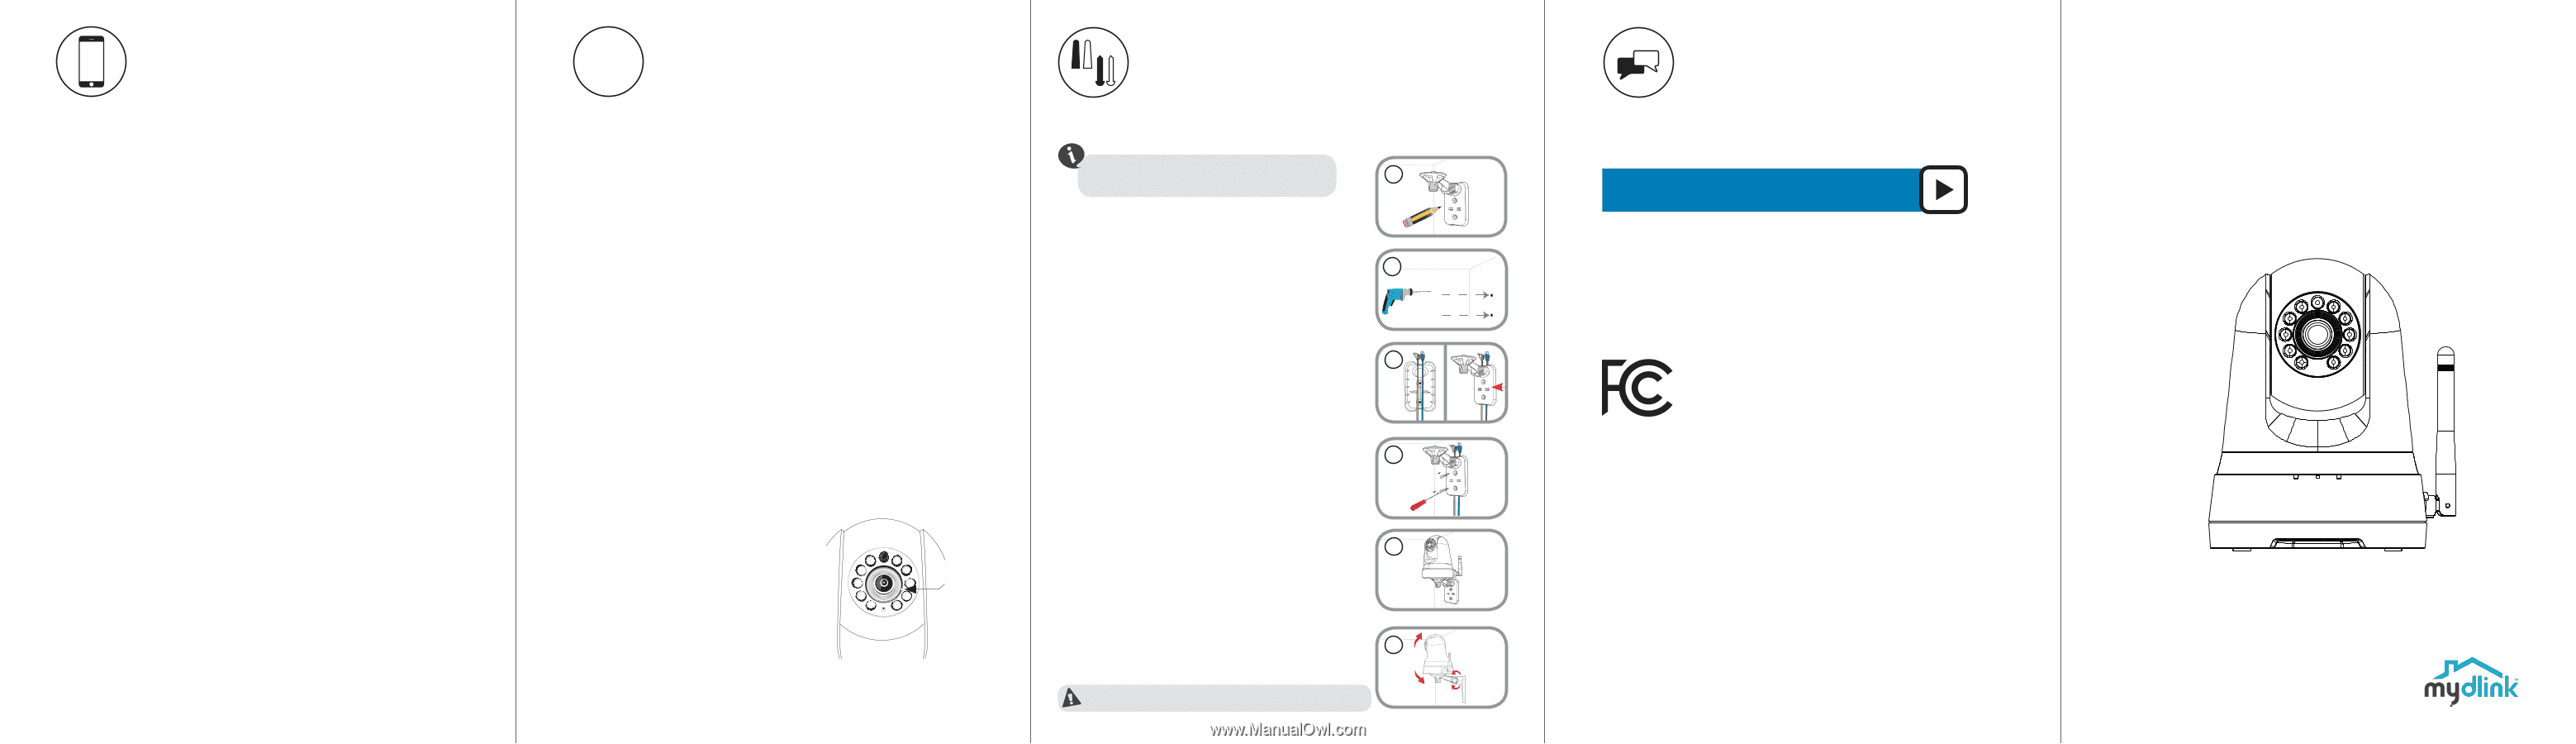
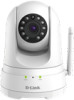
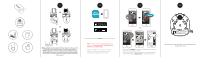
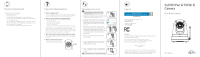
Minimum Requirements To install this product, you will need: • 802.11g/n wireless router • Internet connection • A mobile device with Bluetooth 4.0 is required for setup. • The latest version of the mydlink app from your operating system's application store. • The mydlink app is available for iPhone, iPad and Android™ devices. Please refer to the mobile app's store page to check whether your device is compatible. • An e-mail account (required to register for mydlink service) ? Frequently Asked Questions 1. What is a mydlink account? To use your mydlink device, you will need to register and sign in to a mydlink account. Once logged in, you can access your mydlink devices from anywhere via the Internet and enable features such as cloud recording for cameras. 2. What can I do if my camera is not working properly? To make sure your hardware is installed correctly, make sure that: • the LINK LED is green • your Internet connection is working • your router's wireless is turned on • your router supports UPnP® • both your mobile device and camera have a working Internet connection If your camera is still not working, check your router and make sure it has the latest firmware. Or reset the camera and try setting the camera up again. To reset your camera, please use an unfolded paperclip to press and hold the Reset button for at least 10 seconds while your camera is plugged in. Repeat the setup procedure through the app after the camera reboots. 3. Why is there a white haze when viewing in night vision mode? When viewing in night vision mode, the IR lights on your camera may be reflecting off a nearby surface. Try repositioning your camera to avoid glare from IR LEDs. 4. What can I do if the image is blurry? You can manually adjust the focus of your camera using the focus ring around the lens. Focus Ring Mounting instructions We suggest that you configure the camera 1 before mounting. 1. Place the mounting bracket where you want to position the camera and use a pencil to mark the holes. 2. Depending on the material of the wall or ceiling, use 2 proper tools to drill two holes or screws where you marked. If the wall is made out of concrete, drill the holes first, then insert the plastic anchors to support the screws. 3. The power and Ethernet cables can be concealed behind the mounting bracket. Run the cables through 3 the back of the mounting bracket, securing them with the built-in guides. Be sure to leave enough cable length protruding from the top to allow connection to the camera. 4 4. Fasten the mounting bracket to the wall using the screws provided. 5. Using the supplied thumbscrew, fasten the camera 5 to the mounting bracket. Connect the power and Ethernet cables to the camera. 6. Adjust the angle of the arm on the mounting bracket as required. Tighten the thumbscrew to lock the arm 6 in place. Do not overtighten the screws as this may crack the bracket. Support Need help setting up? Watch the video for step-by-step instructions: dlinksetup.com For manuals and software updates, visit: support.dlink.com For technical support, call: 1-877-453-5465 Notice This device complies with Part 15 of the FCC Rules. Operation is subject to the following two conditions: (1) this device may not cause harmful interference, and (2) this device must accept any interference received, including interference that may cause undesired operation. Version 1.10 (US)_90x130 June 08 2019 Copyright ©2019 All rights reserved. D-Link and the D-Link logo are registered trademarks of D-Link Corporation or its subsidiaries. Product specifications, size and shape are subject to change without notice, and actual product appearance may differ from that depicted on the packaging. Visit dlink.com for more details. Full HD Pan & Tilt Wi-Fi Camera Quick Start Guide DCS-8525LH
-
 1
1 -
 2
2
 |
 |