D-Link DES-1016D Manual - Page 10
Desktop Installation, Rack Mounting, The DES-1016D can be mounted in an EIA standard-size 19-inch rack - des back
 |
UPC - 790069221279
View all D-Link DES-1016D manuals
Add to My Manuals
Save this manual to your list of manuals |
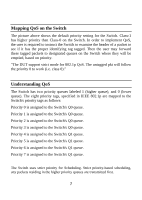
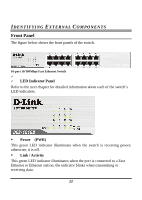
Page 10 highlights
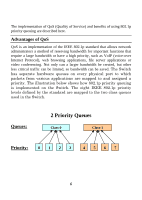
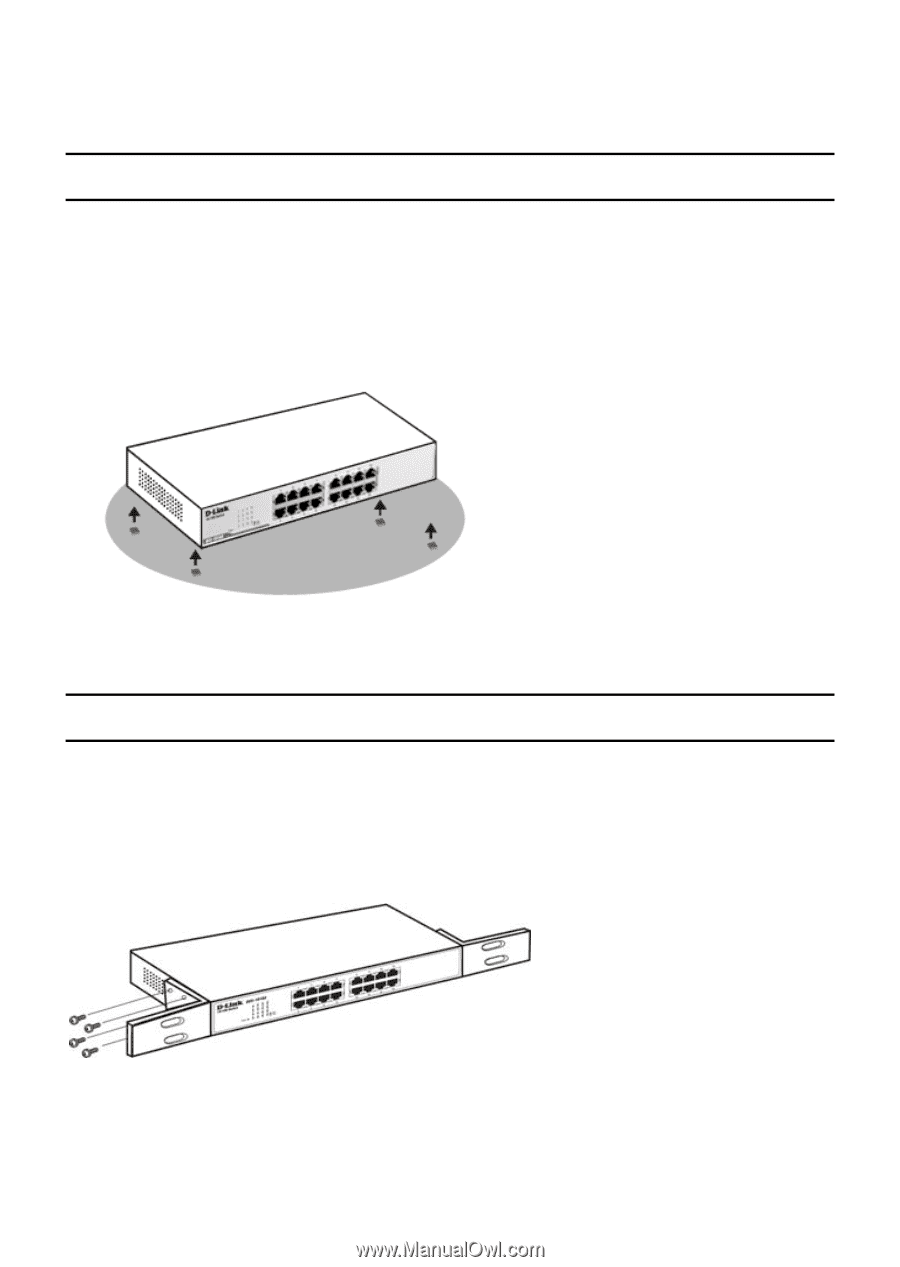
Desktop Installation When installing the DES-1016D on a desktop or shelf, the rubber feet included with the device should be attached first, to minimize scratching or scarring of the surface on which the Switch is placed. Attach these cushioning feet on the bottom at each corner of the device. Allow enough ventilation space between the device and the objects around it. Fast Ethernet Switch installed on a Desktop or Shelf Rack Mounting The DES-1016D can be mounted in an EIA standard-size 19-inch rack, in a wiring closet with other equipment. Attach the mounting brackets on each side of the Switch's front panel (as shown in the illustration below), and secure them with the screws provided. Attaching the mounting brackets to the Switch 9
-
 1
1 -
2
-
3
-
4
-
 5
5 -
 6
6 -
 7
7 -
 8
8 -
 9
9 -
 10
10 -
 11
11 -
 12
12 -
 13
13 -
 14
14 -
 15
15 -
16
 |
 |
9
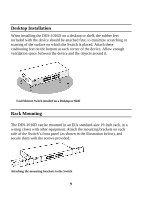
Desktop Installation
When installing the DES-1016D on a desktop or shelf, the rubber feet
included with the device should be attached first, to minimize scratching or
scarring of the surface on which the Switch is placed. Attach these
cushioning feet on the bottom at each corner of the device. Allow enough
ventilation space between the device and the objects around it.
Fast Ethernet Switch installed on a Desktop or Shelf
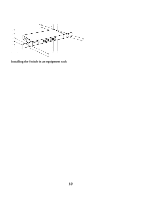
Rack Mounting
The DES-1016D can be mounted in an EIA standard-size 19-inch rack, in a
wiring closet with other equipment. Attach the mounting brackets on each
side of the Switch’s front panel (as shown in the illustration below), and
secure them with the screws provided.
Attaching the mounting brackets to the Switch