D-Link DES-1018MP Quick Install Guide - Page 2
Product, Setup
 |
View all D-Link DES-1018MP manuals
Add to My Manuals
Save this manual to your list of manuals |
Page 2 highlights
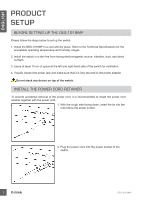
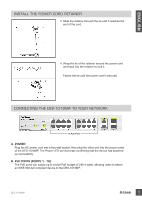
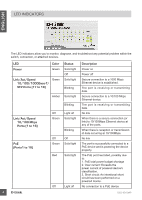
ENGLISH PRODUCT SETUP BEFORE SETTING UP THE DES-1018MP Please follow the steps below to set up the switch: 1. Install the DES-1018MP in a cool and dry place. Refer to the Technical Specifications for the acceptable operating temperature and humidity ranges. 2. Install the switch in a site free from strong electromagnetic source, vibration, dust, and direct sunlight. 3. Leave at least 10 cm of space at the left and right-hand side of the switch for ventilation. 4. Visually inspect the power jack and make sure that it is fully secured to the power adapter. Do not stack any device on top of the switch. INSTALL THE POWER CORD RETAINER To prevent accidental removal of the power cord, it is recommended to install the power cord retainer together with the power cord. 1. With the rough side facing down, insert the tie into the hole below the power socket. 2. Plug the power cord into the power socket of the switch. 2 DES-1018MP
-
 1
1 -
 2
2 -
 3
3 -
 4
4 -
 5
5
 |
 |
