D-Link DWA-180 Quick Installation Guide - Page 1
D-Link DWA-180 Manual
 |
View all D-Link DWA-180 manuals
Add to My Manuals
Save this manual to your list of manuals |
Page 1 highlights
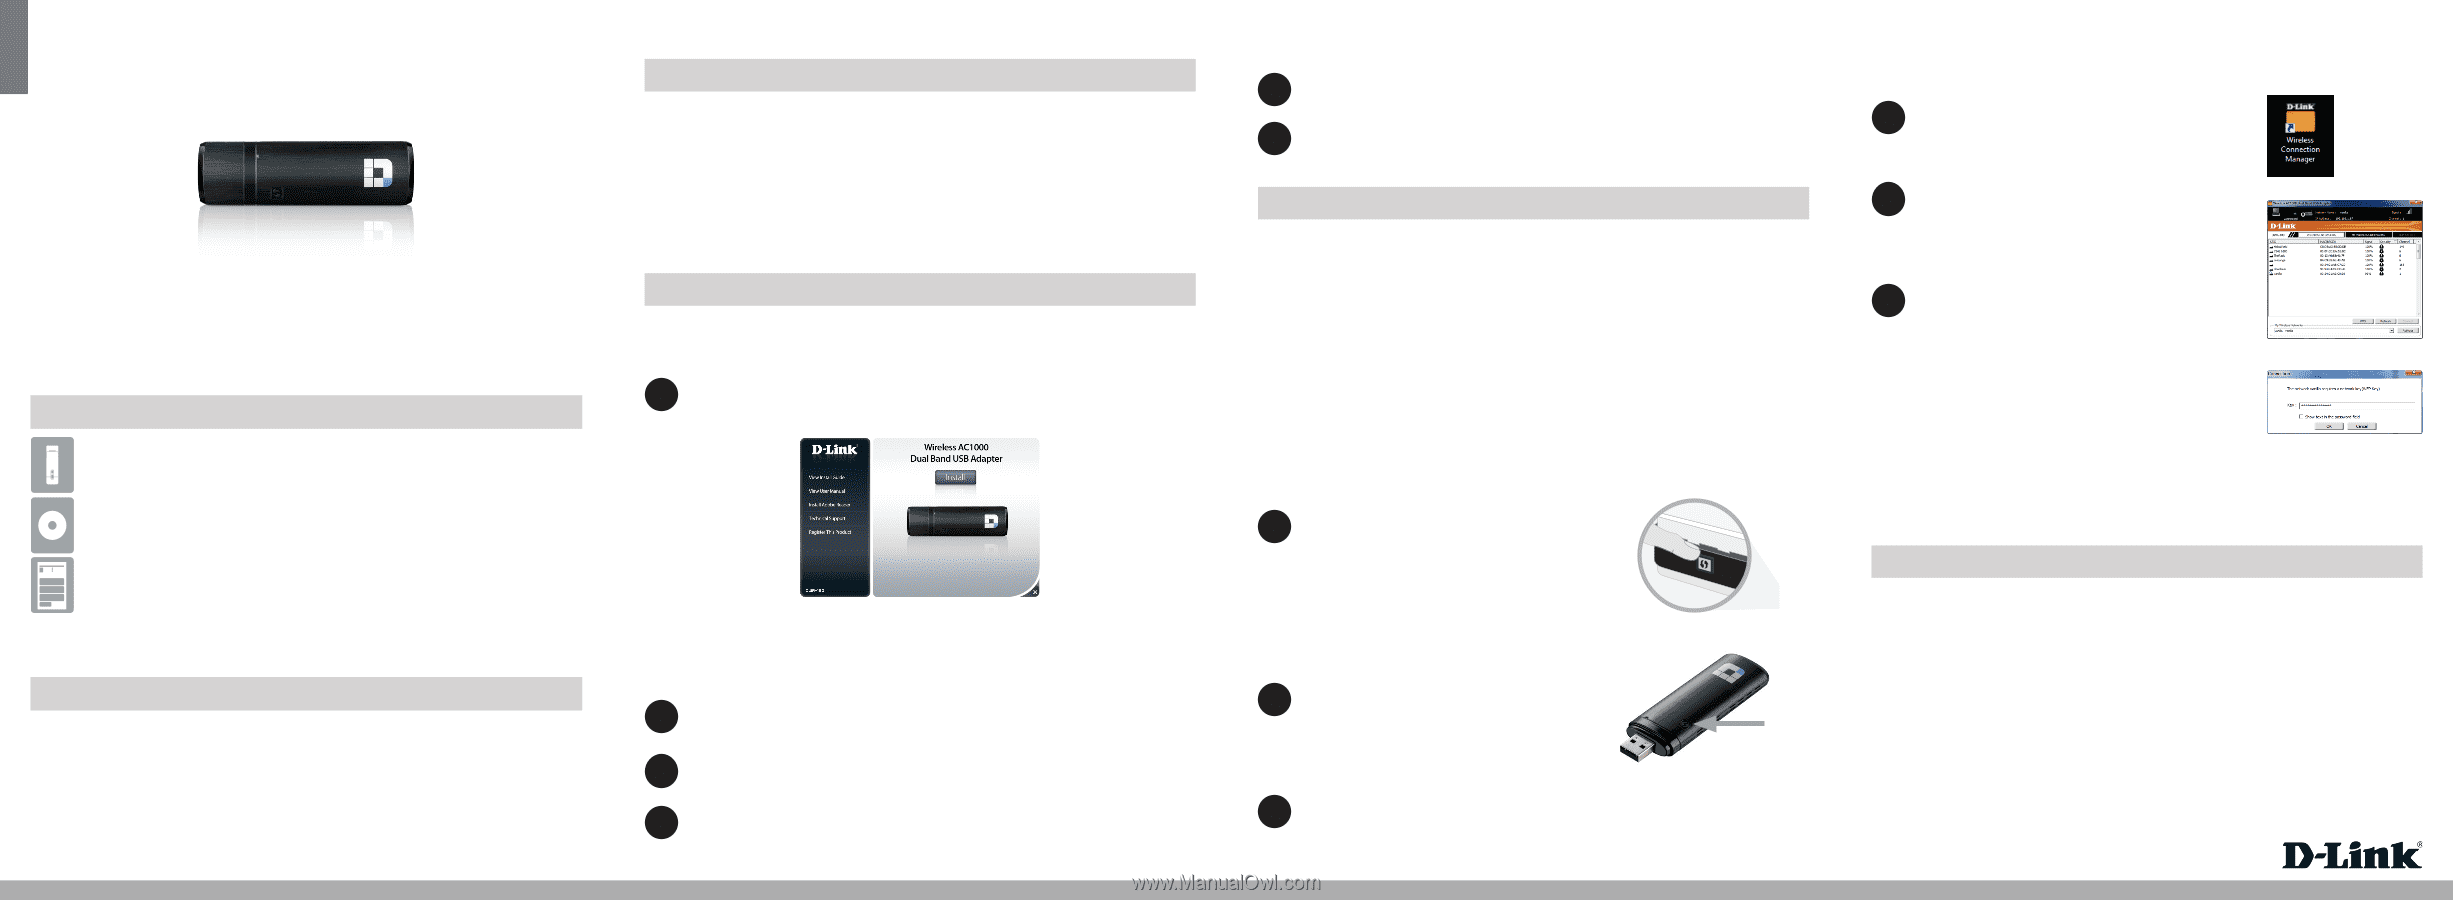
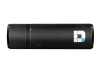
ENGLISH Quick Install Guide Wireless AC1000 Dual Band USB Adapter Thank you for purchasing the DWA-180. Follow the easy steps in this guide to properly set up your adapter. Please verify that all the package contents listed below are available. Package Contents DWA-180 Wireless AC1000 Dual Band USB Adapter CD with drivers and manual Quick Install Guide If any of the above items are missing, please contact your reseller. System Requirements • An available USB slot • Windows® 8, 7, Vista® or XP (32/64-bit) • An 802.11ac, 802.11n, or 802.11g wireless network • 20MB free hard drive space • CD-ROM Drive DWA-180 Before You Begin Before installing your new D-Link wireless adapter, please verify the following: • Remove any previous installations of wireless adapters. • Disable any built-in wireless and/or Ethernet adapters. • Verify the settings such as the wireless network name (SSID) and security settings of the network(s) you want to connect to. • You can download the latest driver from http://www.dlink.com/DWA-180. Installation WARNING: Do NOT plug the adapter into your computer before installing the drivers. You will be prompted to plug in your adapter during the setup. 1 Insert the DWA-180 Driver CD into the CD-ROM drive. When the autorun screen appears, click Install and follow the on-screen instructions. Note: If the CD Autorun function does not automatically start on your computer, go to Start > Run. In the run box type "D:\autorun.exe" (where D: represents the drive letter of your CD-ROM drive) and click OK. 2 Select the language you want the setup wizard to display. Click Next to continue. 3 The Welcome screen will appear. Click Next to continue. 4 You will now be asked to plug the DWA-180 adapter into an available USB port. Once you plug it in, click Install to continue. 5 The drivers will now be installed.This process may take a minute to complete. 6 Once the InstallShield Wizard Complete screen appears, the DWA-180 has been successfully installed. Click Finish to exit the Install Wizard. B. Wireless Utility 1 Double-click the Wireless Connection Manager icon on your desktop to bring up the list of available networks. Connect to Your Wireless Network There are two ways to connect to a wireless network: A.WPS Setup - Use if your wireless router supportsWPS (Wi-Fi Protected Setup). Simply press the WPS button on your adapter and your router to automatically configure and connect. B. Wireless Utility - Use the D-Link Wireless Connection Manager to display a list of wireless networks. Select the network you want and click Connect. A. WPS Setup Connect to your wireless network using the WPS button setup method. 1 Press the WPS button (or launch the WPS process) on your wireless router or access point. Please consult your router or access point's user manual on how to start the WPS process. 1 2 LAN 3 4 RESET INTERNET USB 5V - - - 3A 2 Within two minutes, click the WPS button on your DWA-180 adapter. 3 After two minutes your adapter will be securely connected to your wireless network. 2 Select the wireless network you would like to connect to from the list and click the Connect button. It may take a minute while the connection is established. 3 If the wireless network you are connecting to has security (encryption) enabled, enter the security password and click Next to continue. Note: The password is case-sensitive and must be typed in exactly the same as on your wireless router or access point. You are now connected to your wireless network. Note: In some cases, the Windows built-in wireless utility may disable the D-Link Utility. Use the Windows utility in the same manner to connect to your wireless network. Technical Support Having trouble installing your new product? D-Link's website contains the latest user documentation INTERNET and software updates for D-Link products. U.S. and Canadian customers can contact D-Link Technical Support through our website. United States Internet: http://support.dlink.com Canada Internet: http://support.dlink.ca ©2013 D-Link Corporation/D-Link Systems, Inc. All rights reserved. D-Link and the D-Link logo are registered trademarks of D-Link Corporation or its subsidiaries in the United States and/or other countries. Other trademarks or registered trademarks are the property of their respective owners. Maximum wireless signal rate derived from IEEE Standards 802.11ac (draft), 802.11n, 802.11a, and 802.11n specifications. Actual data throughput will vary. Network conditions and environmental factors, including volume of network traffic, building materials and construction, and network overhead, lower actual data throughput rate. Environmental conditions will adversely affect wireless signal range. Product specifications, size and shape are subject to change without notice, and actual product appearance may differ from that depicted on the package. Visit dlink.com (US) or dlink.ca (Canada) for more details. Version 1.1 | April 2, 2013
-
 1
1
 |
 |