DeLonghi HHP 1500 Owner Manual - Page 4
points
 |
View all DeLonghi HHP 1500 manuals
Add to My Manuals
Save this manual to your list of manuals |
Page 4 highlights
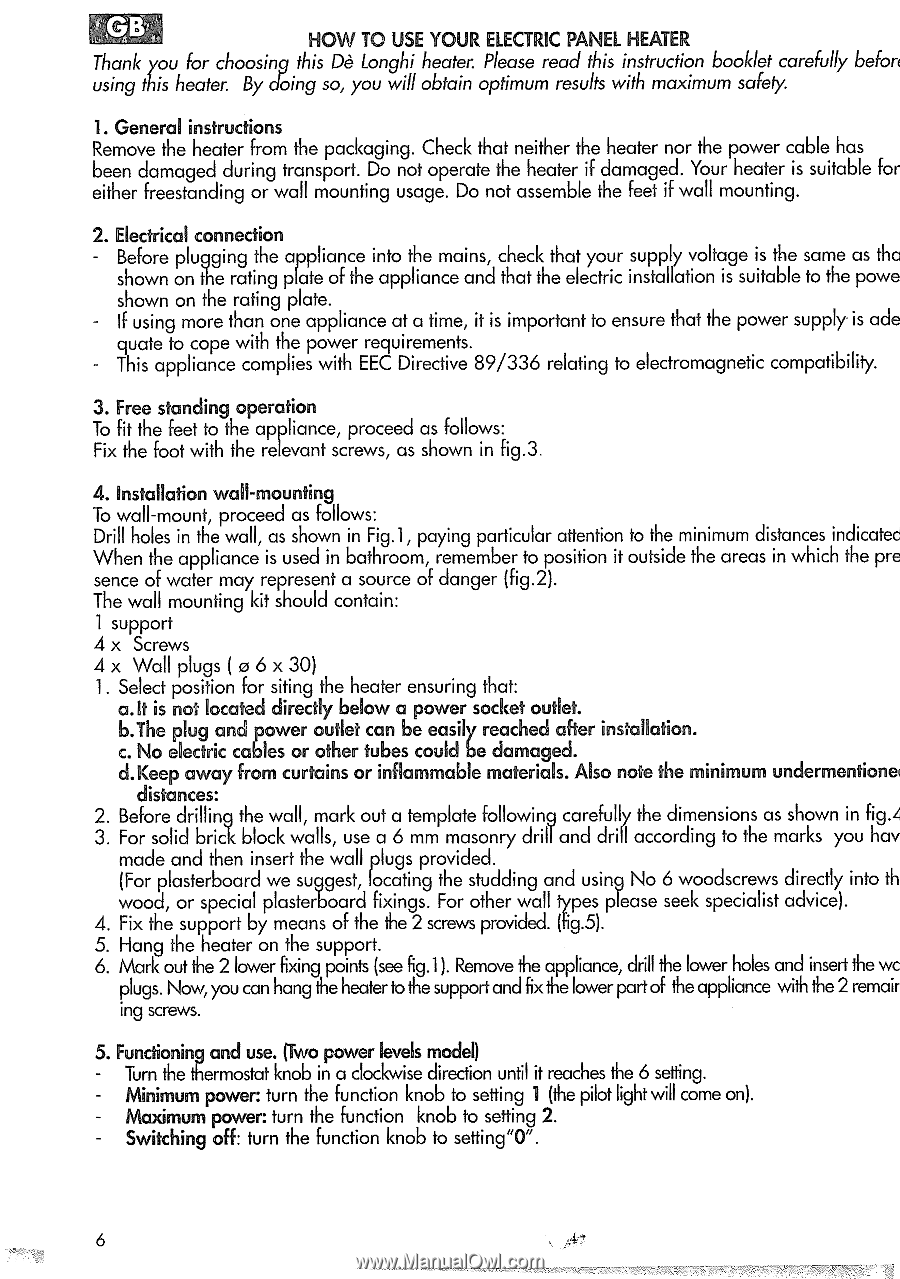
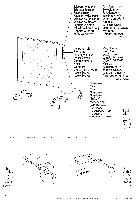
HOW TO USE YOUR ELECTRIC PANEL HEATER Thank you for choosing this DO Longhi heater. Please read this instruction booklet carefully befon using this heater. By doing so, you will obtain optimum results with maximum safety. L General instructions Remove the heater from the packaging. Check that neither the heater nor the power cable has been damaged during transport. Do not operate the heater if damaged. Your heater is suitable for either freestanding or wall mounting usage. Do not assemble the feet if wall mounting. 2. Electrical connection - Before plugging the appliance into the mains, check that your supply voltage is the same as tha shown on the rating plate of the appliance and that the electric installation is suitable to the powe shown on the rating plate. - If using more than one appliance at a time, it is important to ensure that the power supply is ade quote to cope with the power requirements. This appliance complies with EEC Directive 89/336 relating to electromagnetic compatibility. 3. Free standing operation To fit the feet to the appliance, proceed as follows: Fix the foot with the relevant screws, as shown in fig.3. 4. Installation wall-mounting To wall-mount, proceed as follows: Drill holes in the wall, as shown in Fig.1, paying particular attention to the minimum distances indicates' When the appliance is used in bathroom, remember to position it outside the areas in which the pre sence of water may represent a source of danger (fig.2). The wall mounting kit should contain: 1 support 4 x Screws 4x Wall plugs ( a 6 x 30) 1. Select position for siting the heater ensuring that: a.lt is not located directly below a power socket outlet. b.The plug and power outlet can be easily reached after installation. c. No electric cables or other tubes could be damaged. d.Keep away from curtains or inflammable materials. Also note the minimum undermentione distances: 2. Before drilling the wall, mark out a template following carefully the dimensions as shown in fig., 3. For solid brick block walls, use a 6 mm masonry drill and drill according to the marks you ha\ made and then insert the wall plugs provided. (For plasterboard we suggest, locating the studding and using No 6 woodscrews directly into tlwood, or special plasterboard fixings. For other wall types please seek specialist advice). 4. Fix the support by means of the the 2 screws provided. (fig.5). 5. Hang the heater on the support. 6. Mark out the 2 lower fixing points (see fig.1). Remove the appliance, drill the lower holes and insert the w plugs. Now, you can hang the heater b the support and fix the lower part of the appliance with the 2 remai ing screws. 5. Functioning and use. (Two power levels model) Turn the thermostat knob in a clockwise direction until it reaches the 6 setting. Minimum power: turn the function knob to setting 1 (the pilot light will come on). Maximum power: turn the function knob to setting 2. Switching off: turn the function knob to setting"0". 6
-
 1
1 -
 2
2 -
 3
3 -
 4
4 -
 5
5
 |
 |