Dell 966w User's Guide - Page 45
Scan Mode
 |
View all Dell 966w manuals
Add to My Manuals
Save this manual to your list of manuals |
Page 45 highlights
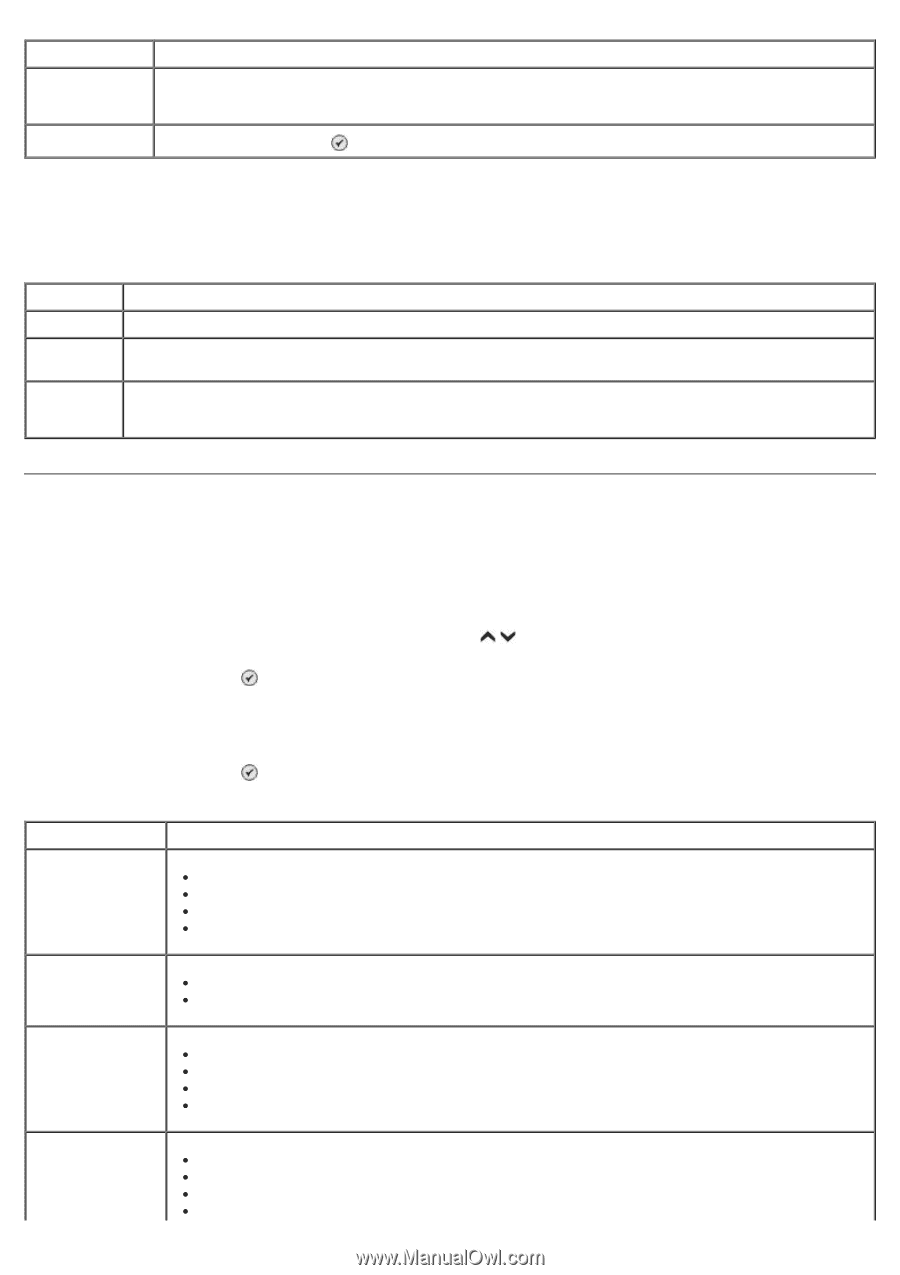
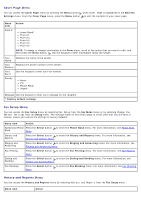
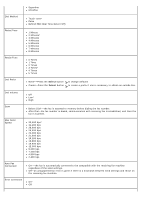
Fax Number Blocked Fax # Delete Entry Use the keypad to edit the fax number for the contact. A number is assigned to this blocked fax number. NOTE: The number is automatically assigned. You cannot modify the assigned number. Press the Select button to delete this entry from the blocked fax list. Blocked Fax Add Entry Menu You can access the Blocked Fax Add Entry menu by selecting Blocked Fax Add Entry from the Fax Blocking menu. You can add up to 50 numbers to the blocked fax list. Menu item Action Name Use the keypad to edit the name for the contact. Fax Number Use the keypad to edit the fax number for the contact. It is required to enter a number to add an entry from this menu. Blocked Fax A number is assigned to this blocked fax number. # NOTE: The number is automatically assigned. You cannot modify the assigned number. Scan Mode To view or change the Scan Mode menu settings: 1. Ensure your printer and computer are connected via a USB cable. 2. From the main menu, press the up or down Arrow button to scroll to Scan. 3. Press the Select button . 4. If your computer is connected to a network, select a host from the Host Selection screen, and enter a four-digit PIN number, if necessary, for the selected host. 5. Press the Select button . Scan Mode Menu Menu item Settings Scan To Preview Email File software installed on your computer Color Color* Black & White Quality Automatic* 150 dpi 300 dpi 600 dpi Original Size Auto Detect* L 2L A6
-
 1
1 -
2
-
3
-
4
-
5
-
6
-
7
-
8
-
9
-
10
-
11
-
12
-
13
-
14
-
15
-
16
-
17
-
18
-
19
-
20
-
21
-
22
-
23
-
24
-
25
-
26
-
27
-
28
-
29
-
30
-
31
-
32
-
33
-
34
-
35
-
36
-
37
-
38
-
39
-
 40
40 -
 41
41 -
 42
42 -
 43
43 -
 44
44 -
 45
45 -
 46
46 -
 47
47 -
 48
48 -
 49
49 -
 50
50 -
51
-
52
-
53
-
54
-
55
-
56
-
57
-
58
-
59
-
60
-
61
-
62
-
63
-
64
-
65
-
66
-
67
-
68
-
69
-
70
-
71
-
72
-
73
-
74
-
75
-
76
-
77
-
78
-
79
-
80
-
81
-
82
-
83
-
84
-
85
-
86
-
87
-
88
-
89
-
90
-
91
-
92
-
93
-
94
-
95
-
96
-
97
-
98
-
99
-
100
-
101
-
102
-
103
-
104
-
105
-
106
-
107
-
108
-
109
-
110
-
111
-
112
-
113
-
114
-
115
-
116
-
117
-
118
-
119
-
120
-
121
-
122
-
123
-
124
-
125
-
126
-
127
-
128
-
129
-
130
-
131
-
132
-
133
-
134
-
135
 |
 |