Dell Inspiron Mini 12 1210 Inspiron Mini 12 Quick Reference Guide - Page 17
Adding a Printer, Connecting to the Internet
 |
View all Dell Inspiron Mini 12 1210 manuals
Add to My Manuals
Save this manual to your list of manuals |
Page 17 highlights
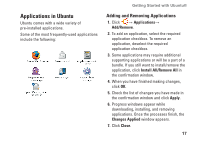
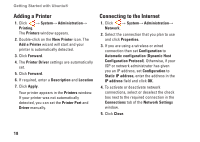
Getting Started with Ubuntu® Adding a Printer 1. Click → System→ Administration→ Printing. The Printers window appears. 2. Double-click on the New Printer icon. The Add a Printer wizard will start and your printer is automatically detected. 3. Click Forward. 4. The Printer Driver settings are automatically set. 5. Click Forward. 6. If required, enter a Description and Location 7. Click Apply. Your printer appears in the Printers window. If your printer was not automatically detected, you can set the Printer Port and Driver manually. Connecting to the Internet 1. Click → System→ Administration→ Network. 2. Select the connection that you plan to use and click Properties. 3. If you are using a wireless or wired connection then set Configuration to Automatic configuration (Dynamic Host Configuration Protocol). Otherwise, if your ISP or network administrator has given you an IP address, set Configuration to Static IP address, enter the address in the IP address field and click OK. 4. To activate or deactivate network connections, select or deselect the check box next to the required connection in the Connections tab of the Network Settings window. 5. Click Close. 18
-
 1
1 -
2
-
3
-
4
-
5
-
6
-
7
-
8
-
9
-
10
-
11
-
 12
12 -
 13
13 -
 14
14 -
 15
15 -
 16
16 -
 17
17 -
 18
18 -
 19
19
 |
 |