Dell P2212H User's Guide - Page 21
Organizing Your Cables, Attaching the Soundbar Optional - without stand
 |
View all Dell P2212H manuals
Add to My Manuals
Save this manual to your list of manuals |
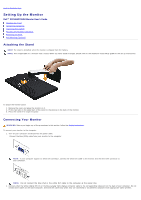
Page 21 highlights
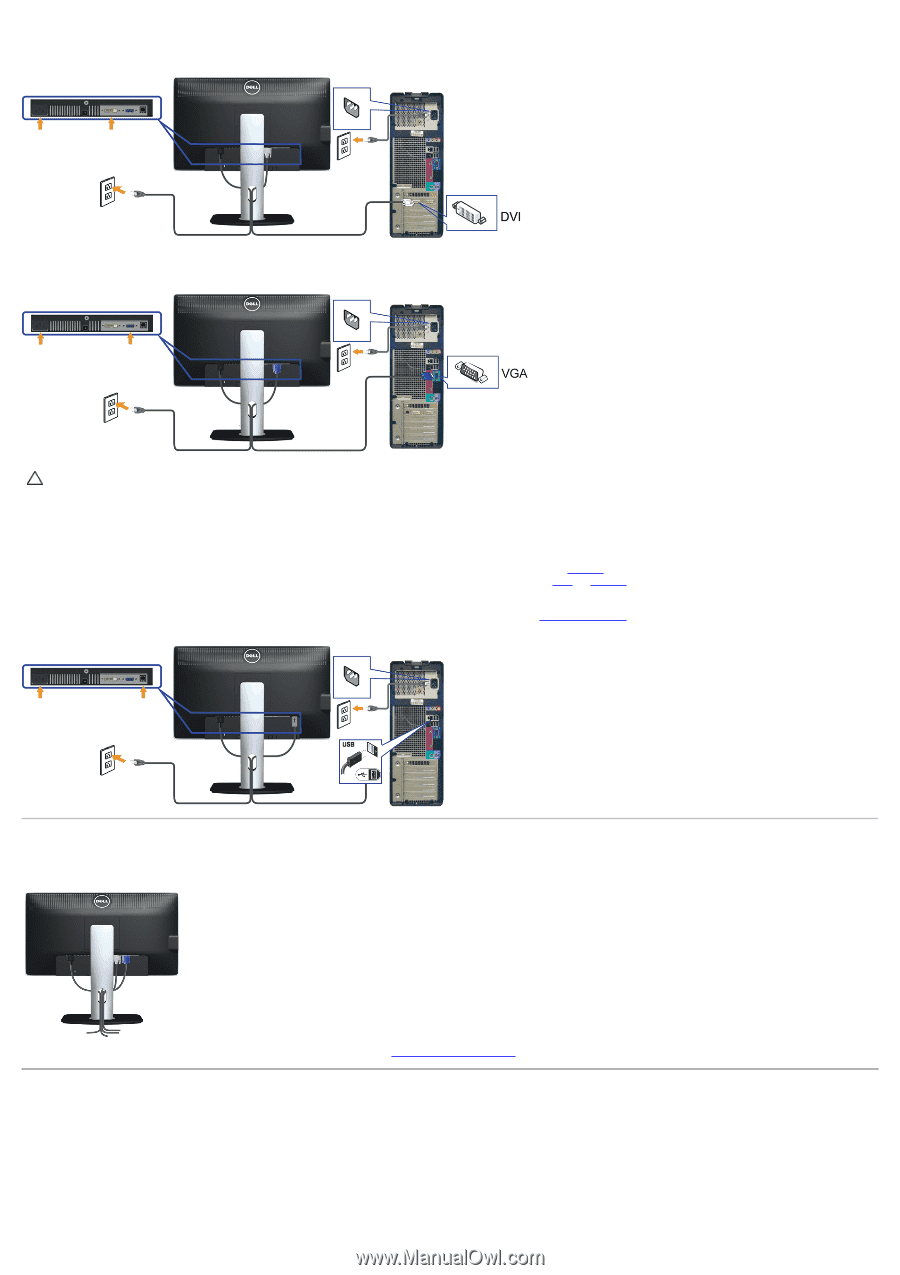
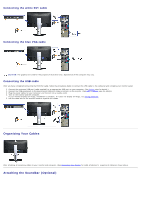
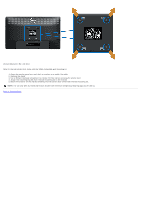
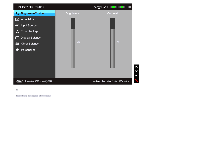
Connecting the white DVI cable Connecting the blue VGA cable CAUTION: The graphics are used for the purpose of illustration only. Appearance of the computer may vary. Connecting the USB cable After you have completed connecting the DVI/VGA cable, follow the procedures below to connect the USB cable to the computer and complete your monitor setup: 1. Connect the upstream USB port (cable supplied) to an appropriate USB port on your computer. (See bottom view for details.) 2. Connect the USB peripherals to the downstream USB ports (side or bottom) on the monitor. (See side or bottom view for details.) 3. Plug the power cables for your computer and monitor into a nearby outlet. 4. Turn on the monitor and the computer. If your monitor displays an image, installation is complete. If it does not display an image, see Solving Problems. 5. Use the cable slot on the monitor stand to organize the cables. Organizing Your Cables After attaching all necessary cables to your monitor and computer, (See Connecting Your Monitor for cable attachment,) organize all cables as shown above. Attaching the Soundbar (Optional)
-
 1
1 -
2
-
3
-
4
-
5
-
6
-
7
-
8
-
9
-
10
-
11
-
12
-
13
-
14
-
15
-
 16
16 -
 17
17 -
 18
18 -
 19
19 -
 20
20 -
 21
21 -
 22
22 -
 23
23 -
 24
24 -
 25
25 -
 26
26 -
27
-
28
-
29
-
30
-
31
-
32
-
33
-
34
-
35
-
36
-
37
-
38
-
39
-
40
-
41
-
42
-
43
-
44
-
45
-
46
-
47
-
48
-
49
-
50
-
51
-
52
-
53
-
54
-
55
 |
 |