Dell PowerConnect W-IAP92 Dell Instant 6.1.3.4-3.1.0.0 Quick Start Guide - Page 2
Dell PowerConnect, W-Series, Instant Access Point
 |
View all Dell PowerConnect W-IAP92 manuals
Add to My Manuals
Save this manual to your list of manuals |
Page 2 highlights
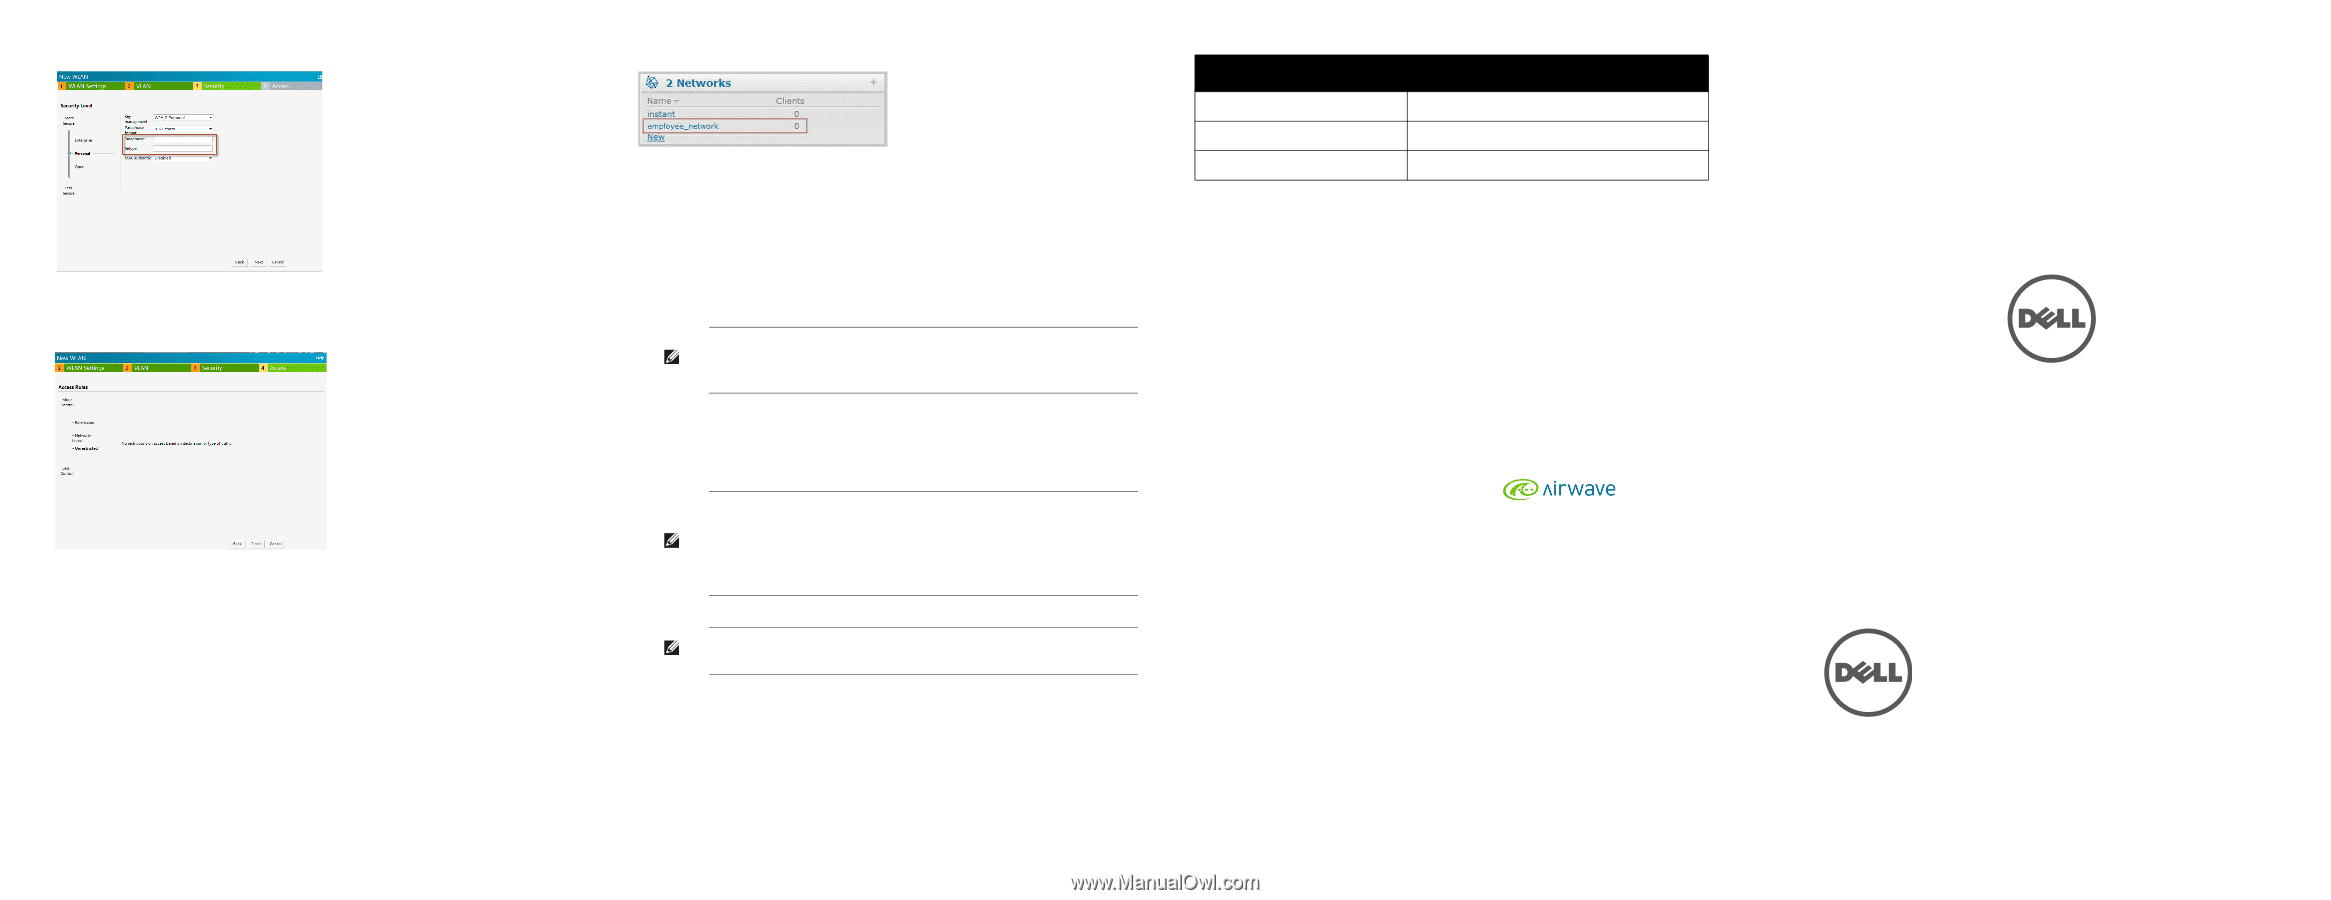
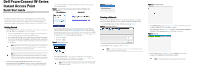
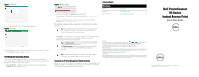
Figure 7 Security tab 9. In the Access tab, the default is the Unrestricted option. Figure 8 Access tab 10. Click Finish to close the window. The new network that you created is now added to the Networks window as shown in Figure 9. Verifying the Operating Status After setting up Dell PowerConnect W-Series Instant Access Point and adding a network, you can use the WebUI and the LEDs to verify the operating status of Dell PowerConnect W-Series Instant Access Point. 1. Using the WebUI-Verify the newly created network that is displayed in the Networks window, as shown in Figure 9. Figure 9 Networks window 2. Disconnect client from the instant provisioning network. 3. Connect client to the network you created, as described in step 2 of Getting Started. 4. Login to the Dell PowerConnect W-Series Instant Access Point WebUI, as described in step 3 of Getting Started. The instant provisioning network is automatically deleted and should no longer be present. Note: Dell recommends that you change the administrator login password. Refer to the Dell PowerConnect W-Series Instant Access Point User Guide in the section titled Management Authentication Settings. Contacting Support Web Support Main Site Support Site Dell Documentation dell.com support.dell.com support.dell.com/manuals Using LEDs-Use the LEDs to verify the operating status of the IAP. The LED functionality is described in the Install Guide included with your Dell PowerConnect W-Series Instant Access Point. Note: For Uplink Connection: Use the E0 port on W-IAP134/135 and W-IAP3WN/P for uplink connections to a switch or router. For Downlink Connection: Use the E1 port on W-IAP134/135 for wired downlink connectivity. The E1 and E2 ports on W-IAP3WN/P support downlink connectivity. Note: The E2 port on W-IAP3WNP has PoE power sourcing capability (PSE) to supply power to any compliant 802.3af powered class 0-4 device. Converting an IAP to be Managed by a Mobility Controller An IAP can be converted to operate as a Campus AP or Remote AP managed by a Dell Mobility Controller. For detailed instructions on the conversion process, see the Dell PowerConnect W-Series Instant Access Point User Guide. Copyright © 2012 Aruba Networks, Inc. Aruba Networks trademarks include , Aruba Networks®, Aruba Wireless Networks®, the registered Aruba the Mobile Edge Company logo, and Aruba Mobility Management System®. Dell™, the DELL™ logo, and PowerConnect™ are trademarks of Dell Inc. All rights reserved. Specifications in this manual are subject to change without notice. Originated in the USA. All other trademarks are the property of their respective owners. Open Source Code Certain Aruba products include Open Source software code developed by third parties, including software code subject to the GNU General Public License (GPL), GNU Lesser General Public License (LGPL), or other Open Source Licenses. The Open Source code used can be found at this site: http://www.arubanetworks.com/open_source Legal Notice The use of Aruba Networks, Inc. switching platforms and software, by all individuals or corporations, to terminate other vendors' VPN client devices constitutes complete acceptance of liability by that individual or corporation for this action and indemnifies, in full, Aruba Networks, Inc. from any and all legal actions that might be taken against it with respect to infringement of copyright on behalf of those vendors. Dell PowerConnect W-Series Instant Access Point Quick Start Guide Dell PowerConnect W-Series Instant Access Point | Quick Start Guide Part Number 0511127-02 | September 2012
-
 1
1 -
 2
2
 |
 |