Dell PowerEdge R210 II Firmware Upgrade - Page 2
System Setup Options Update, Enabling The Signed BIOS Update Feature
 |
View all Dell PowerEdge R210 II manuals
Add to My Manuals
Save this manual to your list of manuals |
Page 2 highlights
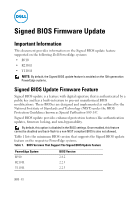
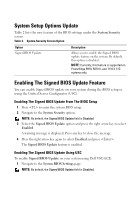
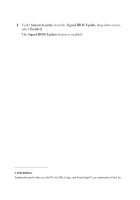
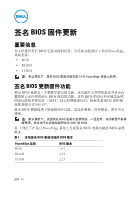
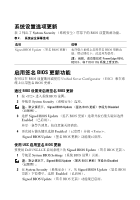
System Setup Options Update Table 2 lists the new feature of the BIOS settings under the System Security screen. Table 2. System Security Screen Option Option Signed BIOS Update Description Allows you to enable the Signed BIOS update feature on the system. By default, this option is disabled. NOTE: Currently, this feature is supported on PowerEdge R910, R210 II, and T110 II 11G systems only. Enabling The Signed BIOS Update Feature You can enable Signed BIOS update on your system during the BIOS setup or using the Unified Server Configurator (USC). Enabling The Signed BIOS Update From The BIOS Setup 1 Press to enter the system BIOS setup. 2 Navigate to the System Security option. NOTE: By default, the Signed BIOS Update field is Disabled. 3 Select the Signed BIOS Update option and press the right arrow key to select Enabled. A warning message is displayed. Press any key to close the message. 4 Press the right arrow key again to select Enabled and press . The Signed BIOS Update feature is enabled. Enabling The Signed BIOS Update Using USC To enable Signed BIOS Update on your system using Dell USC-LCE: 1 Navigate to the System BIOS Settings page. NOTE: By default, the Signed BIOS Update field is Disabled.
-
 1
1 -
 2
2 -
 3
3 -
 4
4 -
 5
5 -
 6
6 -
 7
7 -
 8
8 -
9
-
10
-
11
-
12
-
13
-
14
-
15
-
16
-
17
-
18
-
19
-
20
-
21
-
22
-
23
-
24
-
25
-
26
-
27
-
28
-
29
-
30
-
31
-
32
 |
 |