Dynex DX-OP102991 User Manual (English) - Page 2
Dynex DX-OP102991 Shredder
 |
View all Dynex DX-OP102991 manuals
Add to My Manuals
Save this manual to your list of manuals |
Page 2 highlights
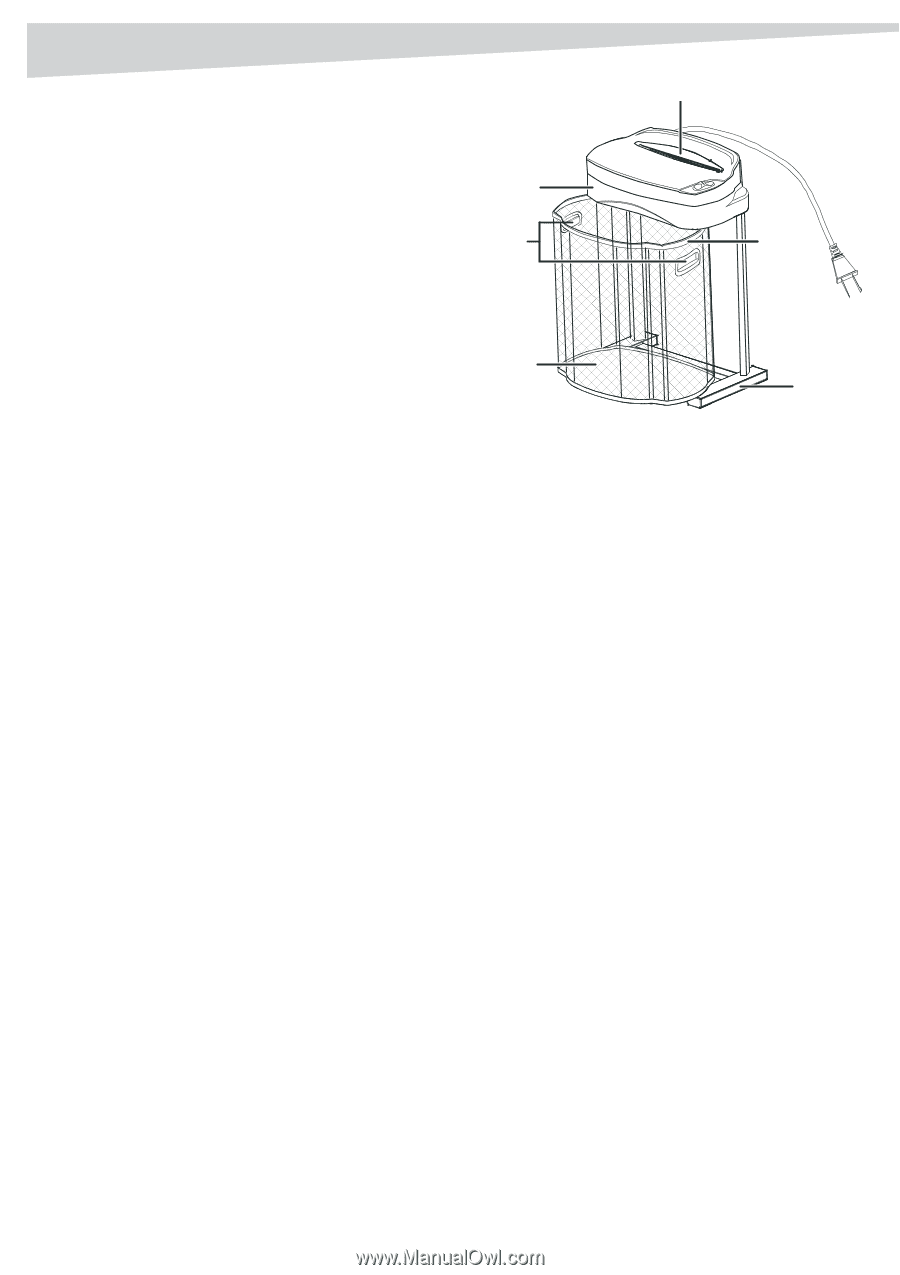
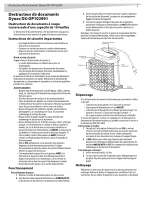
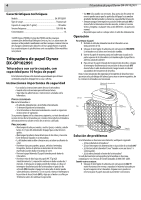
2 Dynex DX-OP102991 Shredder Dynex DX-OP102991 Shredder Cross-cut shredder with 10-sheet capacity This Dynex shredder is specially designed for shredding small quantities of paper in your home or office. Important safety instructions • Read all instructions before using the shredder. • Save these instructions for your future reference. • Follow all warnings and instructions marked on the shredder. FOR YOUR SAFETY Do not use the shredder if: • The power cord or plug is damaged or frayed. • Liquid has been spilled on the shredder. • If the shredder does not operate normally when the operating instructions are followed. If any of these events occur, do not try to service the shredder yourself. Unplug the shredder from the power outlet and refer servicing to qualified technicians. CAUTIONS • Keep personal and loose items (such as jewelry, neckties, and long hair) away from the paper feeder to avoid serious injury. • Keep out of reach of children and pets. • Avoid spilling liquids on the shredder. • The shredder should never be placed near or over a radiator or heat source. • Do not shred paper clips, staples, laminated items, photographs, plastic bags, or cloth material. These materials can damage the cutting system. • Do not insert wet paper. Wet paper can damage the shredder. • Do not shred more than 10 sheets of paper (A4 75g/m2) per pass. Continuous operation should not exceed 3 minutes. When shredding for a long period of time or leaving the shredder's power switch ON while paper is jammed, the motor may become overheated and stop. If this occurs, move the switch OFF and allow the motor to cool for 30 minutes before resuming operation. • Use REV only when necessary. Frequent reverse operation may cause paper particles to accumulate around the feeder and affect shredding ability. • Always turn the switch OFF and unplug the shredder before moving, servicing, cleaning, or any other action other than normal operation. • Do not allow anything to rest on the power cord. Operating To shred paper: 1 Plug the shredder's power cord into an AC power outlet. 2 Slide the power switch to ON/AUTO. The shredder is now in standby mode. 3 Insert the paper squarely into the opening at the top of the shredder. The shredder pulls the paper in automatically. 4 To remove shredded paper from the waste basket, slide the power switch to OFF, unplug the power cord, then remove the waste basket from the head unit. Note: As a safety feature, the waste basket must be placed under the head unit, creating a magnetic seal, or the shredder will not function. Head unit Handles Paper input slot Magnetic seal Waste basket Metal stand Troubleshooting If the shredder does not work correctly, check the following: • Is the shredder plugged in? • Is the power switch set to ON? • Is the shredder jammed? (see "When a jam occurs" below) • Is the shredder's motor overheated? If none of the above applies and the shredder still does not run, contact Customer Service at (800) 305-2204. When a jam occurs: 1 Slide the power switch to REV. The motor reverses, ejecting jammed material out the top of the shredder. Sometimes it may be necessary to pull out the jammed paper gently by hand. 2 If REV does not clear the jam, slowly toggle the shredder's power switch back and forth between ON/AUTO and REV. Rapid switching may damage the shredder. If the shredder continues to jam: 1 Insert fewer sheets at a time. 2 Make sure that the shredder's waste basket is not full. A full waste basket can cause a paper jam. Cleaning Unplug the shredder from the power outlet before cleaning. Clean the shredder's casing with a cloth and soapy water. Do not use scouring powder, petroleum, or thinners. Technical specifications Model DX-OP102991 Cutting style Cross-cut Shred capacity (A4 75g/m2 10 sheets Voltage/Frequency 120V60 Hz Current 3.0A © 2005 Dynex. DYNEX and the DYNEX logo are trademarks of Best Buy Enterprise Services, Inc. Other brands and product names are trademarks or registered trademarks of their respective holders. Specifications and features are subject to change without notice or obligation.
-
 1
1 -
 2
2 -
 3
3 -
 4
4 -
 5
5 -
 6
6
 |
 |