Electrolux E24WC160ES Use and Care Manual - Page 4
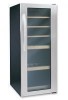
Installation - wine cellar
 |
View all Electrolux E24WC160ES manuals
Add to My Manuals
Save this manual to your list of manuals |
Page 4 highlights
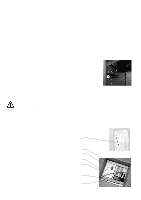
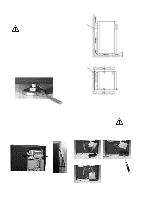
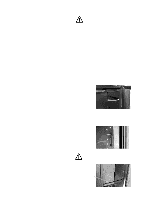
Installation WARNING This product is intended for indoor use only. Installation or use of this product outdoors, or in any area exposed to the elements , may cause serious injury, product damage, or property damage. Please read all instructions completely before attempting to install or operate the unit.. For best performance, air needs to circulate freely over the cooling unit behind the wine cellar. The freestanding design of the cellar means that it should stand at least 1" (25 mm) from the rear and side walls. Allow a clearance of at least 4" (100 mm) above the wine cellar. Adjust the feet of the wine cellar so that it is level from back-to-front and side-to side. Use a leveling tool if necessary. FIG.1 FIG. 1 Distance bar Distance bar Rear Wall 1" (25mm) 1" (25mm) 1 3/16" (30 mm) 1. Remove the shipping pallet on which your wine cellar rests. 2. IMPORTANT ! Adjust the feet to allow a 1 3/16" (30mm) clearance under the wine cellar Wall 4. For optimum performance, please place your wine cellar far away from any source of heat (radiator,range or intence sunlight) . Please note that it must be possible to open the wine cellar door at least 90° to allow the sliding shelves to be pulled out. 3. Attach the distance bar using the two screws at the top back on each side of the cellar. The rod ensures the correct distance to the wall behind. FIG 2. 5. Attach the driptray on the back as shown in FIG 3a , 3b , 3c. . The screws are already attached at the back. FIG 2 4 FIG 3a FIG 3b FIG 3c
-
 1
1 -
 2
2 -
 3
3 -
 4
4 -
 5
5 -
 6
6 -
 7
7 -
 8
8 -
 9
9 -
 10
10 -
11
 |
 |
