Electrolux EIGD55IKG Use and Care Guide - Page 19
Care & Cleaning
 |
UPC - 012505379710
View all Electrolux EIGD55IKG manuals
Add to My Manuals
Save this manual to your list of manuals |
Page 19 highlights
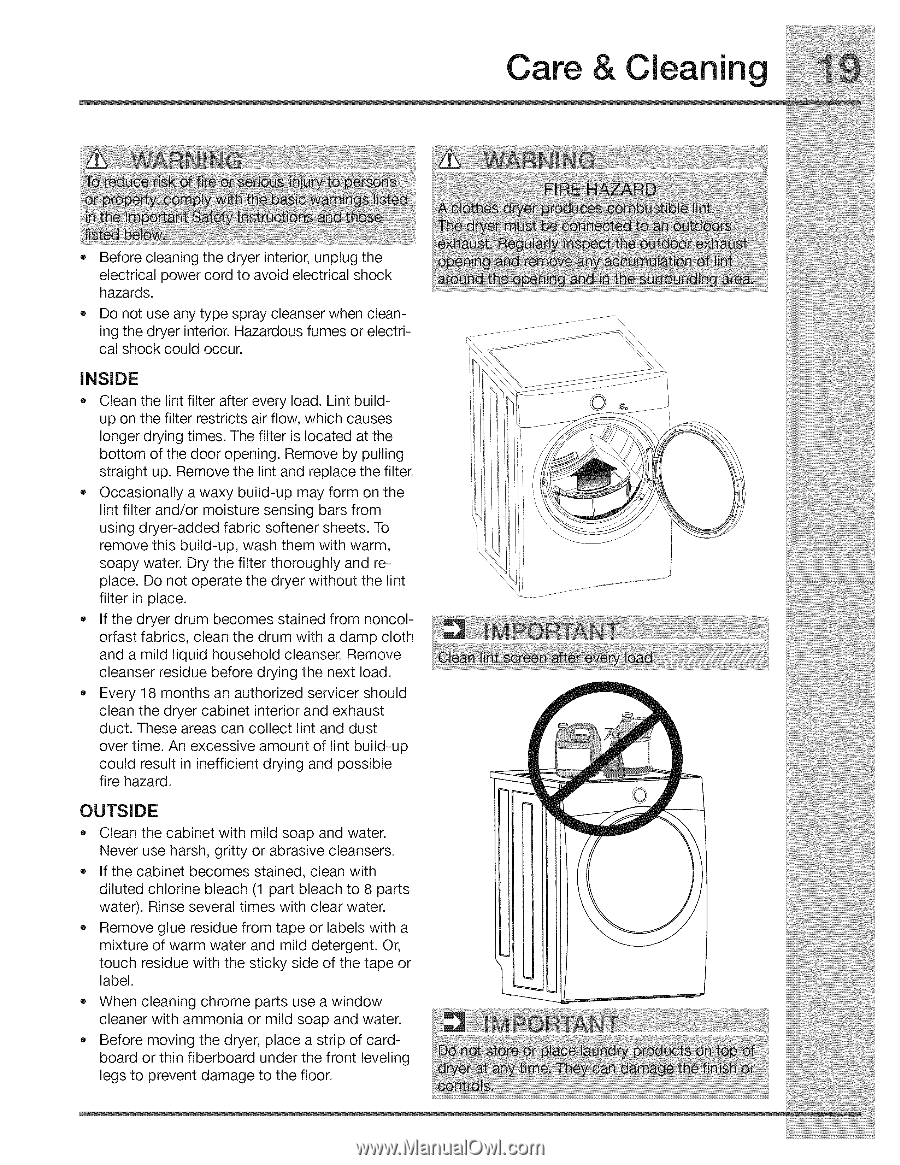
Care & Cleaning • Before cleaning the dryer interior, unplug the electrical power cord to avoid electrical shock hazards. • Do not use any type spray cleanser when cleaning the dryer interior. Hazardous fumes or electrical shock could occur. INSIDE • Clean the lint filter after every load. Lint build- up on the filter restricts air flow, which causes longer drying times. The filter is located at the bottom of the door opening. Remove by pulling straight up. Remove the lint and replace the filter. • Occasionally a waxy build-up may form on the lint filter and/or moisture sensing bars from using dryer-added fabric softener sheets. To remove this build-up, wash them with warm, soapy water. Dry the filter thoroughly and replace. Do not operate the dryer without the lint filter in place. • If the dryer drum becomes stained from noncolorfast fabrics, clean the drum with a damp cloth and a mild liquid household cleanser. Remove cleanser residue before drying the next load. • Every 18 months an authorized servicer should clean the dryer cabinet interior and exhaust duct. These areas can collect lint and dust over time. An excessive amount of lint build-up could result in inefficient drying and possible fire hazard. OUTSIDE • Clean the cabinet with mild soap and water. Never use harsh, gritty or abrasive cleansers. • If the cabinet becomes stained, clean with diluted chlorine bleach (1 part bleach to 8 parts water). Rinse several times with clear water. • Remove glue residue from tape or labels with a mixture of warm water and mild detergent. Or, touch residue with the sticky side of the tape or label. • When cleaning chrome parts use a window cleaner with ammonia or mild soap and water. • Before moving the dryer, place a strip of cardboard or thin fiberboard under the front leveling legs to prevent damage to the floor.
-
 1
1 -
2
-
3
-
4
-
5
-
6
-
7
-
8
-
9
-
10
-
11
-
12
-
13
-
 14
14 -
 15
15 -
 16
16 -
 17
17 -
 18
18 -
 19
19 -
 20
20 -
 21
21 -
 22
22 -
 23
23 -
 24
24
 |
 |