Epson 4770W Operation Guide - EasyMP Network Updater - Page 22
Add Schedule, Browse, File Information, Select all, Set the Time, Register, Start Now
 |
View all Epson 4770W manuals
Add to My Manuals
Save this manual to your list of manuals |
Page 22 highlights
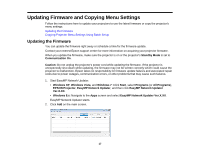
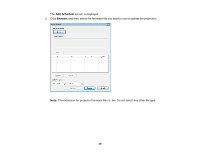
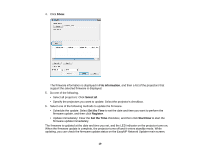
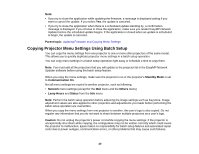
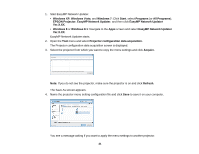
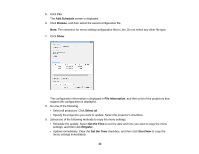
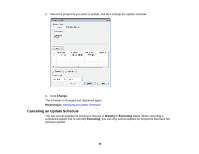
5. Click Yes. The Add Schedule screen is displayed. 6. Click Browse, and then select the saved configuration file. Note: The extension for menu setting configuration files is .bin. Do not select any other file type. 7. Click Show. The configuration information is displayed in File Information, and then a list of the projectors that support the configuration is displayed. 8. Do one of the following. • Select all projectors: Click Select all. • Specify the projectors you want to update: Select the projector's checkbox. 9. Select one of the following methods to copy the menu settings. • Schedule the update: Select Set the Time to set the date and time you want to copy the menu settings, and then click Register. • Update immediately: Clear the Set the Time checkbox, and then click Start Now to copy the menu settings immediately. 22
-
 1
1 -
2
-
3
-
4
-
5
-
6
-
7
-
8
-
9
-
10
-
11
-
12
-
13
-
14
-
15
-
16
-
 17
17 -
 18
18 -
 19
19 -
 20
20 -
 21
21 -
 22
22 -
 23
23 -
 24
24 -
 25
25 -
 26
26 -
 27
27 -
28
-
29
-
30
-
31
-
32
-
33
-
34
-
35
-
36
-
37
-
38
-
39
-
40
-
41
-
42
-
43
-
44
-
45
-
46
-
47
-
48
-
49
-
50
-
51
-
52
-
53
 |
 |
