Epson ActionLaser 1100 Product Information Guide - Page 4
Status And Error Messages, Front Panel Lights, Loading Paper, Replacing The Toner Cartridge
 |
View all Epson ActionLaser 1100 manuals
Add to My Manuals
Save this manual to your list of manuals |
Page 4 highlights
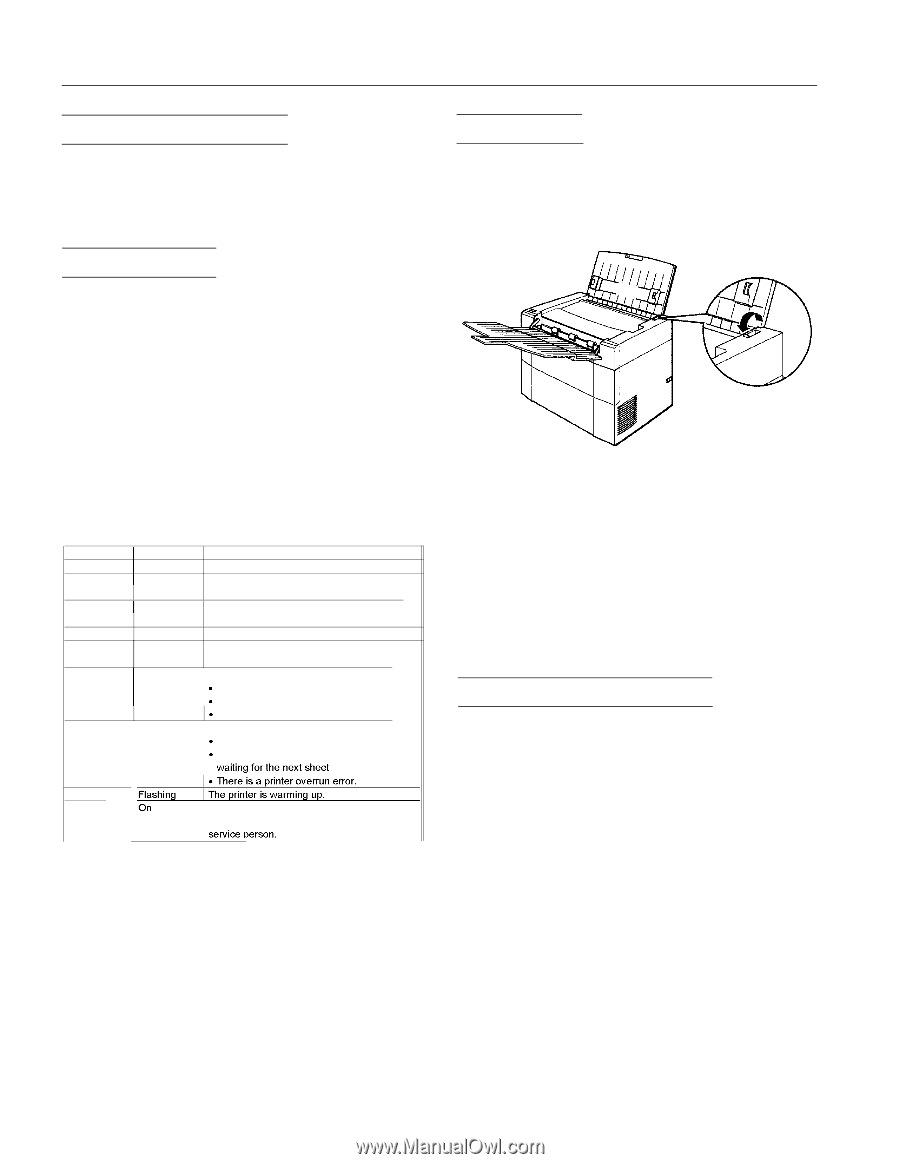
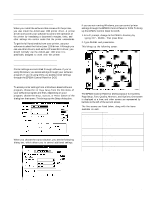
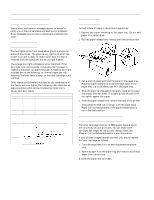
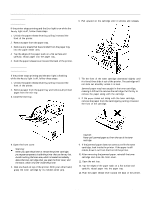
EPSON ActionLaser 1100 Status and Error Messages Status, error, and caution messages appear on screen to notify you of the printer status and alert you to problems. Error messages tell you how to correct any problems that occur. Front Panel Lights The two lights on the front panel allow you to monitor the status of the printer. The green Ready light is on when the printer is on and is ready to receive print data. As data is received from the computer, the Ready light flashes. The orange Error light indicates an error condition. If the Error light is on continuously, it indicates that no paper is loaded or that there is a paper feed jam. A flashing Error light indicates one of the following: an internal paper jam has occurred, the front cover is open, or the toner cartridge is not installed. Other status conditions are indicated by the combination of the Ready and Error lights. The following table describes all status conditions that can be indicated by the printer's Ready and Error lights: Ready Off Slow flashing Flashing On Off Off Flashing 1 Error 1Off I Off 1Off Off On 1Flashing 1 On Printer status 1Printer is off. 1Printer is in power save mode 1Print data is being received at the printer or has already been received. Printer is ready to receive print data. Either the paper tray is empty or there is a 1paper feed problem. 1One of the following errors has occurred: . Paper has jammed inside the printer . The front cover is open. . The toner cartridgeis not installed. 1One of the following errors has occurred: . Insufficient memory to print job. . Printer is in manual feed mode and is Flashing On A printer engine or controller error has occurred. Contact your dealer or a qualified Loading Paper To load a stack of paper in the printer's paper tray: 1. Remove any paper remaining in the paper tray. Do not add paper to a partial stack. 2. Pull the paper release lever toward the front of the printer. 3. Fan a stack of paper and load the paper in the paper tray. Place the paper side you want printed face down in the paper tray. Up to 100 sheets can fit in the paper tray. 4. Slide the paper guides against the paper stack so the paper fits loosely between them. The paper guides should not fit too tightly against the paper. 5. Push the paper release lever toward the back of the printer. This places the feed roll in contact with the paper stack. Paper will not feed properly if the paper release lever is not in the feed position. Replacing the Toner Cartridge The toner cartridge prints up to 4000 pages, depending on the complexity of your print jobs. You can make toner cartridges last longer by using toner saving mode. See Chapter 2 in the Reference Guide for more information. If your printed images become too faint, you should replace the toner cartridge as follows: 1. Turn off the printer if it is on and disconnect the power cord. 2. Remove paper from the paper tray and remove all printed pages from the exit tray. 3. Close the paper and exit trays. AL1100-4 8/15/94 Laser Printers
-
 1
1 -
 2
2 -
 3
3 -
 4
4 -
 5
5 -
 6
6 -
 7
7
 |
 |