Epson AcuLaser CX11NF Basics - Page 63
Selecting File Save Settings, select the folder.
 |
View all Epson AcuLaser CX11NF manuals
Add to My Manuals
Save this manual to your list of manuals |
Page 63 highlights
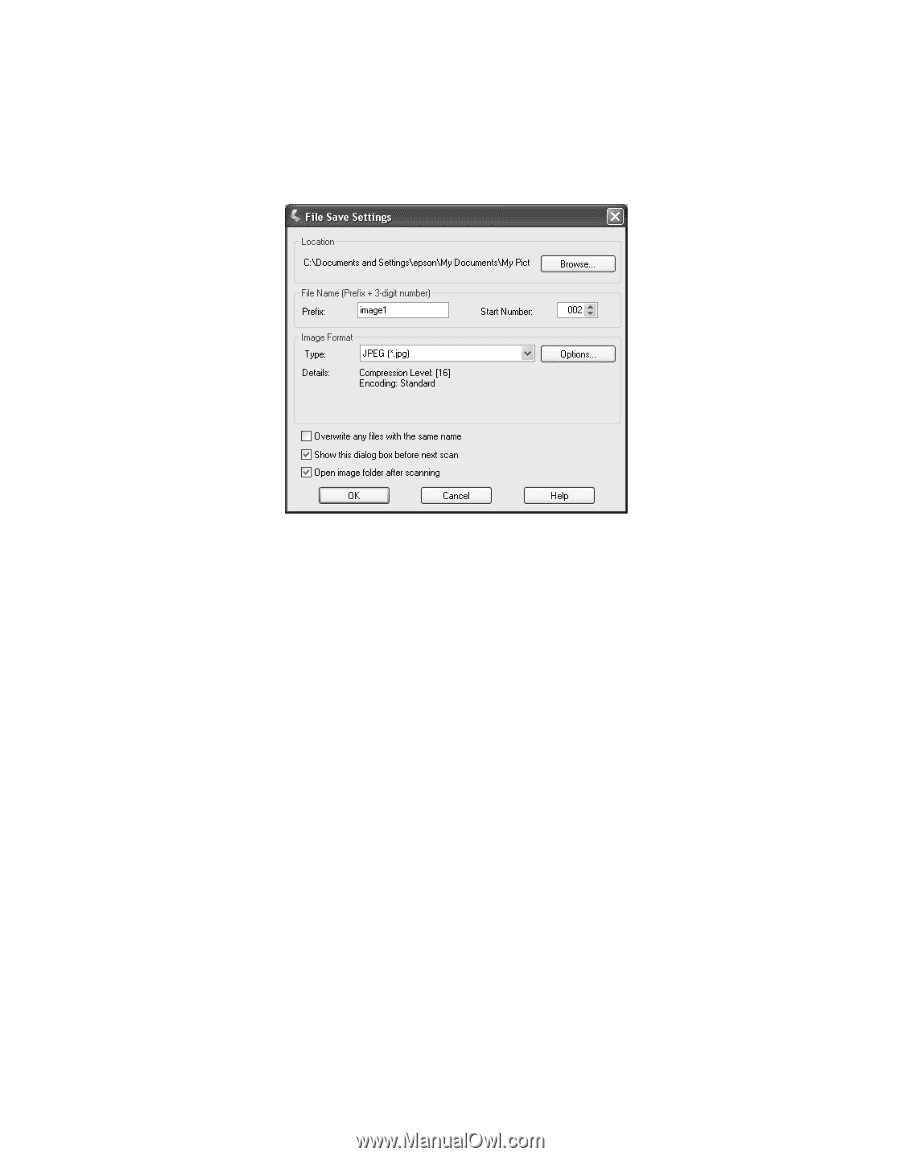
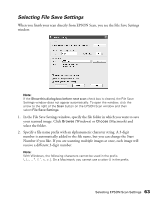
Selecting File Save Settings When you finish your scan directly from EPSON Scan, you see the File Save Settings window. Note: If the Show this dialog box before next scan check box is cleared, the File Save Settings window does not appear automatically. To open the window, click the arrow to the right of the Scan button on the EPSON Scan window and then select File Save Settings. 1. In the File Save Settings window, specify the file folder in which you want to save your scanned image. Click Browse (Windows) or Choose (Macintosh) and select the folder. 2. Specify a file name prefix with an alphanumeric character string. A 3-digit number is automatically added to the file name, but you can change the Start Number if you like. If you are scanning multiple images at once, each image will receive a different 3-digit number. Note: With Windows, the following characters cannot be used in the prefix On a Macintosh, you cannot use a colon (:) in the prefix. Selecting EPSON Scan Settings 63
-
 1
1 -
2
-
3
-
4
-
5
-
6
-
7
-
8
-
9
-
10
-
11
-
12
-
13
-
14
-
15
-
16
-
17
-
18
-
19
-
20
-
21
-
22
-
23
-
24
-
25
-
26
-
27
-
28
-
29
-
30
-
31
-
32
-
33
-
34
-
35
-
36
-
37
-
38
-
39
-
40
-
41
-
42
-
43
-
44
-
45
-
46
-
47
-
48
-
49
-
50
-
51
-
52
-
53
-
54
-
55
-
56
-
57
-
 58
58 -
 59
59 -
 60
60 -
 61
61 -
 62
62 -
 63
63 -
 64
64 -
 65
65 -
 66
66 -
 67
67 -
 68
68 -
69
-
70
-
71
-
72
-
73
-
74
-
75
-
76
-
77
-
78
-
79
-
80
-
81
-
82
-
83
-
84
-
85
-
86
-
87
-
88
-
89
-
90
-
91
-
92
-
93
-
94
-
95
-
96
-
97
-
98
-
99
-
100
-
101
-
102
-
103
-
104
-
105
-
106
-
107
-
108
-
109
-
110
-
111
-
112
-
113
-
114
-
115
-
116
-
117
-
118
-
119
-
120
-
121
-
122
-
123
-
124
-
125
-
126
-
127
-
128
-
129
-
130
-
131
-
132
-
133
-
134
-
135
-
136
-
137
-
138
-
139
-
140
-
141
-
142
-
143
-
144
 |
 |