Epson CX5800F Start Here Card - Page 7
Connect Phone Line, Any Problems - stylus user guide
 |
UPC - 010343856264
View all Epson CX5800F manuals
Add to My Manuals
Save this manual to your list of manuals |
Page 7 highlights
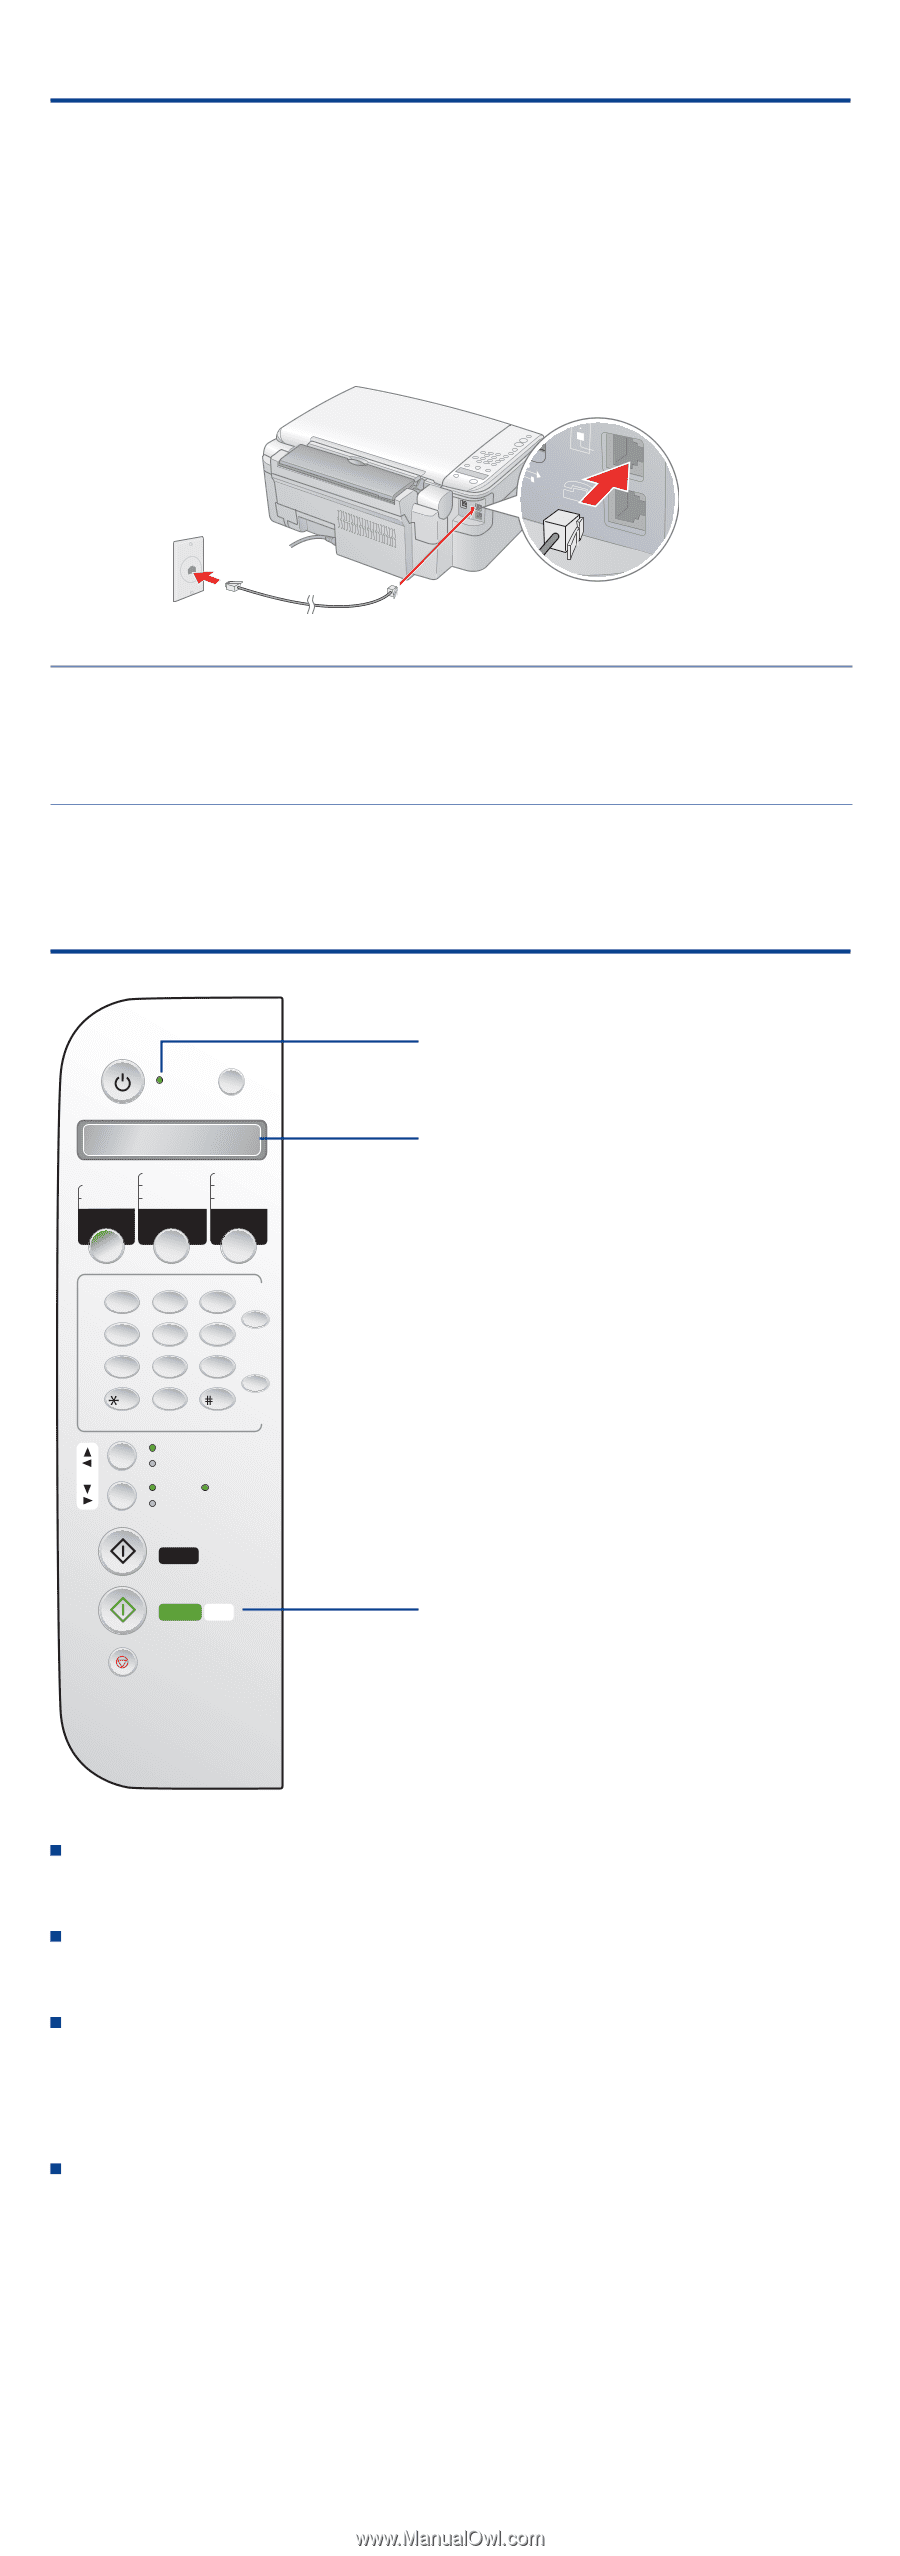
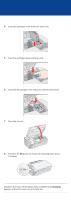
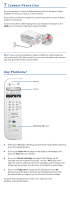
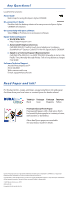
7 Connect Phone Line If you are going to connect a dedicated phone line to the Epson Stylus CX5800F for faxing, connect it as shown below. If you want to connect a telephone or answering machine, see the Basics Guide for instructions. Connect the phone cable leading from your telephone wall jack to the LINE port on the back of the Epson Stylus CX5800F. LINE SB EXT. Note: If you connected the Epson Stylus CX5800F to a DSL phone line, you must install a DSL filter to the line or you won't be able to fax. Contact your DSL provider for the necessary filter. Any Problems? Setup On Auto Answer 100% Fit to Page CCopyy Print Index Print From Index Print All/DPOF Send/Rec. Fax Fax Resolution Fax Contrast Memory Card Fax 1symb 2ABC 4GHI 5JKL 7PQRS 8TUV 3DEF Answer Mode 6MNO 9 Redial/ WXYZ Pause 0 Tone Plain Paper Photo Paper Fax Letter 5"x7" 4"x6" Start B&W Start Color OK Cancel/Back On light Display Start Color/OK button If the green On light is flashing, just wait until it stops before pressing any control panel buttons. If you see a Paper out message on the display, reload paper and press the OK button to continue. If you see a No ink cartridge message on the display, an ink cartridge may be installed incorrectly. Press the OK button, then open the scanner and push down the cartridges and cartridge cover all the way. See section 4 on the front of this sheet for instructions. If you see a Paper jam message on the display, press the OK button to eject the paper, then pull out the jammed sheets from the sheet feeder or output tray. See the Basics Guide for details. See your Basics Guide and on-screen User's Guide for more problem-solving information.
-
 1
1 -
 2
2 -
 3
3 -
 4
4 -
 5
5 -
 6
6 -
 7
7 -
 8
8
 |
 |