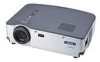
Epson EMP 30 User Manual - Page 32
Adjusting Your Image
 |
View all Epson EMP 30 manuals
Add to My Manuals
Save this manual to your list of manuals |
Page 32 highlights
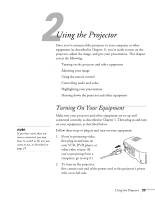
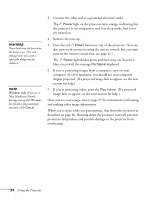
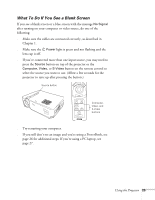
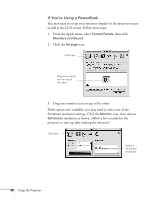
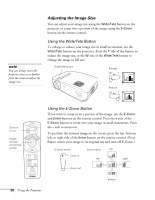
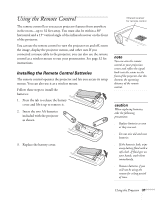
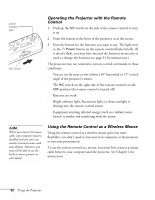
If You're Using a PC Laptop . . . s Press the function key that lets you display on an external monitor. It's often labelled with an icon such as but it may be labelled CRT/LCD. You may have to hold down the Fn key while pressing it. Check your laptop's manual or online help for details. On most systems, the or CRT/LCD key lets you toggle between the LCD screen and the projector, or display on both at the same time. Allow a few seconds for the projector to sync up after pressing it. s Depending on your computer's video card, you might need to use the Display utility in the Control Panel to make sure that both the LCD screen and external monitor port are enabled. See your computer's documentation or online help for details. s Check your computer's video resolution and scan frequency to see if they are supported, as listed on page 62. You may need to adjust your computer's resolution and scan frequency to match one of the modes listed. Adjusting Your Image Once you see your image, you'll need to make certain adjustments: s To focus your image, see below. s To resize or zoom into your image, see page 28. s To raise or lower the image, see page 29. s If the image isn't square, see page 30. s If the projected image is flickering or "noisy," see page 30. Focusing Your Image Rotate the focus ring to sharpen the image. focus ring note If the image from your computer is still out of focus, you can increase the clarity by pressing the Auto button on the remote control. This optimizes the projector's tracking, sync, and position settings. (You can also adjust these settings using the projector menus; see Chapter 3.) Using the Projector 27
-
 1
1 -
2
-
3
-
4
-
5
-
6
-
7
-
8
-
9
-
10
-
11
-
12
-
13
-
14
-
15
-
16
-
17
-
18
-
19
-
20
-
21
-
22
-
23
-
24
-
25
-
26
-
 27
27 -
 28
28 -
 29
29 -
 30
30 -
 31
31 -
 32
32 -
 33
33 -
 34
34 -
 35
35 -
 36
36 -
 37
37 -
38
-
39
-
40
-
41
-
42
-
43
-
44
-
45
-
46
-
47
-
48
-
49
-
50
-
51
-
52
-
53
-
54
-
55
-
56
-
57
-
58
-
59
-
60
-
61
-
62
-
63
-
64
-
65
-
66
-
67
-
68
-
69
-
70
-
71
-
72
-
73
-
74
-
75
-
76
-
77
-
78
-
79
-
80
 |
 |
