Epson PowerLite Pro Z10000U Operation Guide - EasyMP Network Updater - Page 41
Settings Screen, Set the Time
 |
View all Epson PowerLite Pro Z10000U manuals
Add to My Manuals
Save this manual to your list of manuals |
Page 41 highlights
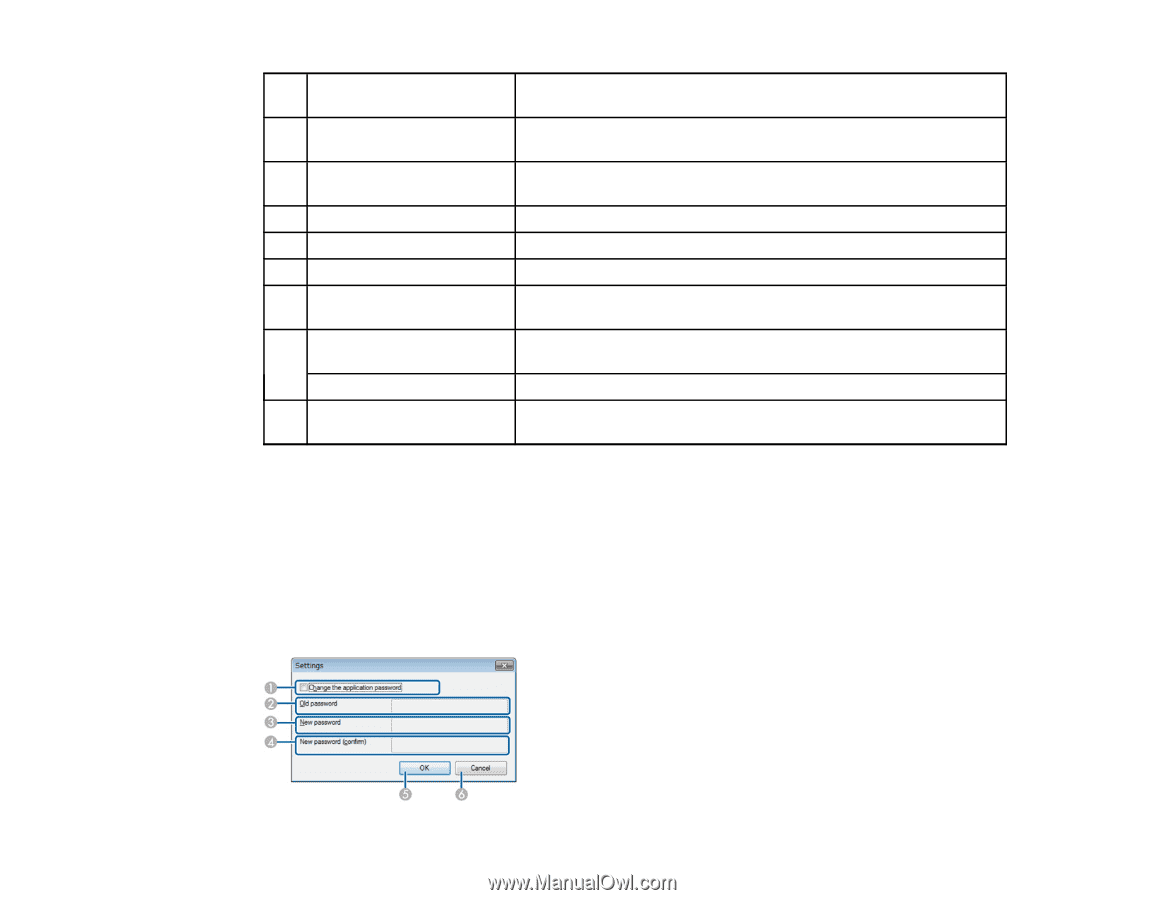
1 Browse 2 File Information 3 Show 4 Clear all 5 Select all 6 Set the Time 7 Start Now 8 Register Change 9 Cancel Click to select the firmware file you downloaded or the projector configuration file you created. Displays information about the selected firmware or configuration file after clicking Show. Select to show all of the projectors registered to the projector list that support the selected firmware or configuration. Click to clear all selected projectors. Click to select all of the projectors. Select to set the date and time for the update. Click to start the update immediately. If this button is unavailable, clear the Set the Time checkbox. Click to register the update schedule when using the Set the Time function. Click to change the update schedule. Click to close the Add Schedule/Change Schedule screen without registering/changing a schedule. Parent topic: Screen Summary Related tasks Updating the Firmware Copying Projector Menu Settings Using Batch Setup Changing an Update Schedule Settings Screen This screen is displayed when you click Settings from the Tool menu on the main screen. 41
-
 1
1 -
2
-
3
-
4
-
5
-
6
-
7
-
8
-
9
-
10
-
11
-
12
-
13
-
14
-
15
-
16
-
17
-
18
-
19
-
20
-
21
-
22
-
23
-
24
-
25
-
26
-
27
-
28
-
29
-
30
-
31
-
32
-
33
-
34
-
35
-
 36
36 -
 37
37 -
 38
38 -
 39
39 -
 40
40 -
 41
41 -
 42
42 -
 43
43 -
 44
44 -
 45
45 -
 46
46 -
47
-
48
-
49
-
50
 |
 |