Epson PowerLite Pro Z8050WNL Network Guide - Page 30
Click the OK button. The Display Properties screen closes.
 |
View all Epson PowerLite Pro Z8050WNL manuals
Add to My Manuals
Save this manual to your list of manuals |
Page 30 highlights
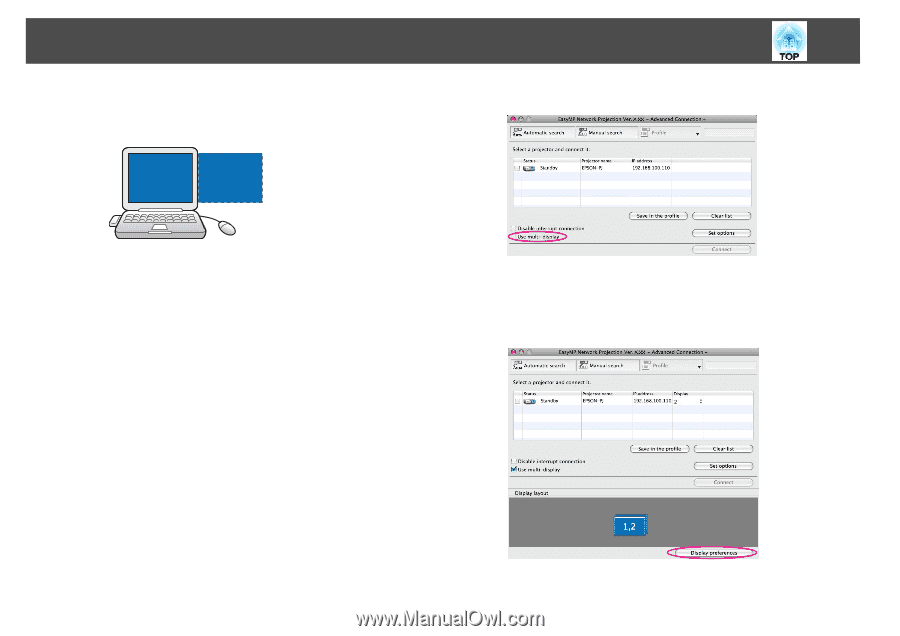
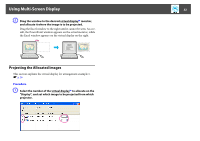
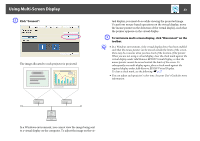
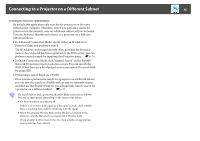
Using Multi-Screen Display 30 • For Screen Resolution settings, see the following. s p.53 When the monitor icon is arranged, a virtual display is connected as the image like below. C Select the "Use multi-display" check box. 13 G Click the "OK" button. The Display Properties screen closes. Next, allocate the images you want to project. s p.31 For Macintosh A Start EasyMP Network Projection. Double-click the Applications folder of the hard drive volume in which EasyMP Network Projection is installed, and then double-click the EasyMP Network Projection icon. B If the Connection mode screen opens, select "Advanced Connection Mode" or "Quick Connection Mode" (only available when the optional Wireless 802.11a/b/g Module is installed). Then click "OK". The projector search results are displayed. To always connect using the mode you selected, select Set the selected Connection Mode as the default mode for future connections. in the Connection mode screen. Display layout and Display preferences are added at the bottom of the screen. D Click "Display preferences". The display setting screen is displayed.
-
 1
1 -
2
-
3
-
4
-
5
-
6
-
7
-
8
-
9
-
10
-
11
-
12
-
13
-
14
-
15
-
16
-
17
-
18
-
19
-
20
-
21
-
22
-
23
-
24
-
 25
25 -
 26
26 -
 27
27 -
 28
28 -
 29
29 -
 30
30 -
 31
31 -
 32
32 -
 33
33 -
 34
34 -
 35
35 -
36
-
37
-
38
-
39
-
40
-
41
-
42
-
43
-
44
-
45
-
46
-
47
-
48
-
49
-
50
-
51
-
52
-
53
-
54
-
55
-
56
-
57
-
58
-
59
-
60
-
61
-
62
-
63
-
64
-
65
-
66
-
67
-
68
-
69
-
70
-
71
-
72
-
73
 |
 |