Epson RX595 Start Here - Page 6
Macintosh - printer
 |
UPC - 010343866157
View all Epson RX595 manuals
Add to My Manuals
Save this manual to your list of manuals |
Page 6 highlights
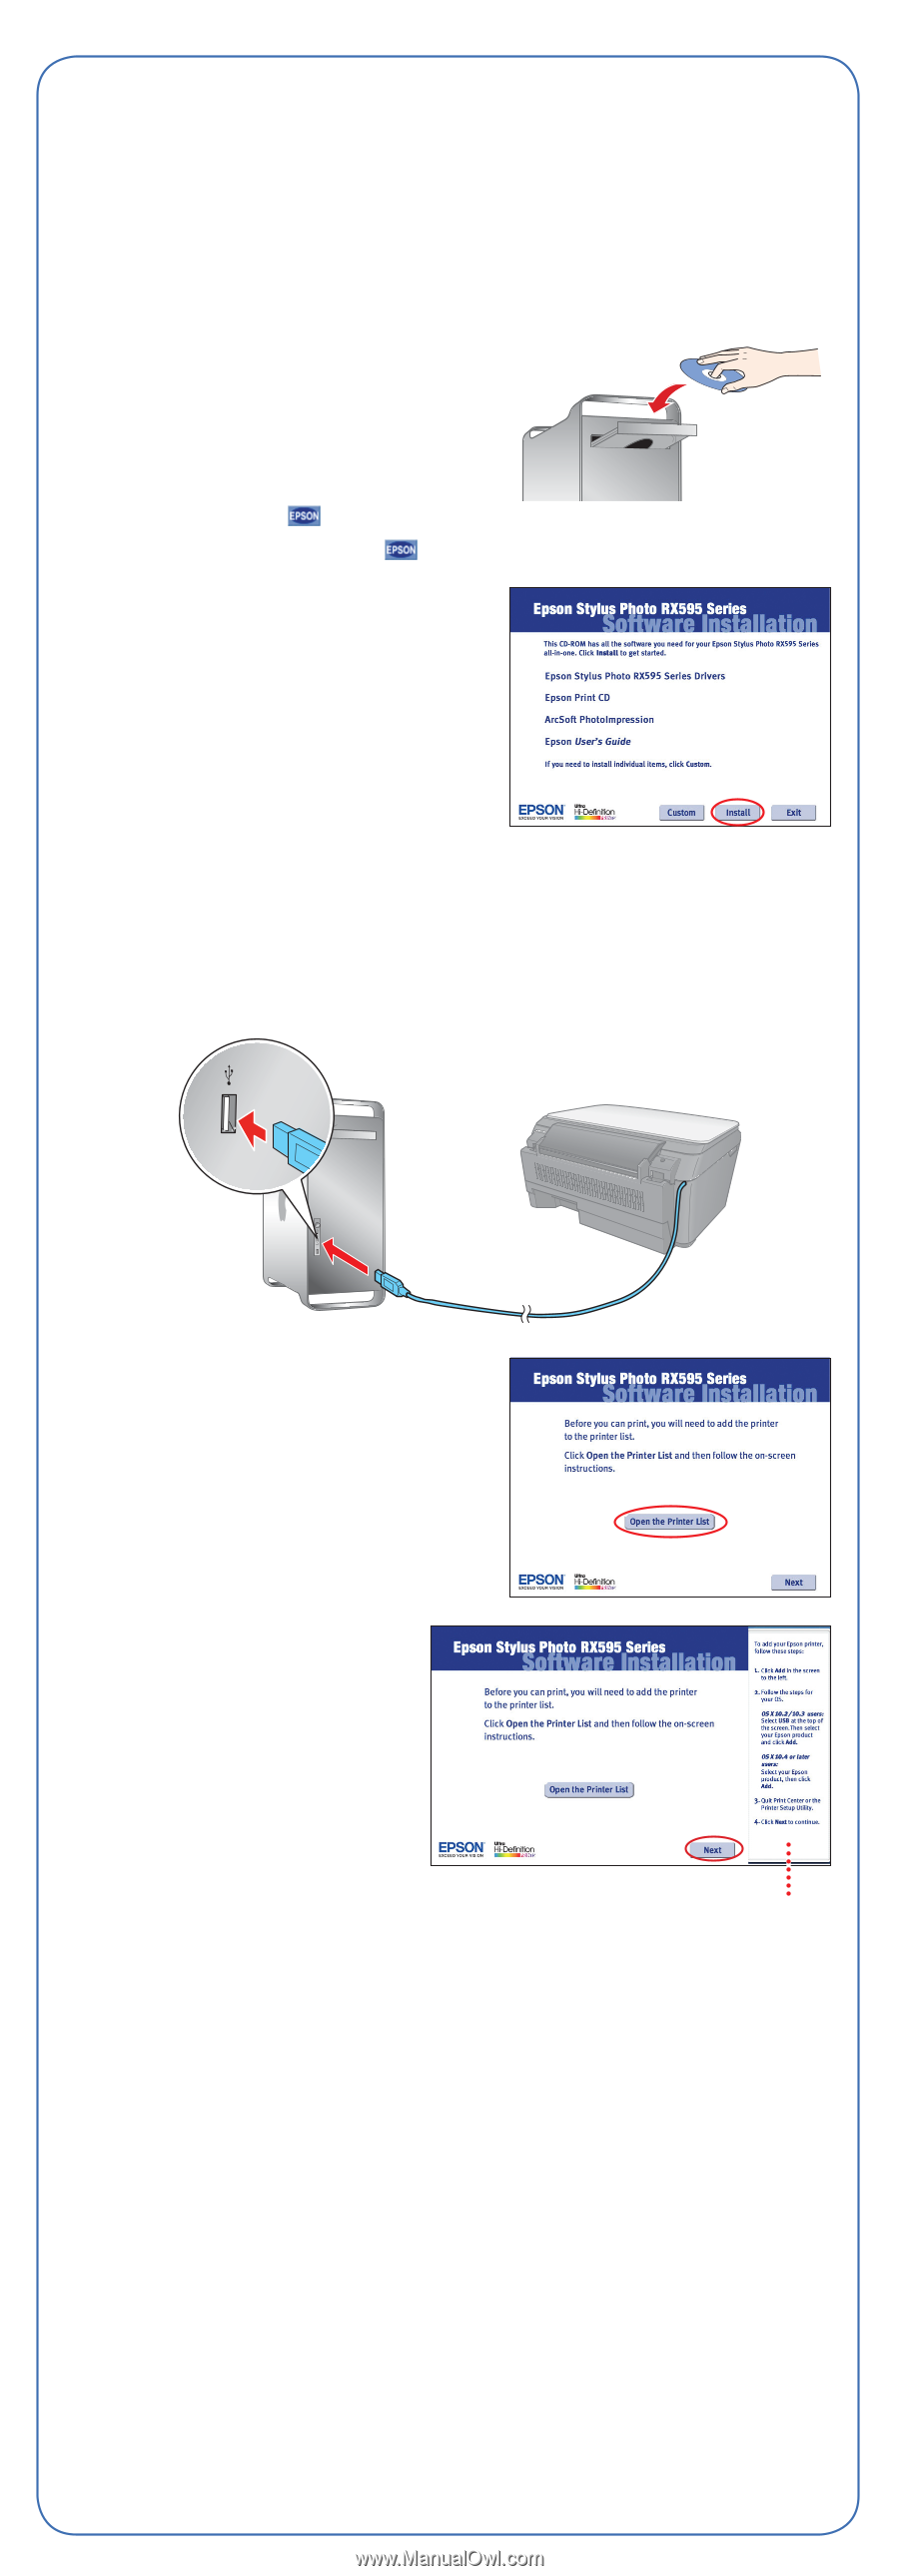
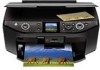
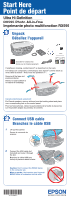
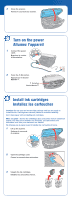
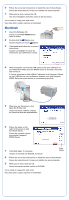
6 Follow the on-screen instructions to install the rest of the software. Suivez les instructions à l'écran pour installer les autres logiciels. 7 When you're done, remove the CD. Une fois l'installation terminée, retirez le CD du lecteur. You're ready to copy, print, and scan! Vous êtes prêt à copier, imprimer et numériser! Macintosh 1 Insert the Software CD. Insérez le CD-ROM RX595 Series dans le lecteur. 2 Double-click the Epson icon. Double-cliquez sur l'icône Epson. 3 Click Install and follow the on-screen instructions. Cliquez sur Installer et suivez les instructions qui s'affichent à l'écran. 4 When prompted, connect the USB cable to any open USB port on your Macintosh. Make sure the RX595 Series is securely connected and turned on. À l'invite, branchez le câble USB à l'ordinateur et à l'appareil. Utilisez un port USB libre de votre ordinateur. Assurez-vous que l'appareil RX595 Series est sous tension et correctement raccordé. 5 When you see this screen, click Open the Printer List. Quand cet écran s'affiche, cliquez sur Ouvrir la liste des imprimantes. 6 Follow the steps on the right of the screen to add the RX595 Series. Suivez les conseils à droite pour ajouter l'appareil RX595 Series. 7 Click Next again, if necessary. Cliquez de nouveau sur Suivant, au besoin. Steps Étapes 8 Follow the on-screen instructions to install the rest of the software. Suivez les instructions à l'écran pour installer les autres logiciels. 9 When you're done, eject the CD. Quand vous avez terminé, retirez le CD-ROM. You're ready to copy, print, and scan! Vous êtes prêt à copier, imprimer et numériser!
-
 1
1 -
 2
2 -
 3
3 -
 4
4 -
 5
5 -
 6
6 -
 7
7 -
 8
8
 |
 |