Epson Stylus COLOR 900G User Manual - Epson Stylus RIP Mac & PC - Page 49
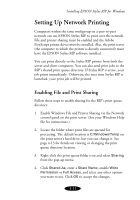
Installing EPSON Stylus RIP for Windows, in a networked environment, you can jump ahead
 |
View all Epson Stylus COLOR 900G manuals
Add to My Manuals
Save this manual to your list of manuals |
Page 49 highlights
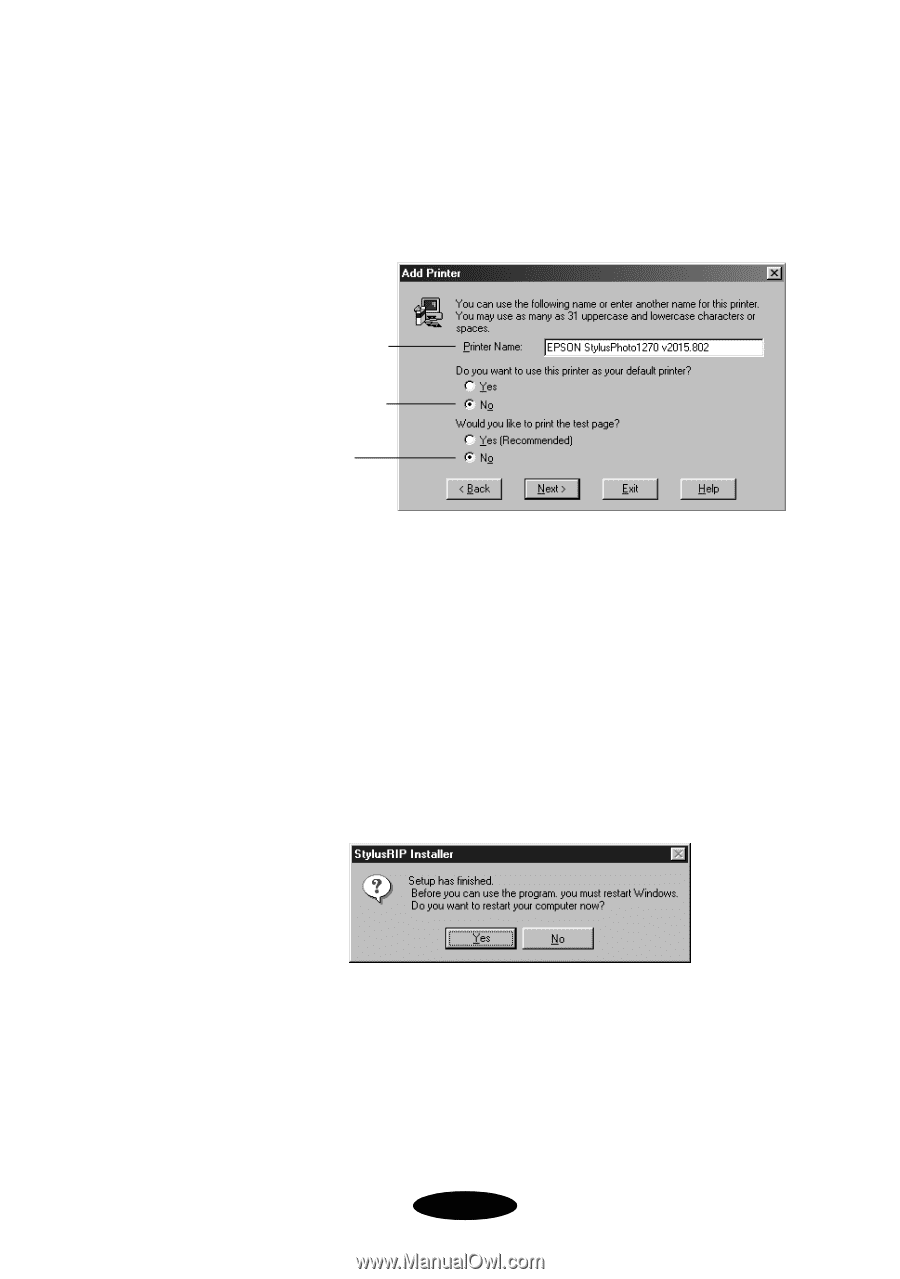
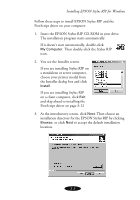
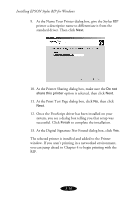
Installing EPSON Stylus RIP for Windows 6. At the Add Printer dialog box, click both No radio buttons. Otherwise, your printer may output pages of code. Give the Stylus RIP printer a descriptive name to differentiate it from the standard driver. Then click Next. Give the RIP printer driver a descriptive name Do not make your printer the default Do not print the test page 7. At the printer properties dialog box, click OK to accept the default settings. 8. Once the PostScript driver is installed, the Setup program asks if you want to add another PostScript printer to your system. Click the Exit button to stop adding PostScript drivers. 9. When you see a message that installation is complete, click Yes to close the Setup program and restart the system automatically. Once the system restarts, the EPSON Stylus RIP software and PostScript driver are successfully installed. If you aren't printing in a networked environment, you can jump ahead to Chapter 4 to begin printing with EPSON Stylus RIP. 3-7
-
 1
1 -
2
-
3
-
4
-
5
-
6
-
7
-
8
-
9
-
10
-
11
-
12
-
13
-
14
-
15
-
16
-
17
-
18
-
19
-
20
-
21
-
22
-
23
-
24
-
25
-
26
-
27
-
28
-
29
-
30
-
31
-
32
-
33
-
34
-
35
-
36
-
37
-
38
-
39
-
40
-
41
-
42
-
43
-
 44
44 -
 45
45 -
 46
46 -
 47
47 -
 48
48 -
 49
49 -
 50
50 -
 51
51 -
 52
52 -
 53
53 -
 54
54 -
55
-
56
-
57
-
58
-
59
-
60
-
61
-
62
-
63
-
64
-
65
-
66
-
67
-
68
-
69
-
70
-
71
-
72
-
73
-
74
-
75
-
76
-
77
-
78
-
79
 |
 |