Epson Stylus NX510 Network Installation Guide - Page 21
Confirm Your Settings and Connect to the Network, On your computer
 |
View all Epson Stylus NX510 manuals
Add to My Manuals
Save this manual to your list of manuals |
Page 21 highlights
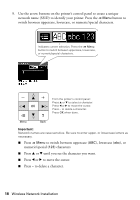
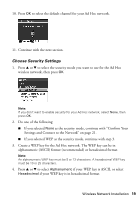
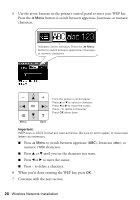
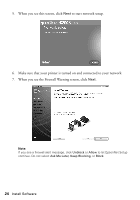
Confirm Your Settings and Connect to the Network 1. When you see a screen like this one, verify that the settings are correct. If you need to change a setting, press y Back until you see the setting you need to change. 2. Once you have verified that your network settings are correct, press OK to save the settings and return to the Network Settings menu. 3. Press the r Copy button to exit the Setup menu. 4. On your computer, connect to the wireless network name you created on page 18 (see your computer or wireless adapter's documentation for details). 5. Continue with "Install Software" on page 23. Wireless Network Installation 21
-
 1
1 -
2
-
3
-
4
-
5
-
6
-
7
-
8
-
9
-
10
-
11
-
12
-
13
-
14
-
15
-
 16
16 -
 17
17 -
 18
18 -
 19
19 -
 20
20 -
 21
21 -
 22
22 -
 23
23 -
 24
24 -
 25
25 -
 26
26 -
27
-
28
-
29
-
30
-
31
-
32
-
33
-
34
-
35
-
36
 |
 |
Wireless Network Installation
21
Confirm Your Settings and Connect to the Network
1.
When you see a screen like this one, verify that the settings are correct. If you
need to change a setting, press
y
Back
until you see the setting you need to
change.
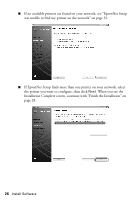
2.
Once you have verified that your network settings are correct, press
OK
to save
the settings and return to the Network Settings menu.
3.
Press the
r
Copy
button to exit the Setup menu.
4.
On your computer, connect to the wireless network name you created on
page 18 (see your computer or wireless adapter’s documentation for details).
5.
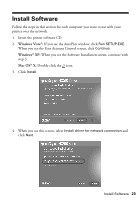
Continue with “Install Software” on page 23.