Epson Stylus NX510 Start Here - Page 5
Choose your connection - driver
 |
View all Epson Stylus NX510 manuals
Add to My Manuals
Save this manual to your list of manuals |
Page 5 highlights
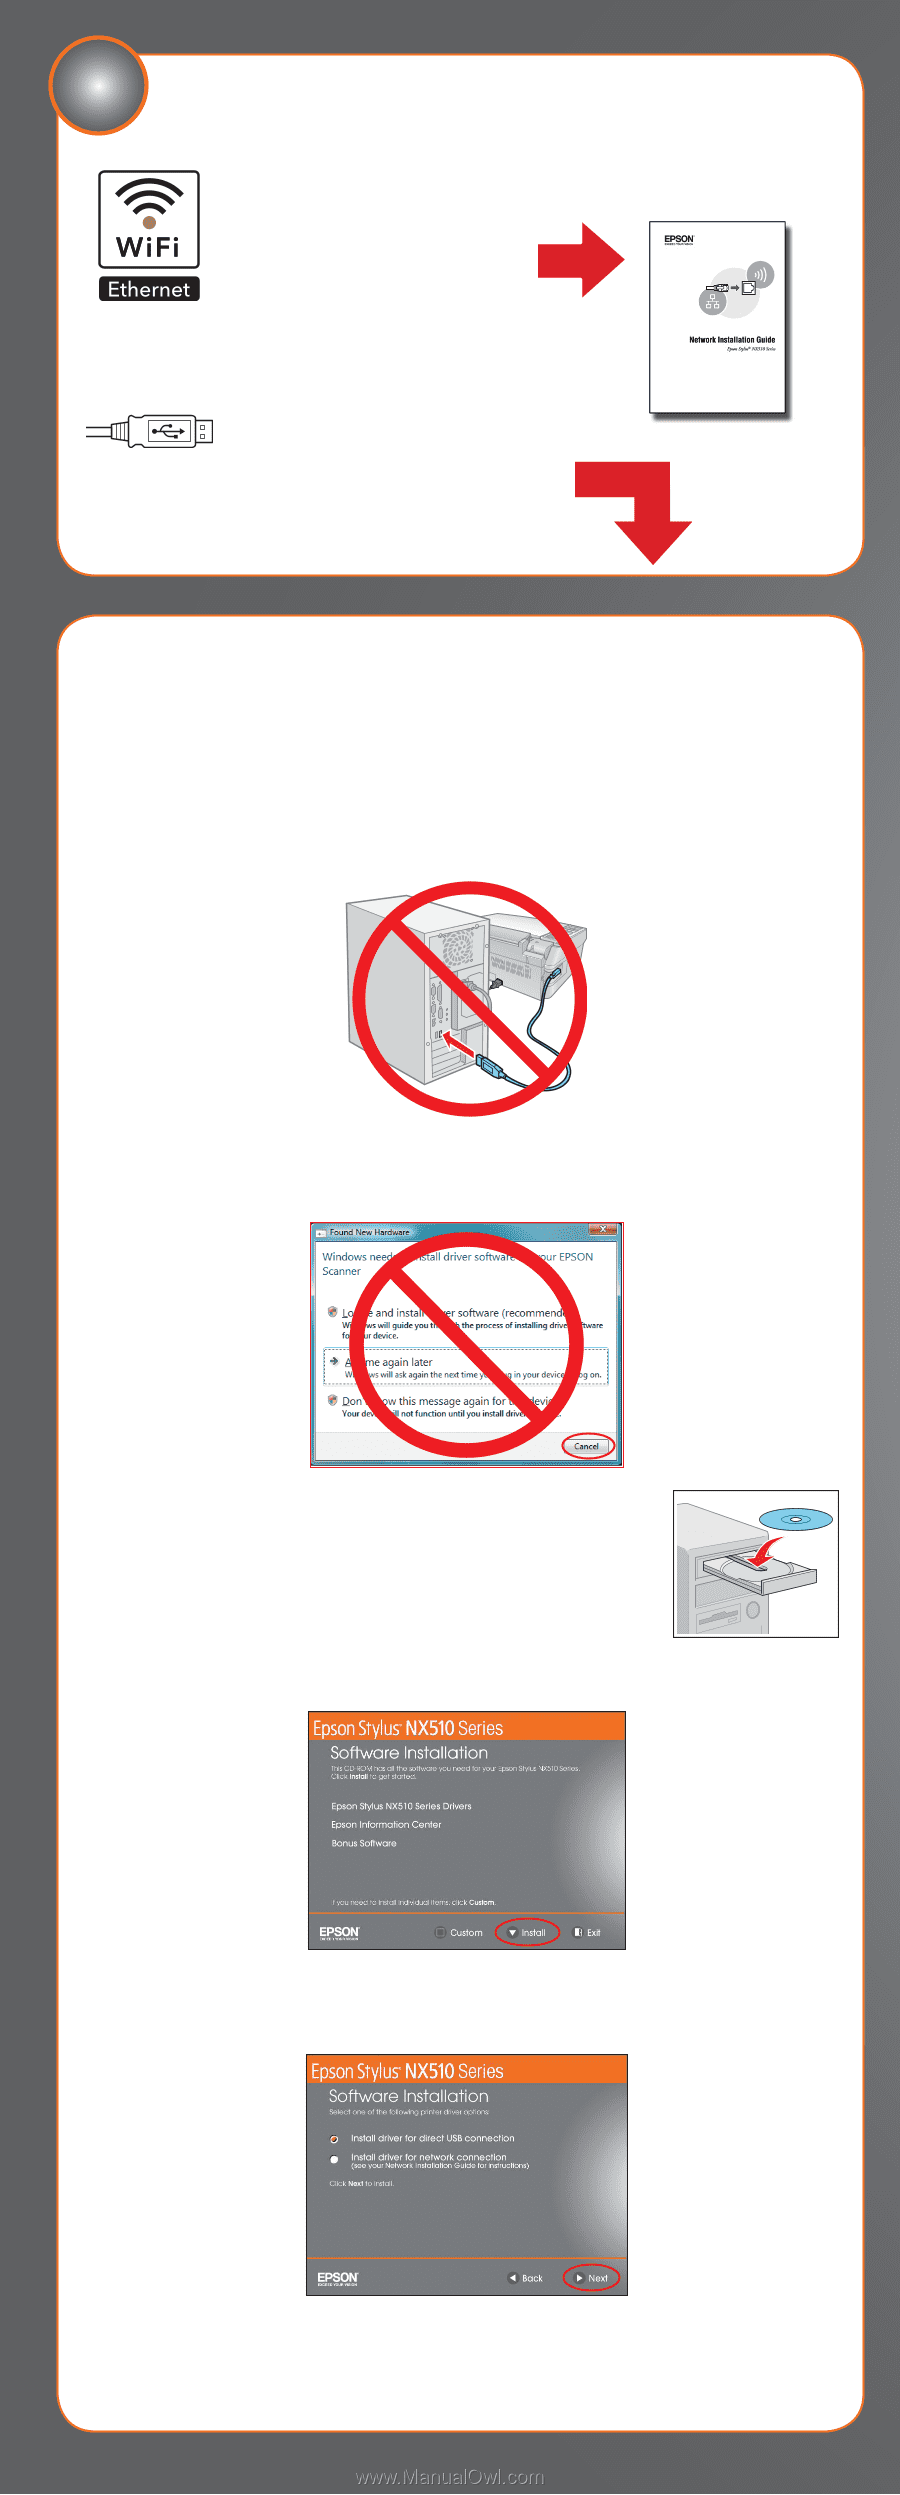
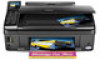
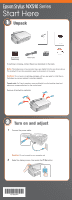
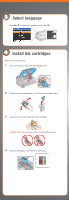
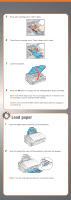
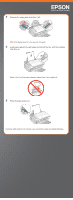
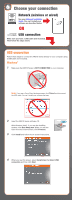
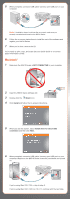
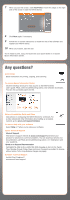
6 Choose your connection Network (wireless or wired) See your Network Installation Guide. You can't install your software as described below. OR USB connection Make sure you have a USB cable (not included). Then follow the steps below. USB connection Follow these steps to connect the NX510 Series directly to your computer using a USB cable (not included). Windows® 1 Make sure the NX510 Series is NOT CONNECTED to your computer. Note: If you see a Found New Hardware screen, click Cancel and disconnect the USB cable. You can't install your software that way. 2 Insert the NX510 Series software CD. With Windows Vista®, if you see the AutoPlay window, click Run Setup.exe. When you see the User Account Control screen, click Continue. 3 Click Install and follow the on-screen instructions. 4 When you see this screen, select Install driver for direct USB connection and then click Next.
-
 1
1 -
 2
2 -
 3
3 -
 4
4 -
 5
5 -
 6
6 -
 7
7 -
 8
8
 |
 |