Frigidaire FAD251NTD Complete Owner's Guide (English) - Page 5
Operating Instructions, Care And Cleaning & Storage
 |
UPC - 012505274244
View all Frigidaire FAD251NTD manuals
Add to My Manuals
Save this manual to your list of manuals |
Page 5 highlights
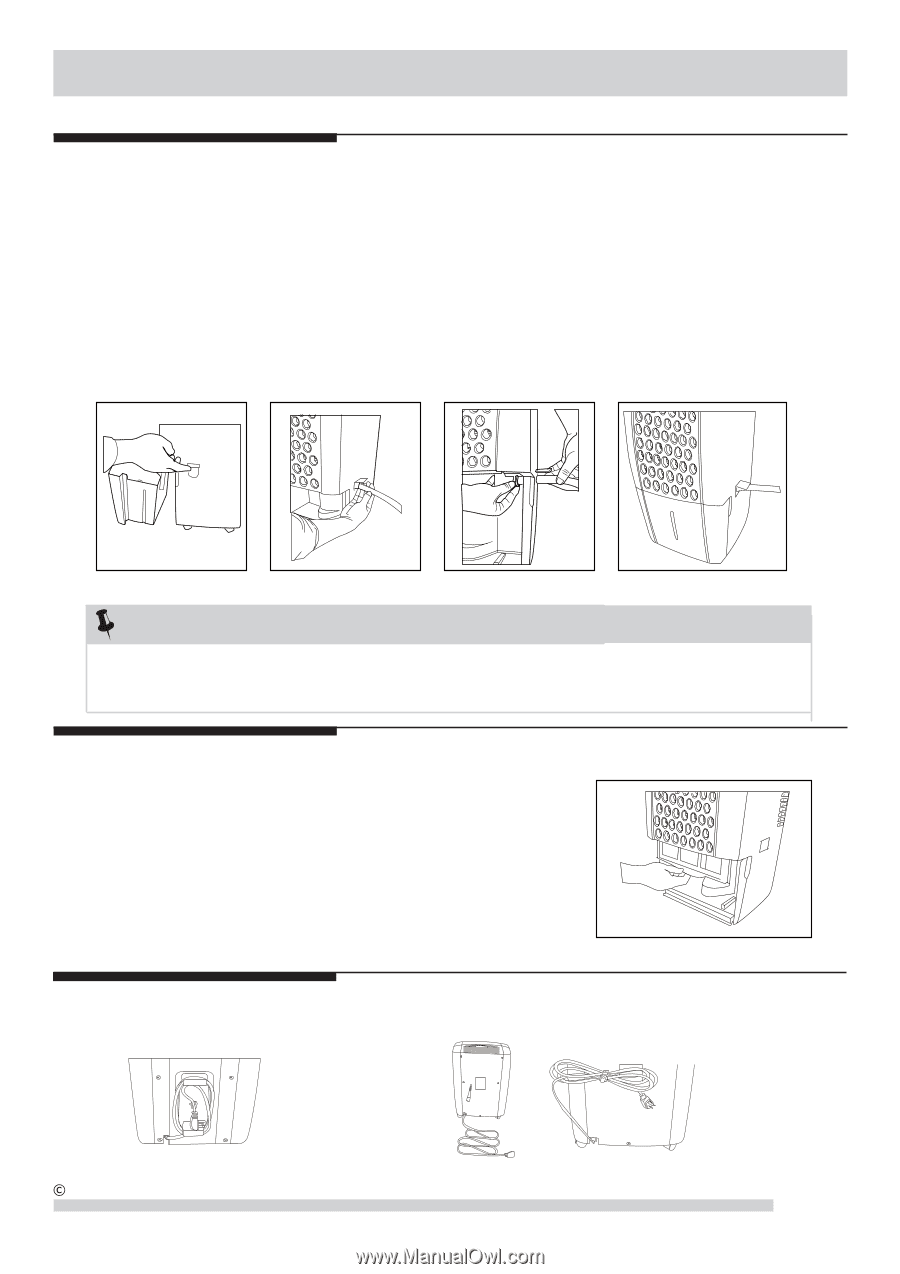
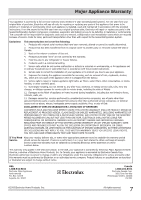
Operating Instructions, Care And Cleaning & Storage Removing Collected Water (continued) 2. Continuous Drainage: a. For constant drainage operation, you will need a garden hose and a drain nearby to discharge the water into. b. Remove the bucket from the unit and set aside. c. Lift up the side flap located on the right side of the unit as Iooking from the front. (fig.1) d. Insert the female threaded end of the hose through the opening. (fig.2) e. Screw the garden hose onto the threaded portion of the tray underneath the bucket opening. (fig.3) f. Make sure the hose is secure so there are no leaks. g. Direct the hose toward the drain, making sure that there are no kinks that will stop the water flowing. h. Place the end of the hose into the drain. i. Place the bucket back in the unit and make sure that it is located correctly. (fig.4) j. Select the desired humidity setting and fan speed on the unit for continuous draining to start. fig. 1 fig. 2 fig. 3 fig. 4 NOTE: If the unit stops operating check that the bucket full light is illuminated. If it is remove the bucket and empty the contents and then check the seal between the hose and the drip tray. If there is a small leak then replace the hose gasket and re-tighten the hoseē Care And Cleaning 1. Filter a. Remove the filter every two weeks based on normal operating conditions. b. To remove the filter. c. Wash the filter with clean water then dry. d. Re-install the filter. 2. Cabinet a. Dust cabinet with an oil-free cloth, or using a damp cloth. b. Vacuum grill using brush attachment. 3. Water Bucket a. Clean bucket with warm water and detergent. Storage When unit is not in use unplug and use the cord wrap shown for your model type. 2009 Electrolux Home Products, Inc. 1. 2. All rights reserved. 5
-
 1
1 -
 2
2 -
 3
3 -
 4
4 -
 5
5 -
 6
6 -
 7
7
 |
 |