Frigidaire FFIF3054TS Complete Owner s Guide - Page 16
Setting Surface Controls
 |
View all Frigidaire FFIF3054TS manuals
Add to My Manuals
Save this manual to your list of manuals |
Page 16 highlights
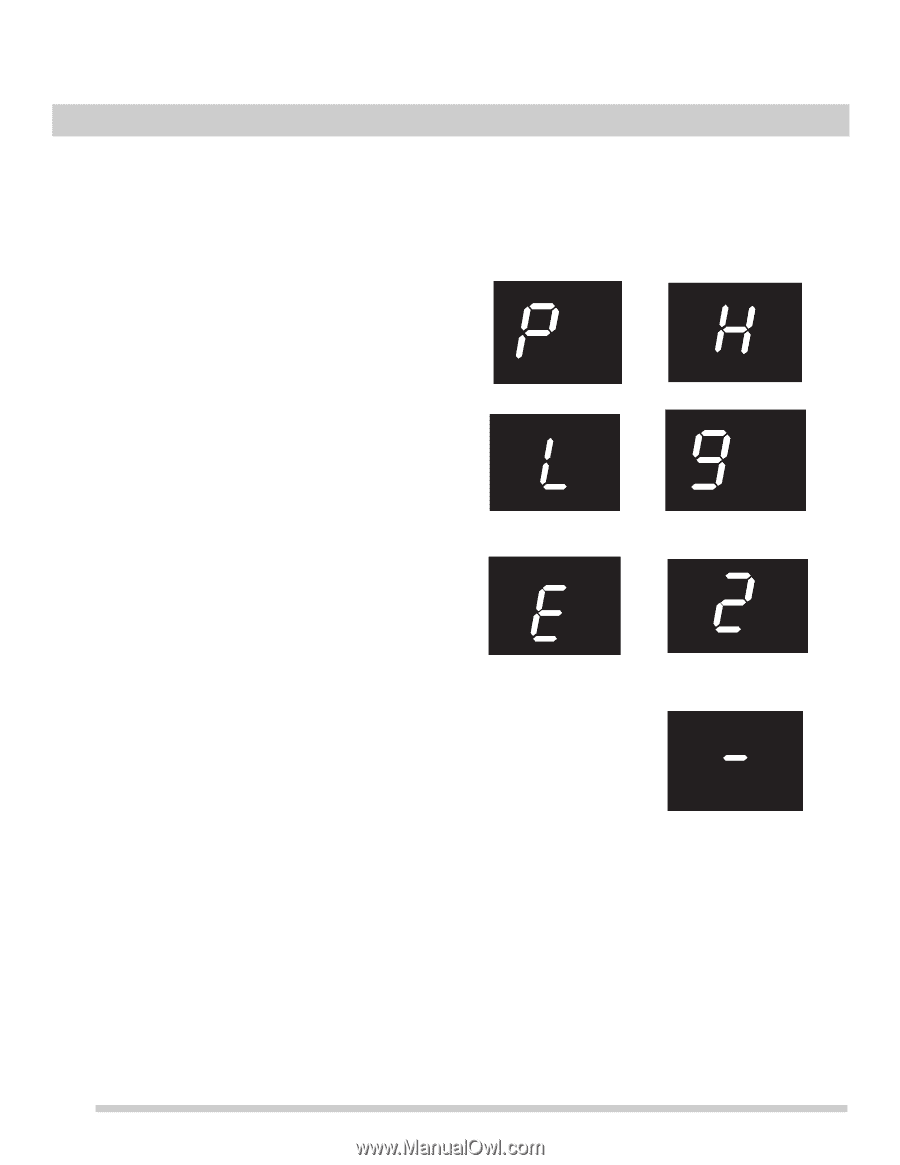
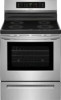
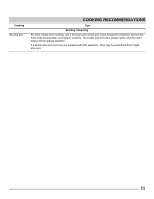
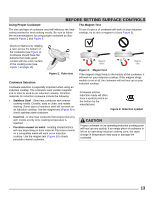
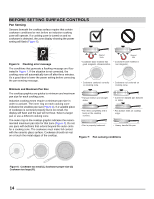
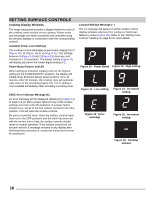
SETTING SURFACE CONTROLS Cooktop Display Windows The range backguard provides a digital window for each of the cooking zones located on the cooktop. Power levels and messages are easily monitored and controlled using the window displays in combination with the corresponding controls. Available Power Level Settings The cooktop control will display power levels ranging from P (Figure 10), Hi (Figure 13) to Lo (Figure 11). The settings between 9 (Figure 14) and 2 (Figure 15) decrease and increase in 1.0 increments. The lowest setting (Figure 11) will display just below the lowest digital setting of 2. Power Boost Power Level (P) When setting an induction cooking zone for the highest setting (to the POWER BOOST position), the display will initially show P (Power Boost) power level for up to 10 minutes. After 10 minutes, the cooking zone will automatically return to the Hi setting (Figure 15). The P setting is only available immediately after activating a cooking zone. ESEC Error Indicator Message (E) An error message will be displayed (flashing E) (Figure 12) at power up (or after a power failure) if any of the surface settings were left in the ON positions. If a power failure should occur, set all of the four surface controls to the OFF position. This will reset the surface controls. Be sure to reset the clock. Once the surface controls have been set to the OFF positions and the clock has been set with the correct time of day, the surface controls should return to normal operation. If the surface controls do not function and the E message remains in any display after following these procedures, contact an authorized servicer for assistance. Lockout Window Message (- ) The (-) message will appear in all the surface control display windows whenever the Lockout or Self-clean feature is active (Figure 16). Refer to the "Setting Oven Lockout" heading on page 21 for more details. Figure 10: Power Boost Figure 13: High setting Figure 11: Low setting Figure 14: Increment setting Figure 12: Error message Figure 15: Increment setting Figure 16: Cooktop lockout 16
-
 1
1 -
2
-
3
-
4
-
5
-
6
-
7
-
8
-
9
-
10
-
 11
11 -
 12
12 -
 13
13 -
 14
14 -
 15
15 -
 16
16 -
 17
17 -
 18
18 -
 19
19 -
 20
20 -
 21
21 -
22
-
23
-
24
-
25
-
26
-
27
-
28
-
29
-
30
-
31
-
32
-
33
-
34
-
35
-
36
-
37
-
38
-
39
-
40
 |
 |