Garmin GMR 18 Mounting Template - Page 1
Garmin GMR 18 Manual
 |
View all Garmin GMR 18 manuals
Add to My Manuals
Save this manual to your list of manuals |
Page 1 highlights
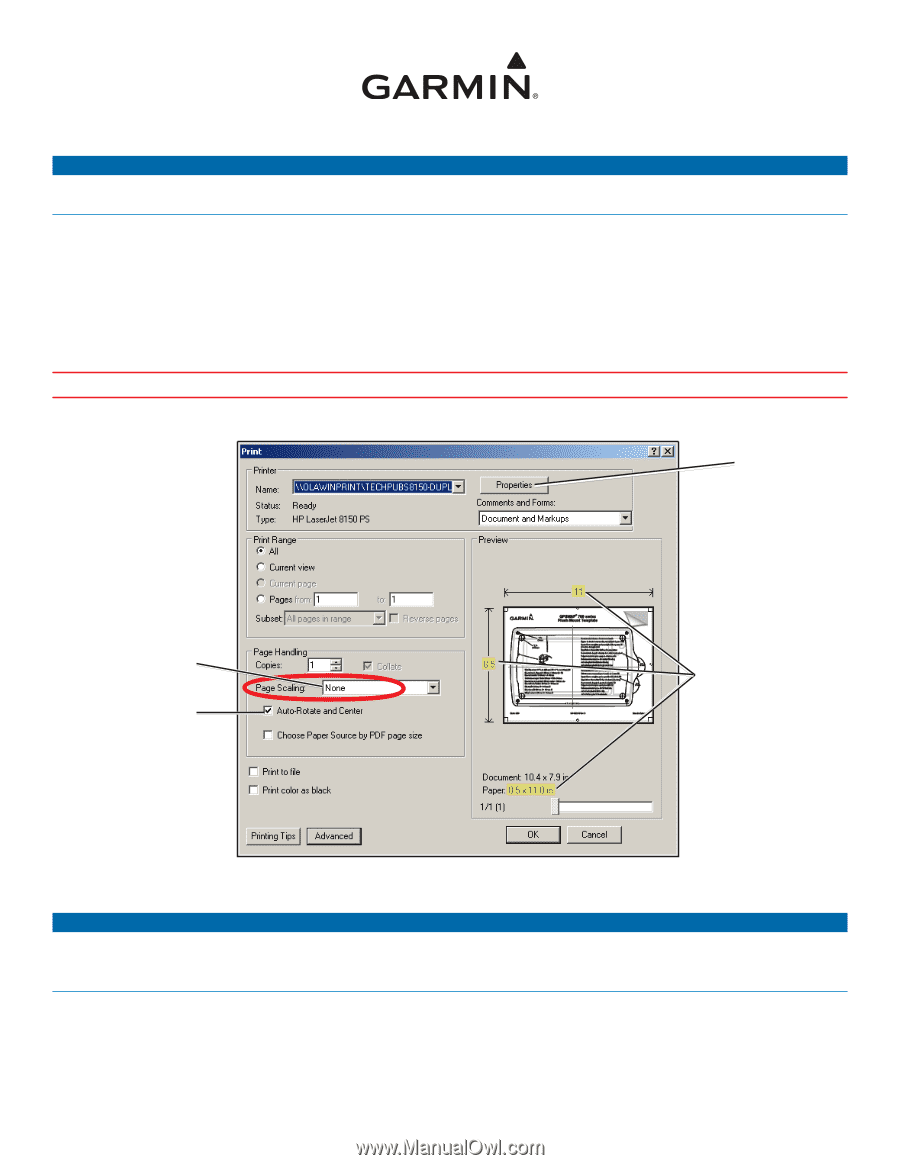
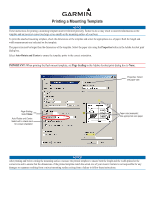
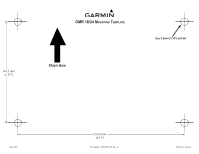
Printing a Mounting Template Notice These instructions for printing a mounting template must be followed precisely. Failure to do so may result in incorrect dimensions on the template and an incorrect cutout (too large or too small) on the mounting surface of your boat. To print the attached mounting template, check the dimensions of the template and select the appropriate size of paper. Both the length and width measurements are indicated on the template. The paper size must be larger than the dimensions of the template. Select the paper size using the Properties button in the Adobe Acrobat print dialog box. Select Auto-Rotate and Center to ensure the template prints in the correct orientation. Important: When printing the flush mount template, set Page Scaling in the Adobe Acrobat print dialog box to None. Properties: Select the paper size. Page Scaling: Select None: Auto-Rotate and Center: Select with a check mark for correct orientation Paper size (example): Use appropriate size paper. Notice After printing and before cutting the mounting surface, measure the printed template to ensure both the length and the width printed at the correct size and to ensure that the dimensions of the printed template match the actual size of your mount. Garmin is not responsible for any damages or expenses resulting from a miscut mounting surface arising from a failure to follow these instructions.
-
 1
1 -
 2
2
 |
 |