GE JVM1665SNSS Use and Care Manual - Page 15
About the sensor microwave features
 |
UPC - 084691187387
View all GE JVM1665SNSS manuals
Add to My Manuals
Save this manual to your list of manuals |
Page 15 highlights
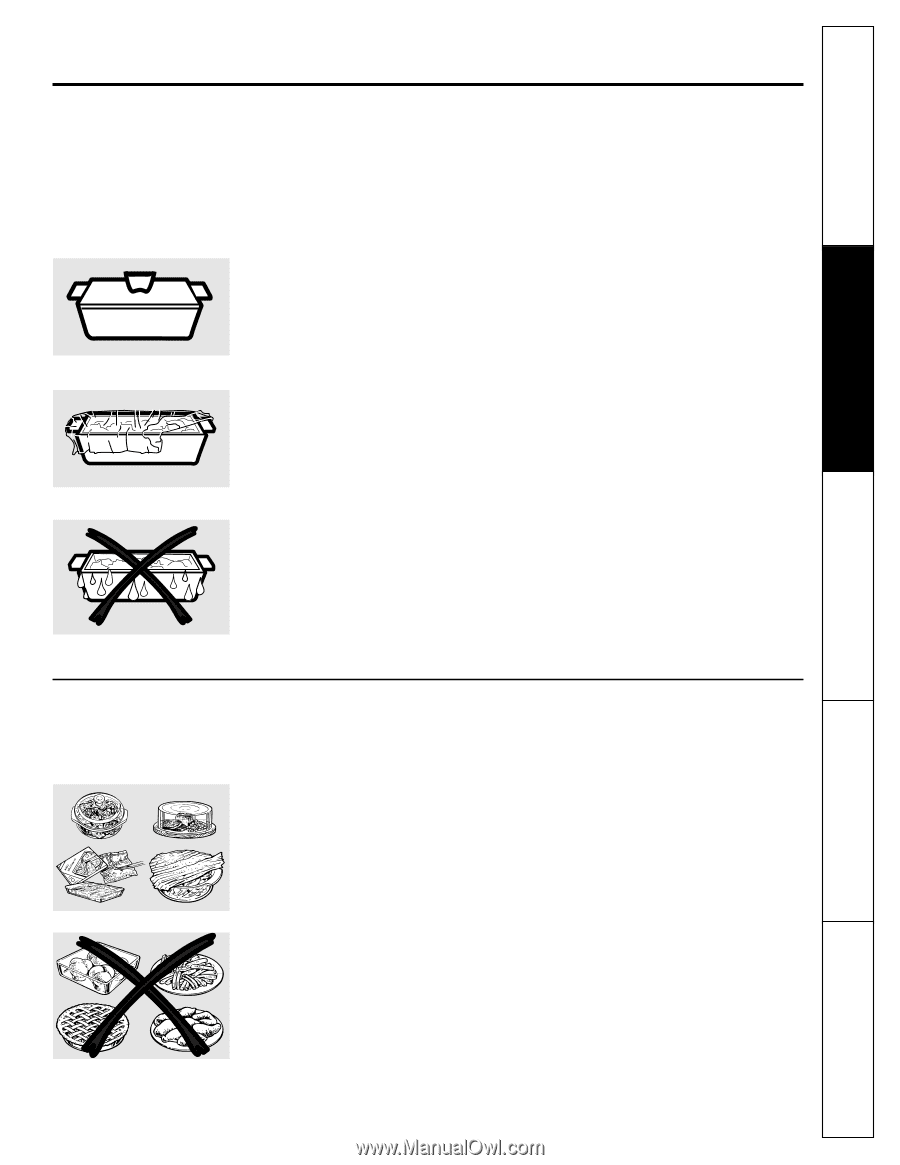
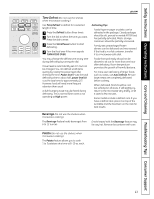
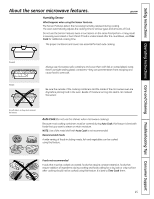
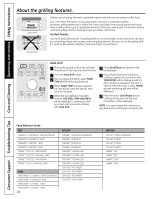
Safety Instructions Operating Instructions Care and Cleaning Troubleshooting Tips Consumer Support About the sensor microwave features. ge.com Humidity Sensor What happens when using the Sensor Features: The Sensor Features detect the increasing humidity released during cooking. The oven automatically adjusts the cooking time to various types and amounts of food. Do not use the Sensor Features twice in succession on the same food portion-it may result in severely overcooked or burnt food. If food is undercooked after the countdown, use Time Cook for additional cooking time. s The proper containers and covers are essential for best auto cooking. Covered Vented s Always use microwave-safe containers and cover them with lids or vented plastic wrap. Never use tight sealing plastic containers-they can prevent steam from escaping and cause food to overcook. s Be sure the outside of the cooking containers and the inside of the microwave oven are dry before placing food in the oven. Beads of moisture turning into steam can mislead the sensor. Dry off dishes so they don't mislead the sensor. Auto Cook (Do not use the shelves when microwave cooking.) Because most cooking containers must be covered during Auto Cook, this feature is best with foods that you want to steam or retain moisture. NOTE: Use of the metal shelf with Auto Cook is not recommended. Recommended Foods A wide variety of foods including meats, fish and vegetables can be cooked using this feature. Foods not recommended Foods that must be cooked uncovered, foods that require constant attention, foods that require addition of ingredients during cooking and foods calling for a dry look or crisp surface after cooking should not be cooked using this feature. It is best to Time Cook them. 15
-
 1
1 -
2
-
3
-
4
-
5
-
6
-
7
-
8
-
9
-
 10
10 -
 11
11 -
 12
12 -
 13
13 -
 14
14 -
 15
15 -
 16
16 -
 17
17 -
 18
18 -
 19
19 -
 20
20 -
21
-
22
-
23
-
24
-
25
-
26
-
27
-
28
-
29
-
30
-
31
-
32
-
33
-
34
-
35
-
36
-
37
-
38
-
39
-
40
-
41
-
42
-
43
-
44
-
45
-
46
-
47
-
48
-
49
-
50
-
51
-
52
-
53
-
54
-
55
-
56
-
57
-
58
-
59
-
60
-
61
-
62
-
63
-
64
-
65
-
66
-
67
-
68
-
69
-
70
-
71
-
72
 |
 |