GE JVM1790BK Owners Manual - Page 16
Operating Instructions, Auto Cook
 |
UPC - 084691123422
View all GE JVM1790BK manuals
Add to My Manuals
Save this manual to your list of manuals |
Page 16 highlights
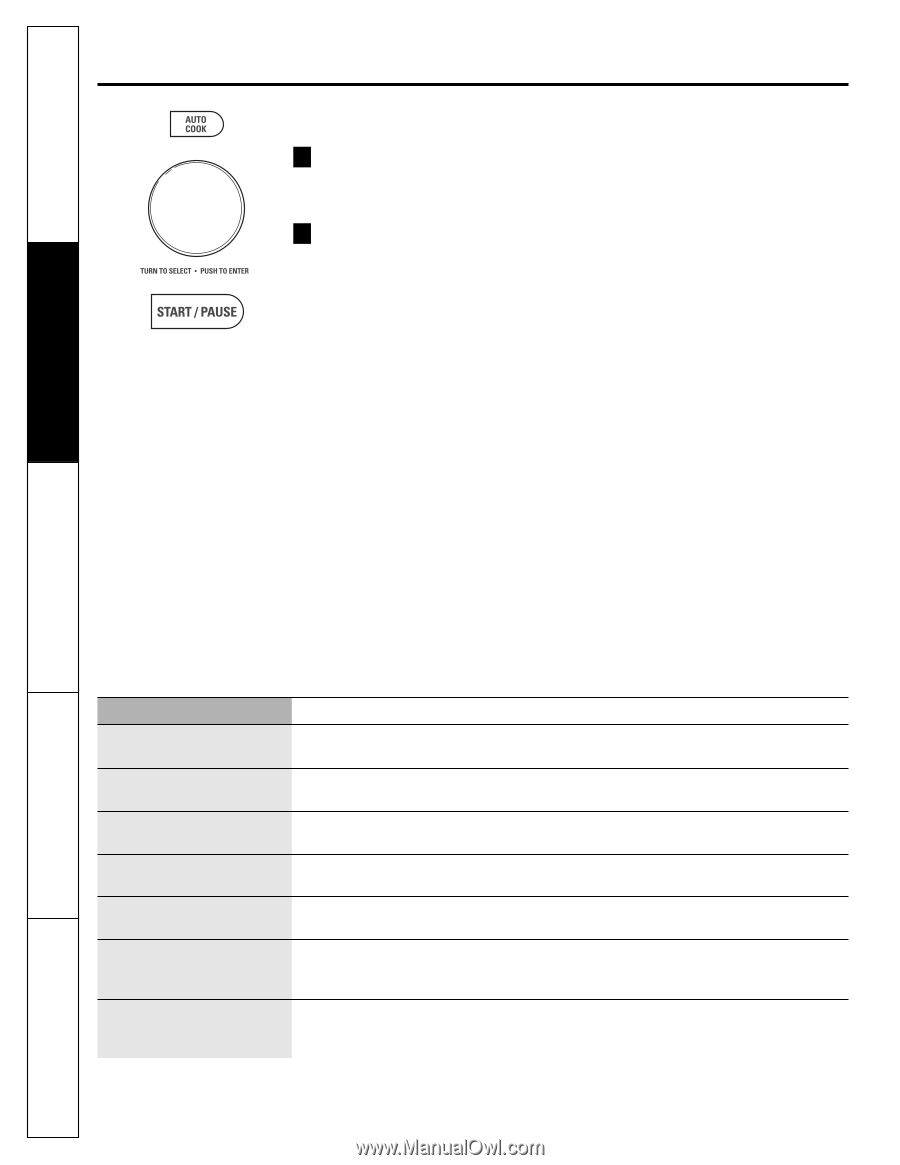
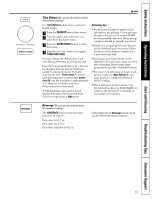
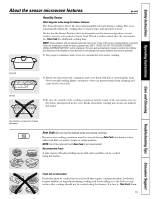
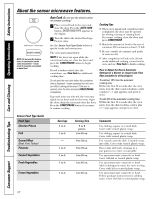
Care and Cleaning Operating Instructions Safety Instructions About the sensor microwave features. NOTE: Do not use this feature twice in succession on the same food portion-it may result in severely overcooked or burnt food. Auto Cook (Do not use the shelves when microwave cooking.) 1 Place covered food in the oven and close the door. Press the AUTO COOK button. ENTER FOOD TYPE appears in the display. 2 Turn the dial to the desired food type. Press to enter. See the Sensor Food Type Guide below for specific foods and instructions. The oven starts immediately. NOTE: If the door was open while the control was being set, close the door and press the START/PAUSE button to begin cooking. If food is undercooked after the countdown, use Time Cook for additional cooking time. Do not open the oven door before the countdown time is displayed-steam escaping from the oven can affect cooking performance. If the door is opened, close the door and press START/PAUSE immediately. If ground meat was selected, the oven may signal you to drain and stir the meat. Open the door, drain the meat and close the door. Press the START/PAUSE button if necessary to resume cooking. Cooking Tips ■ When oven signals and countdown time is displayed, the door may be opened for stirring, turning or rotating food. To resume cooking, close the door and press START/PAUSE. ■ Match the amount of food to the size of container. Fill containers at least 1/2 full. ■ Be sure outside of container and inside of oven are dry. ■ After completion of Cook cycle, if food needs additional cooking, return food to oven and use Time Cook to finish cooking. How to Adjust the Oven's Automatic Settings for a Shorter or Longer Cook Time (Not available for all food types) To subtract 10% from the automatic cooking time: Within the first 30 seconds after the oven starts, turn the dial counterclockwise, until a minus ("-") sign appears, and press to enter. To add 10% to the automatic cooking time: Within the first 30 seconds after the oven starts, turn the dial clockwise, until a plus ("+") sign appears, and press to enter. Sensor Food Type Guide Food Type Chicken Pieces Fish Ground Meat (Beef, Pork, Turkey) Potatoes Canned Vegetables Fresh Vegetables Frozen Vegetables Servings 1 to 4 1 to 4 - 1 to 4 1 to 4 1 to 4 Serving Size 2 to 8 pieces 4 to 16 oz. 8 to 32 oz. 8 to 32 oz. 4 to 16 oz. 4 to 16 oz. 1 to 4 4 to 16 oz. Comments Use oblong, square or round dish. Cover with vented plastic wrap. Use oblong, square or round dish. Cover with vented plastic wrap. Use round casserole dish. Crumble meat into dish. Cover with vented plastic wrap. Pierce skin with fork. Arrange in a star pattern in center of turntable. Use microwave-safe casserole or bowl. Cover with lid or vented plastic wrap. Use microwave-safe casserole or bowl. Add 2 tablespoons water for each serving. Cover with lid or vented plastic wrap. Use microwave-safe casserole or bowl. Follow package instructions for adding water. Cover with lid or vented plastic wrap. Consumer Support Troubleshooting Tips 16
-
 1
1 -
2
-
3
-
4
-
5
-
6
-
7
-
8
-
9
-
10
-
 11
11 -
 12
12 -
 13
13 -
 14
14 -
 15
15 -
 16
16 -
 17
17 -
 18
18 -
 19
19 -
 20
20 -
 21
21 -
22
-
23
-
24
-
25
-
26
-
27
-
28
-
29
-
30
-
31
-
32
-
33
-
34
-
35
-
36
 |
 |