Genie PowerMax 1200 Owner's Manual - Page 9
Force and Speed Control, Contact Reverse Test, Contact Reverse Adjustment - troubleshooting
 |
View all Genie PowerMax 1200 manuals
Add to My Manuals
Save this manual to your list of manuals |
Page 9 highlights
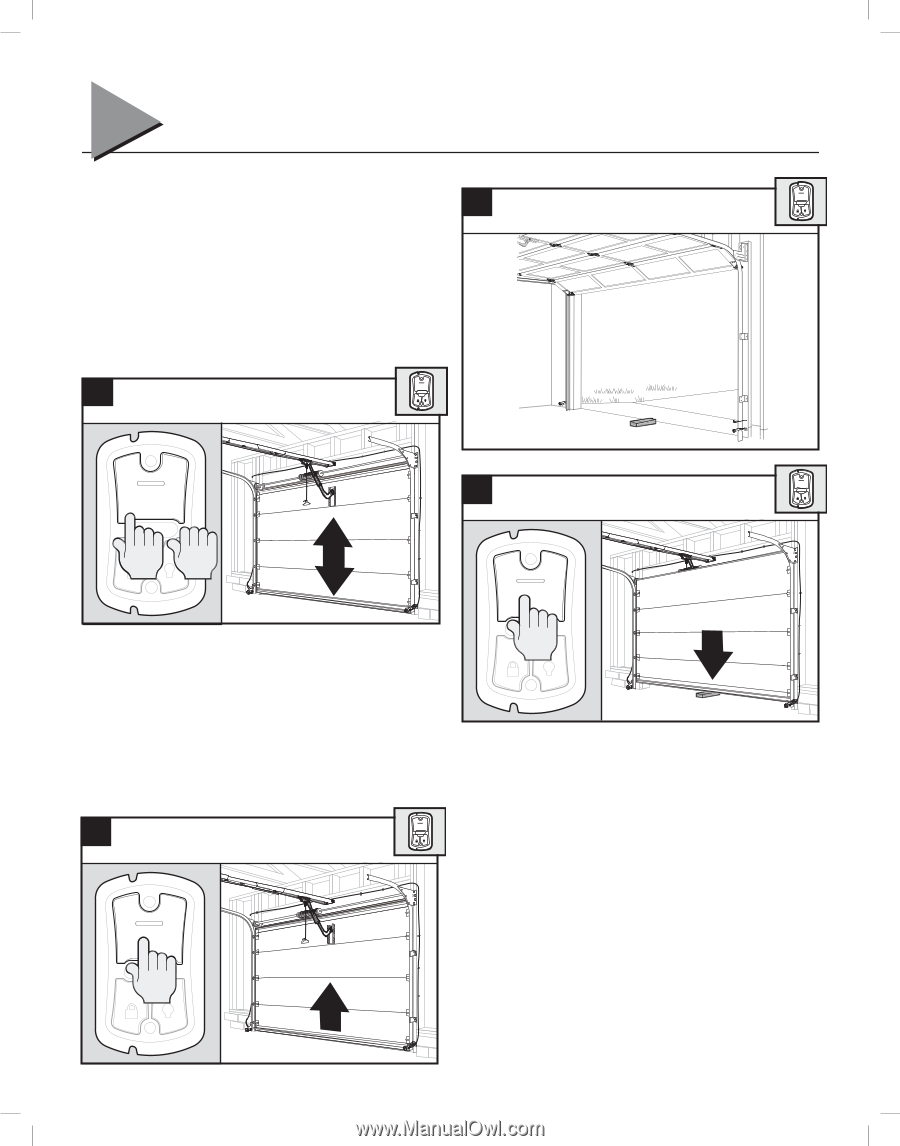
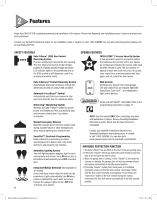
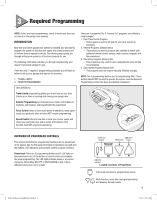
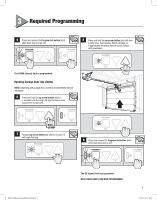
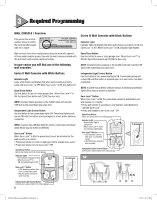
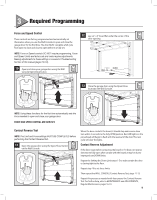
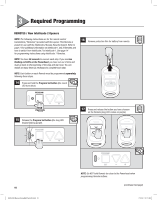
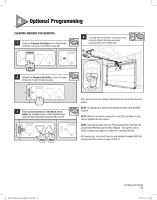
3 Required Programming Force and Speed Control These controls are factory programmed and automatically set themselves when you use the Wall Console to open and close the garage door for the rst time. The door MUST complete a full cycle from open to close and close to open before it is fully set. 12 Lay a 2" x 4" board at under the center of the door opening. NOTE: Force or Speed controls DO NOT require programming. Force and Speed Limits are factory set and rarely require adjustments. Making adjustments to these settings is covered in Troubleshooting Section of this manual (pages 18-19). 10 Open and close your garage door using the Wall Console Open/Close button. 13 Close the garage door using the Open/Close buttonon the Wall Console. NOTE: Using these functions for the first time automatically sets the Force needed to open and close your garage door. FORCE AND SPEED CONTROL ARE NOW SET. Contact Reverse Test NOTE: The Limit and Force settings MUST BE COMPLETED before performing the Contact Reverse Test. 11 Open the garage door using the Open/Close button on the Wall Console. When the door contacts the board, it should stop and reverse direction within 2 seconds to the fully OPEN position. Red LED lights on the powerhead will begin to ash with the reversal of the door. The next cycle will clear the lights. Contact Reverse Adjustment If the door stops before contacting the board or if it does not reverse direction to fully open after contact with the board, it may be due to improperly set DOWN limits. Repeat the Setting the Down Limit steps 1-5 to make certain the door is closing tight to the oor. Repeat step 10 to set force limits. Then repeat the WALL CONSOLE/Contact Reverse Test, steps 11-13. Repeat this process as needed until door passes the Contact Reverse Test. For further help, refer to MAINTENANCE and ADJUSTMENTS, Regular Maintenance, pages 16-19. 9
-
 1
1 -
2
-
3
-
 4
4 -
 5
5 -
 6
6 -
 7
7 -
 8
8 -
 9
9 -
 10
10 -
 11
11 -
 12
12 -
 13
13 -
 14
14 -
15
-
16
-
17
-
18
-
19
-
20
-
21
-
22
-
23
-
24
 |
 |