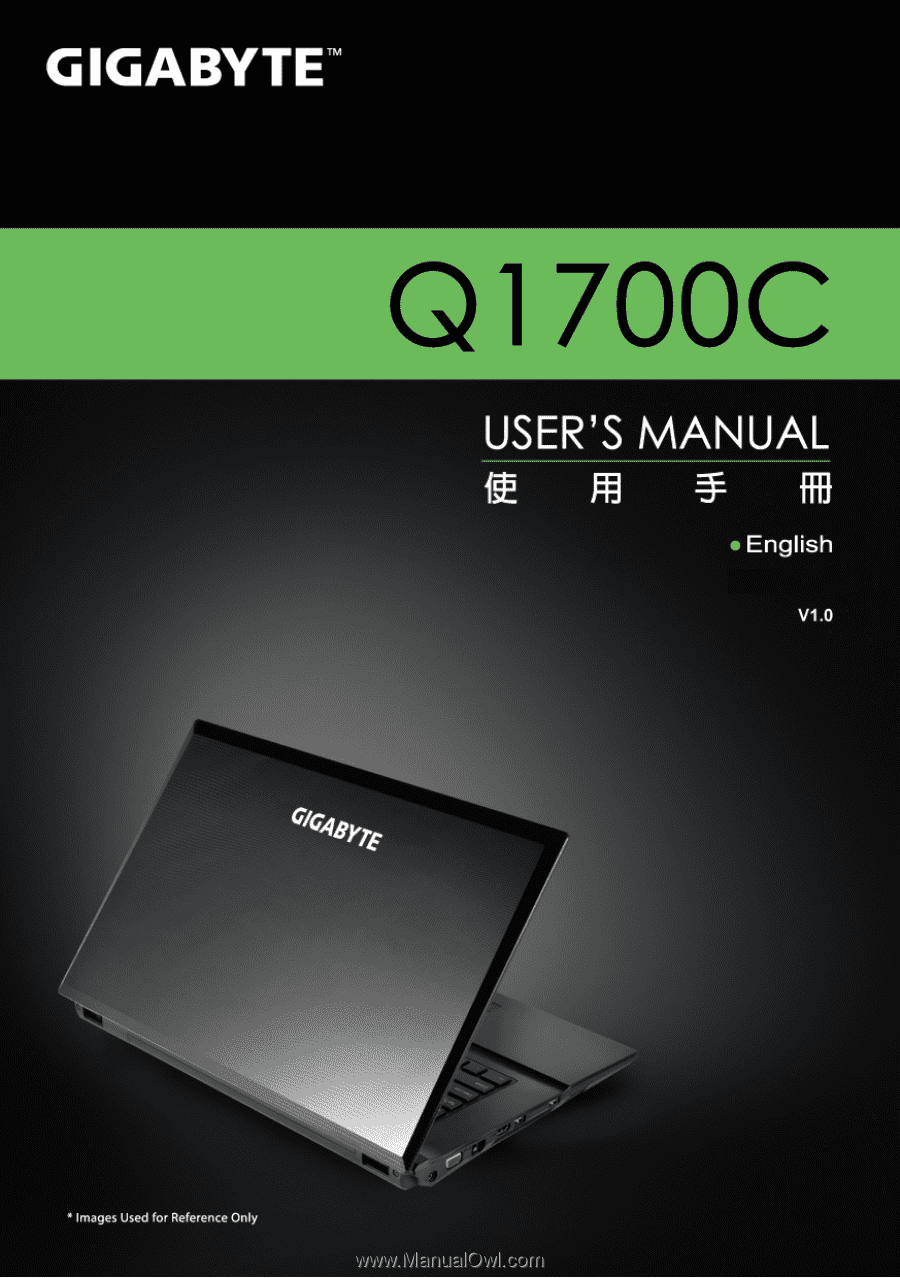
Gigabyte Q1700C Manual
Gigabyte Q1700C Manual
 |
View all Gigabyte Q1700C manuals
Add to My Manuals
Save this manual to your list of manuals |
Gigabyte Q1700C manual content summary:
- Gigabyte Q1700C | Manual - Page 1
- Gigabyte Q1700C | Manual - Page 2
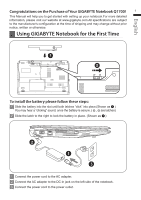
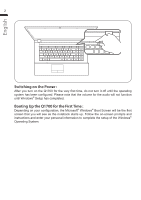
English Congratulations on the Purchase of Your GIGABYTE Notebook Q1700! 1 This Manual will help you to get started with setting up your notebook.For more detailed information, please visit our website at www.gigabyte.com.All specifications are subject to the manufacturer's configuration at the - Gigabyte Q1700C | Manual - Page 3
® Setup has completed. Booting Up the Q1700 for the First Time : Depending on your configuration, the Microsoft® Windows® Boot Screen will be the first screen that you will see as the notebook starts up. Follow the on-screen prompts and instructions and enter your personal information to complete - Gigabyte Q1700C | Manual - Page 4
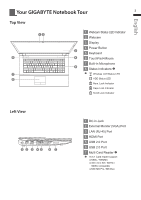
English Your GIGABYTE Notebook Tour 3 Top View 12 8 7 6 1 Webcam Status LED Indicator 2 Webcam 3 Display 4 Power Button 3 4 HDMI Port 5 USB 2.0 Port 6 USB 2.0 Port 7 Multi Card Reader 9-in-1 Card reader support: ● MMC / RSMMC ● SD / mini SD / SDHC / SDXC compatible ● MS/ MS Pro / MS Duo - Gigabyte Q1700C | Manual - Page 5
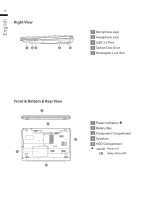
English 4 Right View 1 23 4 5 1 Microphone Jack 2 Headphone Jack 3 USB 2.0 Port 4 Optical Disc Drive 5 Kensington Lock Slot Front & Bottom & Rear View 1 2 3 5 4 1 Power Indicators 2 Battery Bay 3 Component Compartment 4 Speakers 5 HDD Compartment / Power LED Battery Status LED - Gigabyte Q1700C | Manual - Page 6
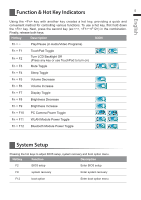
English Function & Hot Key Indicators 5 Using the key with another key creates a hot key, providing a quick and convenient method for controlling various functions. To use a hot key, first hold down the key. Next, press the second key (ex:, ~) in the combination. Finally, - Gigabyte Q1700C | Manual - Page 7
6 LED Indicators English The LED indicators on the computer display helpful information about the current status of the computer. Indicator Light Color Description Green The Wireless LAN Module is Powered on Orange Green Win7 - The Bluetooth Module is Powered on Win8 -- The Bluethooth - Gigabyte Q1700C | Manual - Page 8
the recovery option will no longer be available and a recovery service will be needed. ˙˙The recovery function is only available on devices sure your PC is plugged in. This will take a few minutes. Windows 7 Recovery Guide 1 Turn off and restart the laptop. 2 During the laptop turn on process, - Gigabyte Q1700C | Manual - Page 9
. Reboot the laptop after the system recovery is complete. Windows 8 Recovery Guide 1 Turn off and restart the laptop. 2 During the laptop turn on more keyboard layouts" to see next page of languages. 4 Choose "Troubleshoot" to enter the recovery settings. (Also you can choose "Continue" to - Gigabyte Q1700C | Manual - Page 10
a restore point recorded on your PC to restore Windows. System Image Recovery Recover Windows using a specific system image file. Automatic Repair Fix problems that keep Windows from loading. Command Prompt Use the Command Prompt for advanced trobleshooting. UEFI Firmware Settings Change settings in - Gigabyte Q1700C | Manual - Page 11
English 10 Windows 8.1 Recovery Guide 1 Turn off and restart the laptop. 2 During the laptop turn on process, press and hold F9 key to launch the tool. 3 Choose "Troubleshoot" to enter the recovery settings. (Also you can choose "Continue" to exit recovery system and continue to Windows 8.1 - Gigabyte Q1700C | Manual - Page 12
a restore point recorded on your PC to restore Windows. System Image Recovery Recover Windows using a specific system image file. Automatic Repair Fix problems that keep Windows from loading. Command Prompt Use the Command Prompt for advanced trobleshooting. UEFI Firmware Settings Change settings in - Gigabyte Q1700C | Manual - Page 13
12 Appendix English „„ Warranty & Service : Warranty and service and related information please refer to the warranty card or GIGABYTE service website as the below link: http://www.gigabyte.com/support-downloads/technical-support.aspx „„ FAQ : FAQ (Frequent Asked Questions) please refer to the
-
 1
1 -
 2
2 -
 3
3 -
 4
4 -
 5
5 -
 6
6 -
 7
7 -
8
-
9
-
10
-
11
-
12
-
13
 |
 |