Haier HCW225RAES Installation Instructions - Page 4
Installation Requirements
 |
View all Haier HCW225RAES manuals
Add to My Manuals
Save this manual to your list of manuals |
Page 4 highlights
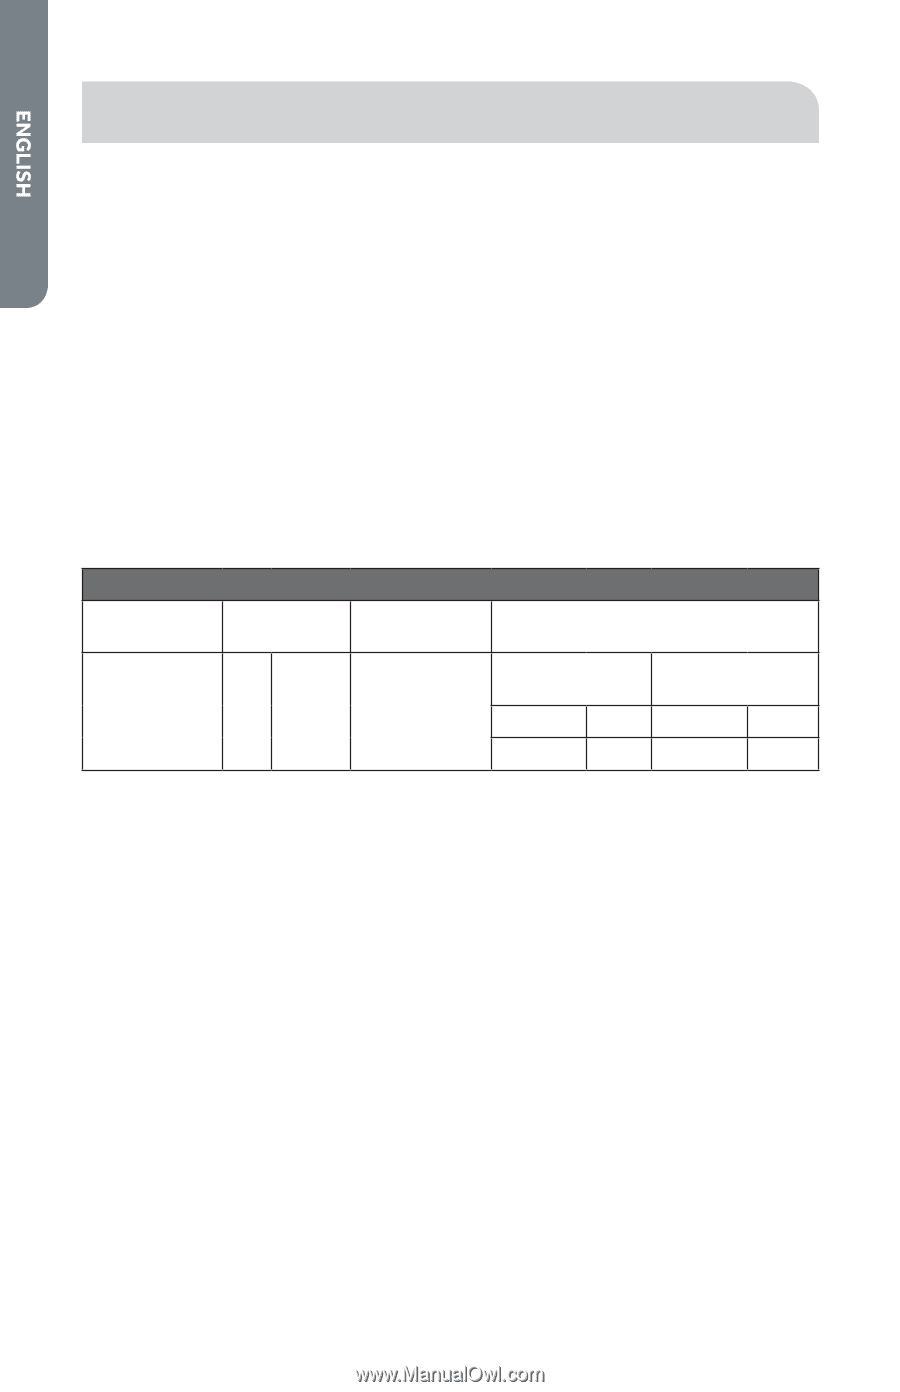
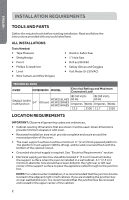
INSTALLATION REQUIREMENTS TOOLS AND PARTS Gather the required tools before starting installation. Read and follow the instructions provided with any tools listed here. ALL INSTALLATIONS Tools Needed: • Tape Measure • Straightedge • Pencil • Phillips Screwdriver • Level • Wire Cutters and Wire Stripper • Hand or Sabre Saw • 1" Hole Saw • Drill and Drill Bit • Safety Gloves and Goggles • Volt Meter (0-250VAC) TECHNICAL DATA OVEN DIMENSION MODEL Electrical Ratings and Maximum Connected Load SINGLE OVEN multifunction 24" @ 240 Volts @ 208 Volts HCW225LAES 60 Hz 60 Hz (60 cm) HCW225RAES HCW2360AES Amperes Watts Amperes Watts 13.3 3100 11.7 2350 LOCATION REQUIREMENTS IMPORTANT: Observe all governing codes and ordinances. • Cabinet opening dimensions that are shown must be used. Given dimensions provide minimum clearance with oven. • Recessed installation area must provide complete enclosure around the recessed portion of the oven. • The oven support surface must be a minimum ¾" (2 cm) thick plywood platform. The platform must support 100 lbs (45 kg), and be solid, level and flush with the bottom of the cabinet cutout. • Grounded electrical supply is required. See "Electrical Requirements" section. • Electrical supply junction box should be located 3" (7.6 cm) maximum below the support surface when the oven is installed in a wall cabinet. A 1" (2.5 cm) minimum diameter hole should have been drilled in the right rear or left rear corner of the support surface to pass the appliance cable through to the junction box. NOTE: For undercounter installation, it is recommended that the junction box be located in the adjacent right or left cabinet. If you are installing the junction box on rear wall behind oven, it is recommended that the junction box be recessed and located in the upper center of the cabinet. 2
-
 1
1 -
 2
2 -
 3
3 -
 4
4 -
 5
5 -
 6
6 -
 7
7 -
 8
8 -
 9
9 -
 10
10 -
11
-
12
-
13
-
14
-
15
-
16
-
17
-
18
-
19
-
20
-
21
-
22
-
23
-
24
-
25
-
26
-
27
-
28
-
29
-
30
-
31
-
32
-
33
-
34
-
35
-
36
 |
 |