Hamilton Beach 58615 Use & Care - Page 10
Blender Tips, Optional Cleaning
 |
View all Hamilton Beach 58615 manuals
Add to My Manuals
Save this manual to your list of manuals |
Page 10 highlights
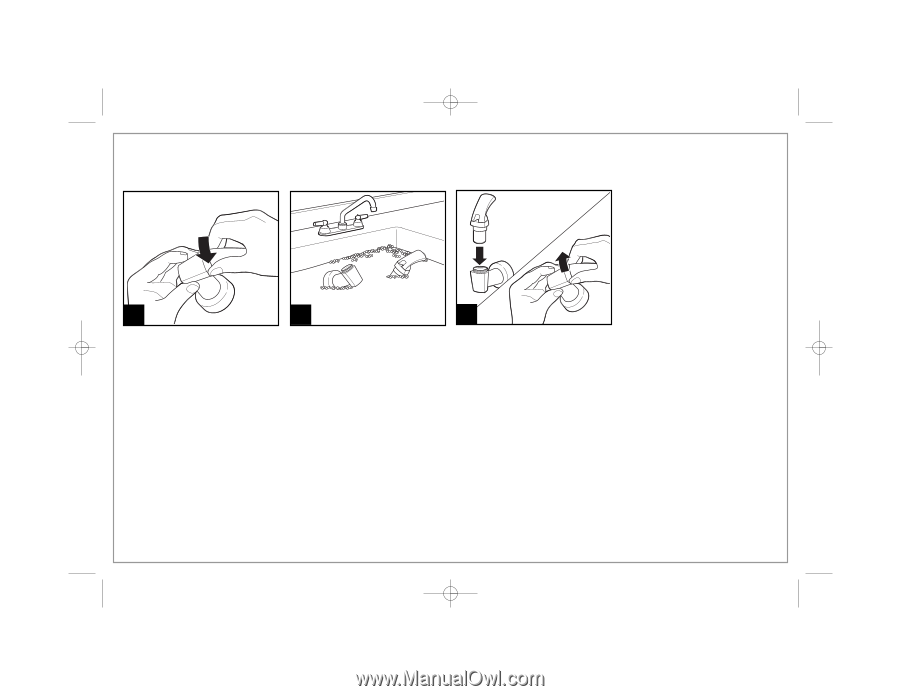
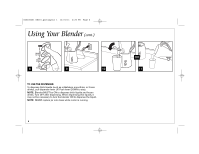
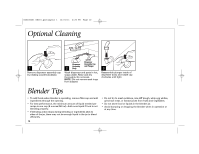
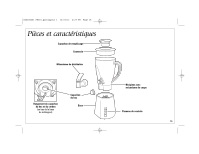
840208401 ENv01.qxd:Layout 1 12/21/11 4:25 PM Page 10 Optional Cleaning 1 Remove dispenser assembly cap by rotating counterclockwise. Dispenser Dispenser Assembly Cap Assembly and Plunger 2 Body Wash dispenser and parts in hot, soapy water. Rinse and dry thoroughly. Do not soak. NOTE: Do not remove seal rings from adapter. 3 Reassemble plunger inside of dispenser body and rotate cap clockwise until tight. Blender Tips • To add foods when blender is operating, remove filler-cap and add ingredients through the opening. • For best performance, the minimum amount of liquid needed per recipe is one cup (8 ounces/250 ml). Add more liquid if food is not blending properly. • If blending action stops during blending or ingredients stick to sides of the jar, there may not be enough liquid in the jar to blend efficiently. 10 • Do not try to mash potatoes, mix stiff dough, whip egg whites, grind raw meat, or extract juices from fruits and vegetables. • Do not store food or liquids in the blender jar. • Avoid bumping or dropping the blender when in operation or at any time.
-
 1
1 -
2
-
3
-
4
-
 5
5 -
 6
6 -
 7
7 -
 8
8 -
 9
9 -
 10
10 -
 11
11 -
 12
12 -
 13
13 -
 14
14 -
 15
15 -
16
-
17
-
18
-
19
-
20
-
21
-
22
-
23
-
24
-
25
-
26
-
27
-
28
-
29
-
30
-
31
-
32
-
33
-
34
-
35
-
36
 |
 |