Harbor Freight Tools 97869 User Manual - Page 8
Specifications, Features, Unpacking, Initial Set Up, Instructions, Assembly
 |
View all Harbor Freight Tools 97869 manuals
Add to My Manuals
Save this manual to your list of manuals |
Page 8 highlights
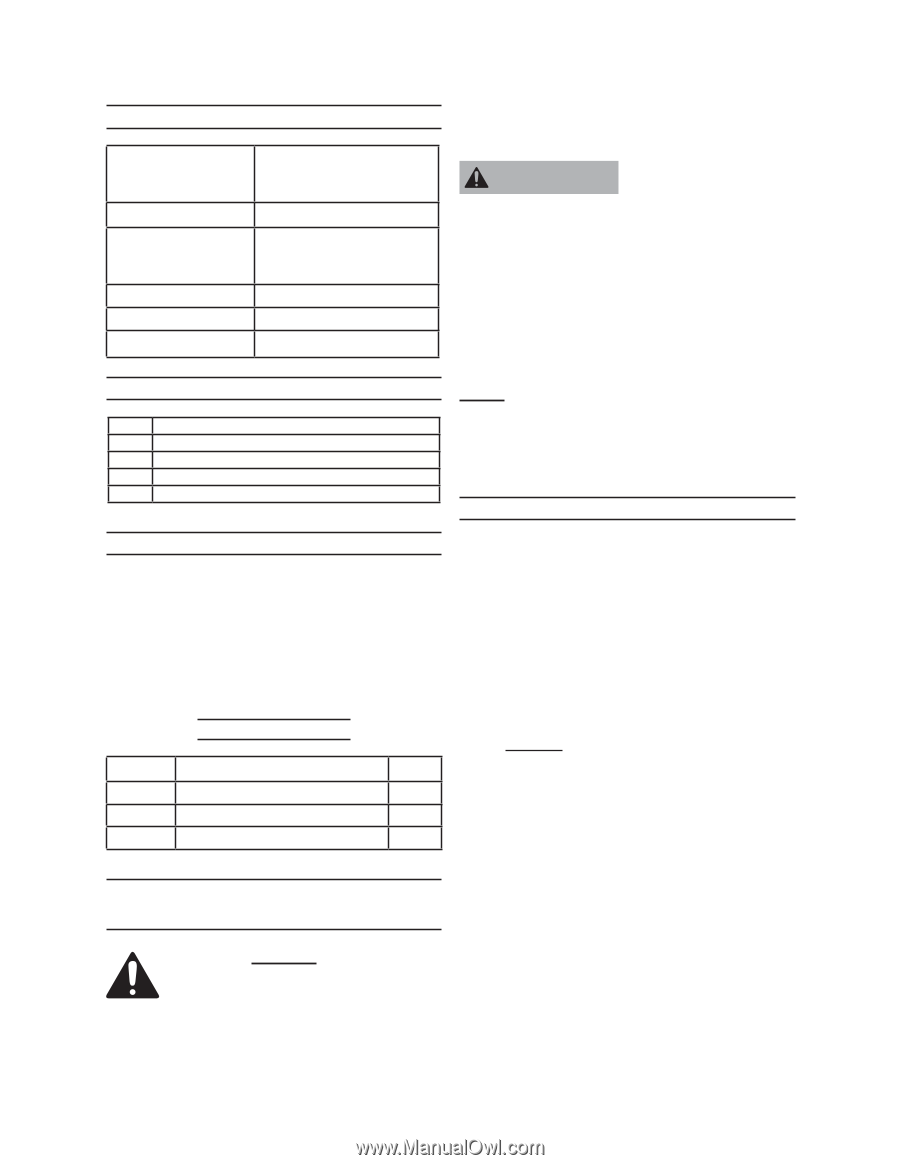
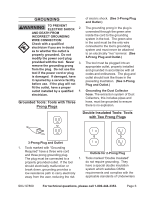
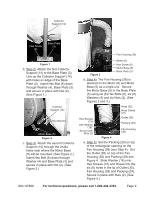
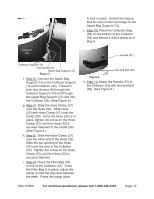
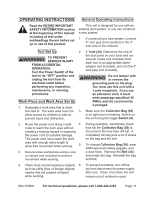
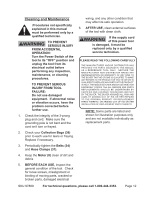
Specifications Motor RPM Bag Dimensions Bag Filtration Ratio Intake Exhaust Diameter 120 Volts, 60 Hz, 2HP, Single Phase, 20 AMPS Peak, 3450 Top=19-1/2" Dia. x 30"L Bottom=19-1/2" Dia. x 30-7/8"L 5 Microns 4-3/8" ID (screen & filter) 4-1/2 Inch ID With Screen subheadings therein before set up or use of this product. WARNING To prevent serious injury from accidental operation: Turn the Power Switch of the tool to its "OFF" position and unplug the tool from its electrical outlet before assembling or making any adjustments to the tool. FEATURES 1 All ball-bearing balanced armature 2 Aluminum and plastic locking casters 3 Cast Iron Motor Housing 4 Lockable toggle switch 5 Fan cooled Note: For additional information regarding the parts listed in the following pages, refer to the Assembly Diagram near the end of this manual. Assembly Unpacking When unpacking, check to make sure that the item is intact and undamaged. If any parts are missing or broken, please call Harbor Freight Tools at the number shown on the cover of this manual as soon as possible. List of contents Part 1 2 3 Description Collection Bags Swivel Casters (locking) Hex Wrenches Q'ty 2 4 2 Initial Set Up Instructions 1. Your Dust Collector will require complete assembly prior to use. It is important that you read the entire manual to become familiar with the product BEFORE you use the Dust Collector. Before assembling the Dust Collector be sure that you have all parts described in the Parts List and Assembly Diagram. a. Step 1) Place Caster (see Parts List 1) in place on the underside corner of the Base Plate (3). For all four (4) corners of the Caster (1) insert one Hex Screw (23) through Washer (16) down into Base Plate (3) and through Caster (1). Thread on Nut (19). Repeat for the remaining three (3) Casters (#1). Read the entire Important Safety Information section at the beginning of this manual including all text under SKU 97869 For technical questions, please call 1-800-444-3353. Page 8
-
 1
1 -
2
-
 3
3 -
 4
4 -
 5
5 -
 6
6 -
 7
7 -
 8
8 -
 9
9 -
 10
10 -
 11
11 -
 12
12 -
 13
13 -
14
-
15
-
16
 |
 |