HP 22-b100 Memory Module Replacement Instructions - Page 2
of the cover
 |
View all HP 22-b100 manuals
Add to My Manuals
Save this manual to your list of manuals |
Page 2 highlights
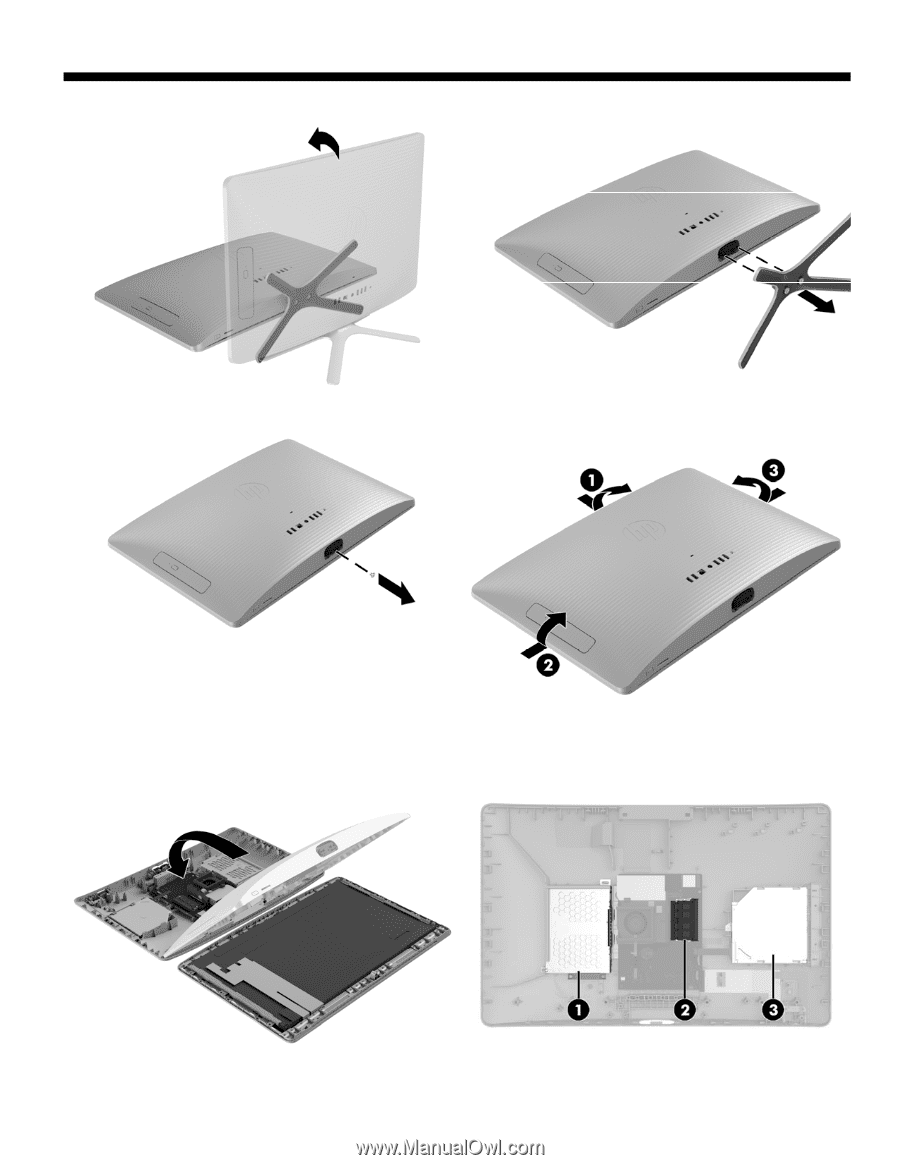
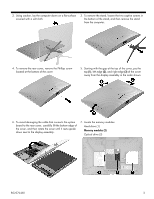
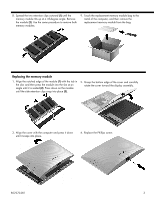
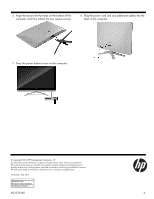
2. Using caution, lay the computer down on a flat surface covered with a soft cloth. 3. To remove the stand, loosen the two captive screws in the bottom of the stand, and then remove the stand from the computer. 4. To remove the rear cover, remove the Phillips screw located at the bottom of the cover 5. Starting with the gap at the top of the cover, pry the top (1), left edge (2), and right edge (3) of the cover away from the display assembly in the order shown. 6. To avoid damaging the cable that connects the system board to the rear cover, carefully lift the bottom edge of the cover, and then rotate the cover until it rests upside down next to the display assembly. 7. Locate the memory modules: Hard drive (1) Memory modules (2) Optical drive (3) 852270-001 2
-
 1
1 -
 2
2 -
 3
3 -
 4
4
 |
 |