HP A1224n Media Center Software Guide - Page 58
Adding pictures, green, thumbs-up, red thumbs, gray thumb, arrow, Trash Can, Rotate Image, Clockwise
 |
View all HP A1224n manuals
Add to My Manuals
Save this manual to your list of manuals |
Page 58 highlights
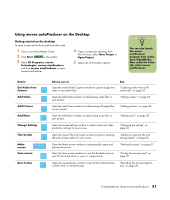
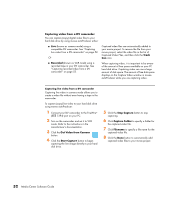
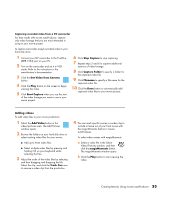
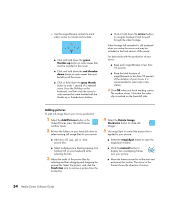
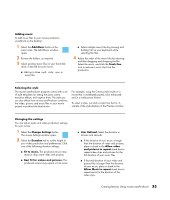
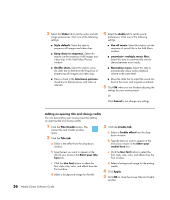
c Use the magicMoment controls to mark video scenes to include and exclude: ■ Click and hold down the green thumbs-up button to mark scenes that must be included in the movie. ■ Click and hold down the red thumbsdown button to mark scenes that must be left out of the movie. ■ Click or hold down the gray thumb button to undo 1 second of a selected scene. Press the Shift key on the keyboard, and then click the scene to undo scenes that were marked with the thumbs-up or thumbs-down buttons. ■ Click or hold down the arrow buttons to navigate backward and forward through the video footage. Video footage left unmarked is still analyzed when you make the movie and may be included in the final version of the movie. For best results with the production of your movie: ■ Keep each magicMoment to less than 10 seconds. ■ Keep the total duration of magicMoments to less than 50 percent of the duration of your movie. It is recommended to select only a few scenes. d Click OK when you finish marking scenes. The window closes. Note that the video clip is marked on the lower-left side. Adding pictures To add still image files to your movie production: 1 Select the Add Pictures button in the Video/Pictures area. The Add Pictures window opens. 2 Browse the folders on your hard disk drive to select existing still image files for your movie: ■ Add up to 50 .jpg, .gif, or .bmp picture files. ■ Select multiple picture files by pressing and holding Ctrl on your keyboard while selecting the files. 3 Adjust the order of the picture files by selecting and then dragging and dropping the picture file. Select the picture, and click the Trash Can icon to remove a picture from the production. 4 Select the Rotate Image Clockwise button to rotate still images. 5 Use magicSpot to control the motion that is applied to your picture: ■ Select the magicSpot button to open the magicSpot window. ■ Click the manual button to display two overlapping frames over your picture. ■ Move the frames around to set the start and end points for motion. The arrow in the frames shows the direction of motion. 54 Media Center Software Guide
-
 1
1 -
2
-
3
-
4
-
5
-
6
-
7
-
8
-
9
-
10
-
11
-
12
-
13
-
14
-
15
-
16
-
17
-
18
-
19
-
20
-
21
-
22
-
23
-
24
-
25
-
26
-
27
-
28
-
29
-
30
-
31
-
32
-
33
-
34
-
35
-
36
-
37
-
38
-
39
-
40
-
41
-
42
-
43
-
44
-
45
-
46
-
47
-
48
-
49
-
50
-
51
-
52
-
 53
53 -
 54
54 -
 55
55 -
 56
56 -
 57
57 -
 58
58 -
 59
59 -
 60
60 -
 61
61 -
 62
62 -
 63
63 -
64
-
65
-
66
-
67
-
68
-
69
-
70
 |
 |
