HP Brio 71xx hp brio 71xx, getting started guide - Page 1
HP Brio 71xx Manual
 |
View all HP Brio 71xx manuals
Add to My Manuals
Save this manual to your list of manuals |
Page 1 highlights
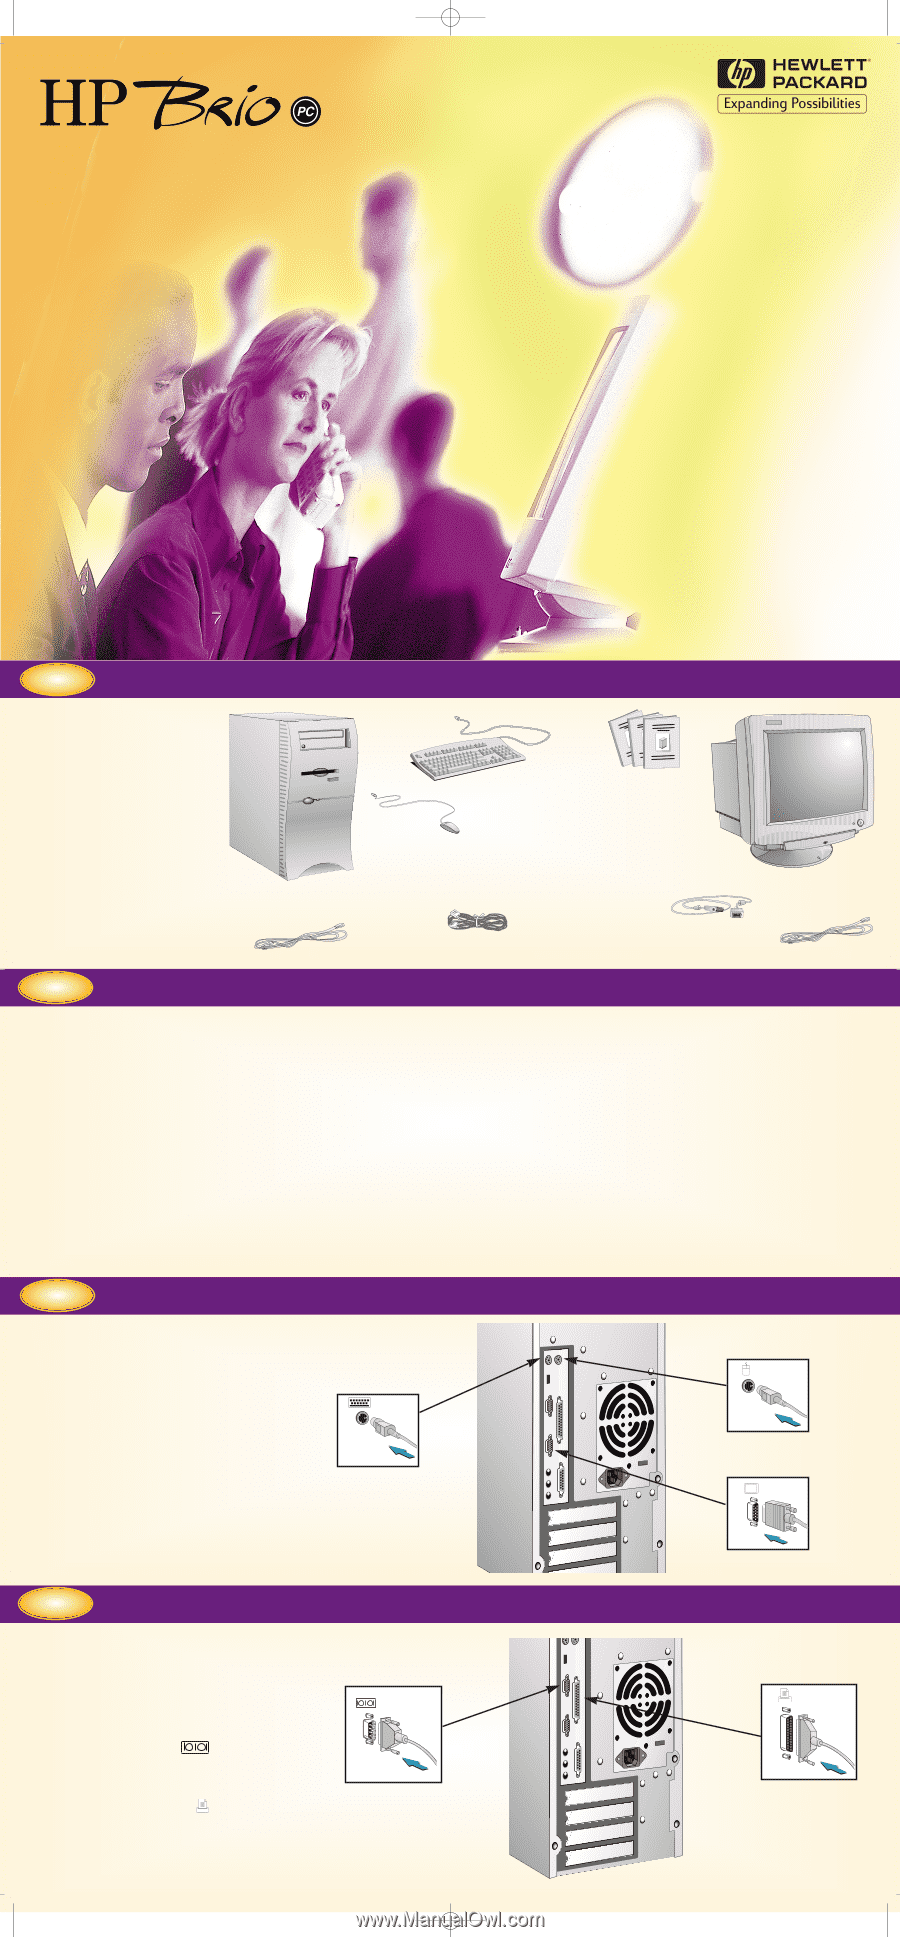
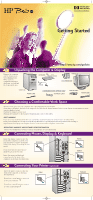
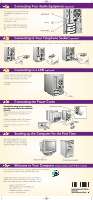
dep_vega.qxd 16-07-98 2:28 PM Page 1 Getting Started http://www.hp.com/go/brio 1 Unpacking the Computer & Display Remove the computer and the display from their shipping boxes. When you have completely unpacked the boxes, you will find the items shown here. KEYBOARD MOUSE DISPLAY DOCUMENTATION COMPUTER POWER CORD COMMUNICATIONS OPTION ONLY TELEPHONE CABLE DISPLAY CABLE POWER CORD 2 Choosing a Comfortable Work Space Choose a work space for your computer near a grounded electrical wall outlet. If you have a tilt-swivel, attach it to the display as described in the display manual. Refer to your display documentation to make sure it is firmly attached. Position the display on your desk. Position the computer to allow proper ventilation and access to the cables. SAFETY WARNING If you are in any doubt about whether you can lift the equipment safely, do not try to move it without help. Please read carefully the relevant sections in your HP Brio PC's documentation for safety instructions relating to: unpacking and setting up your display, electrical connections and/or telephone connections. REGULATORY, WARRANTY AND SOFTWARE LICENSE INFORMATION Please read carefully the relevant sections in your HP Brio PC's documentation. 3 Connecting Mouse, Display & Keyboard Insert the display connector into the back of the computer, as shown. You may also have to connect the display cable to the display, depending on your model. Please note that all connectors are shaped to go in one way only. Insert the mouse and keyboard connectors into the back of the computer, as shown in the illustration. KEYBOARD MOUSE DISPLAY 4 Connecting Your Printer (optional) Insert the printer connector into the back of the computer, as shown in the illustration. If you have a serial printer, connect it to the socket labelled If you have a parallel printer, connect it to the socket labelled SERIAL PARALLEL
-
 1
1 -
 2
2
 |
 |